Overview: Networks
For migrated Cloud Servers
In this article, you will learn how to access the Networks > Network section in the Cloud Panel and how the interface of this section is structured. More links can be found at the end of the article.
With a private network, you can divide your existing network into several logical networks. The use of private networks offers you the following advantages:
- You can organise your networks according to organisational aspects.
- You can easily add or remove your servers.
- You can reduce latency and network load.
- You can optimise traffic by prioritising data packets.
- Each server can only communicate with servers that are in the same private network.
The use of a private network can be useful in the following cases, for example:
- Setting up a private network for departments or project teams
- Setting up a private network that is connected to a load balancer
- Setting up a private network for a web server and a database server
Open private network area
- Log in to your IONOS account.
Click on the Server & Cloud tile. If you have multiple server contracts, select the desired contract.
- Click Network > Networks in the navigation bar on the left.
Structure of the Private Network section
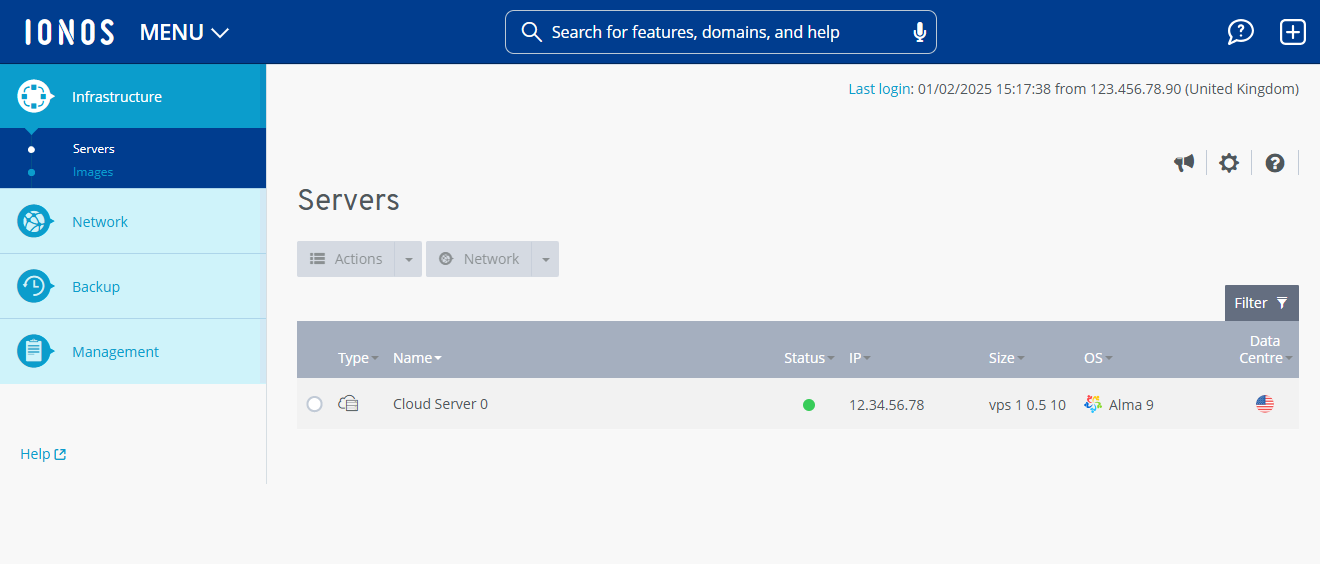
In the Cloud Panel, your private networks are listed in a table in the Network > Networks section. This table contains the most important information on the individual private networks:
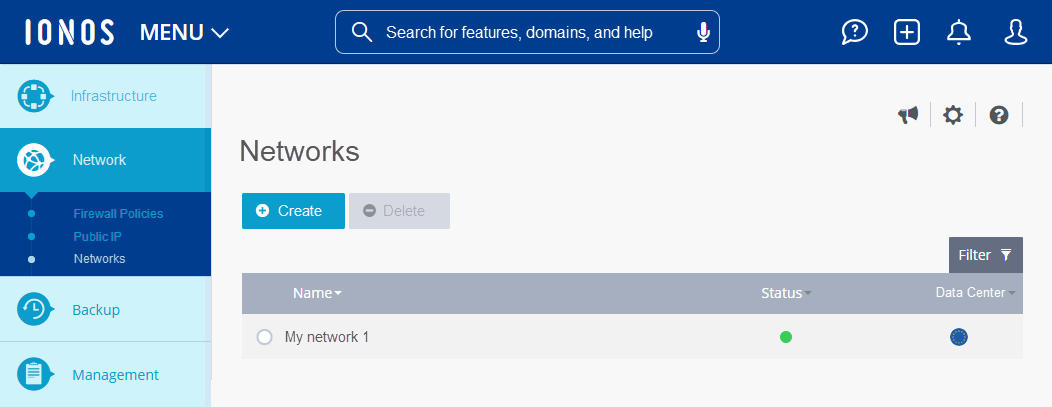
Name: Name assigned to the private network. You can change the name at any time.
Status: Current status of the private network.
Data centre: Data centre in which the private network is hosted.
To view all information about the desired private network, click on the name of the private network. The list contains the following additional information:
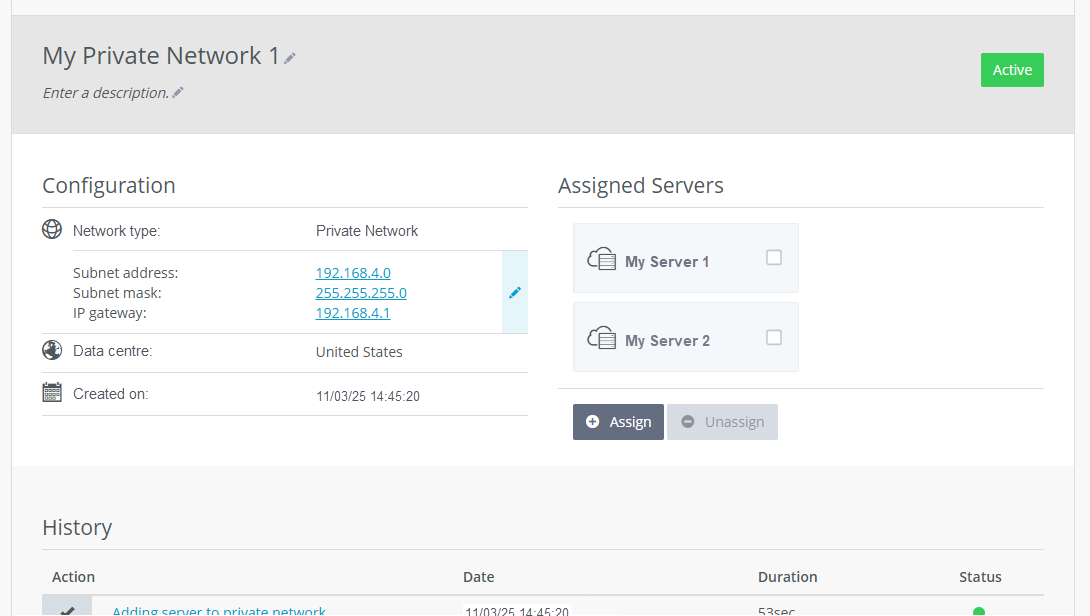
Description: Description of the private network. You can change the description at any time.
Network type: Type of network that was created in this area.
Creation date: Date on which the private network was set up.
Assigned servers: Servers that have been assigned to the private network.
Further information
Further information can be found in the following articles:
Migrated Cloud Servers: Creating a private network
Migrated Cloud Servers: Deleting private networks