Migrated Cloud Server: Creating a private network
For migrated Cloud Servers
This article explains how to create a private network in the Cloud Panel.
With a private network, you can divide your existing network into several logical networks. This subdivision gives you greater flexibility if you want to assign your servers to individual network segments. In addition, you can increase the performance of your network by prioritising certain data packets and reducing network congestion caused by excessive broadcast traffic.
How to create a private network:
- Log in to your IONOS account.
Click on the Server & Cloud tile. If you have multiple server contracts, select the desired contract.
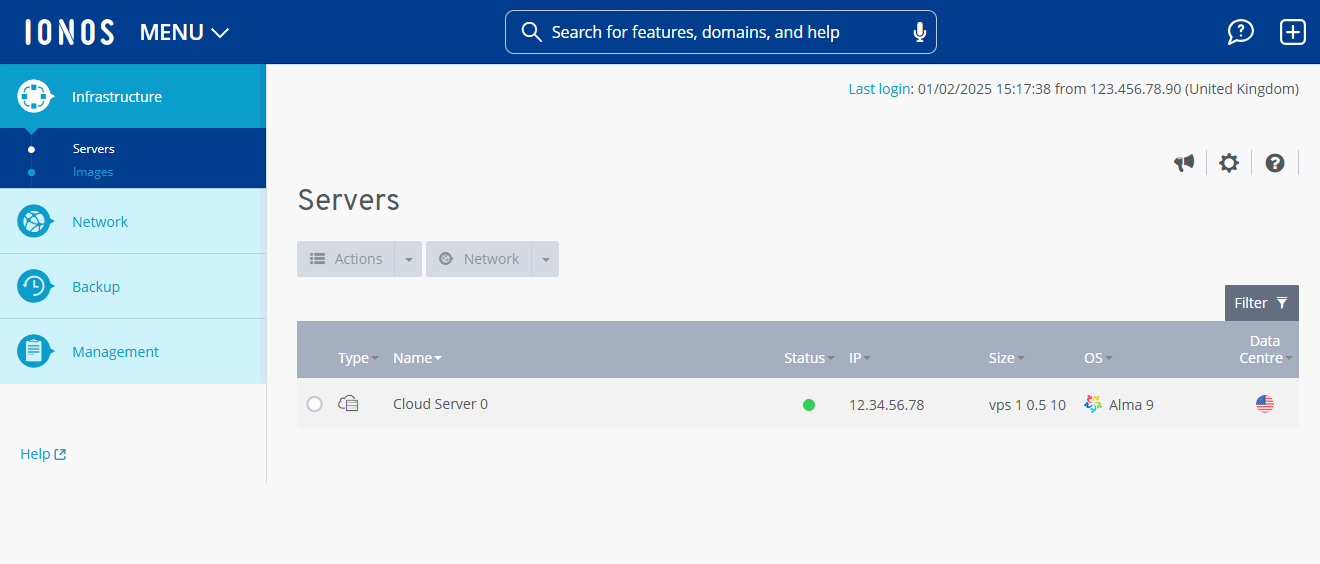
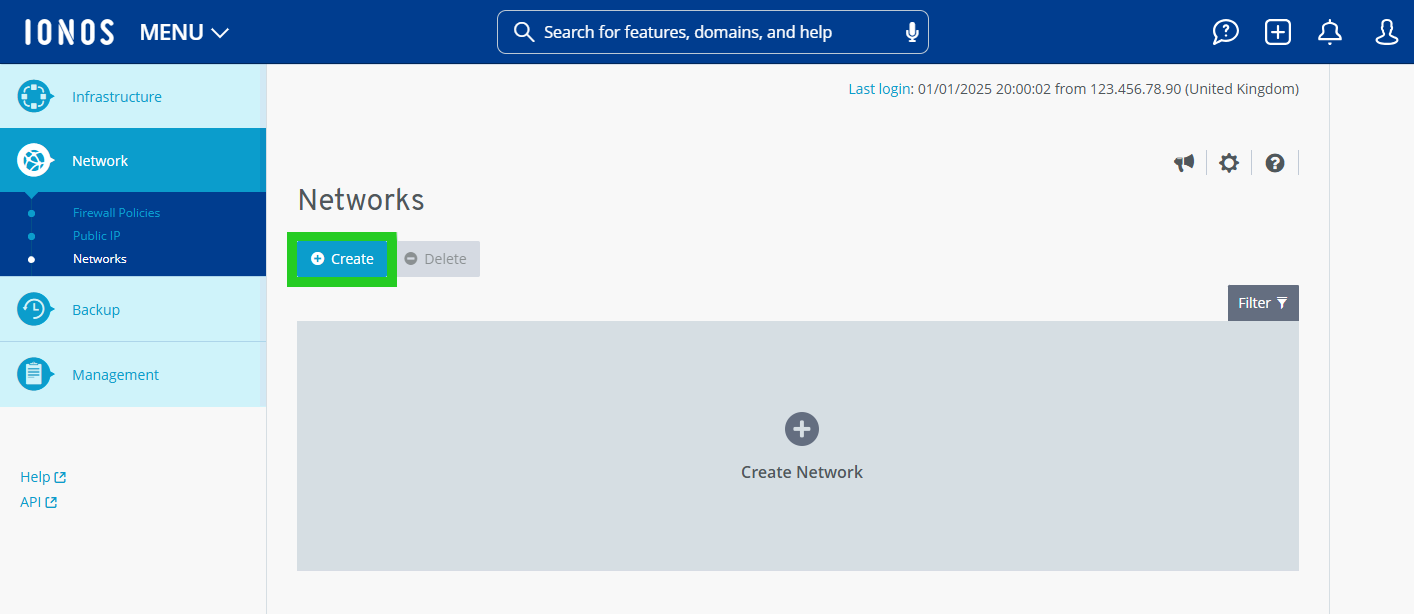
- Click Network > Networks in the navigation bar on the left.
- Click on Create.
- Enter the desired name of the private network.
- Select the desired data centre.
- Click on Create.
The private network is created.