Overview: Public IP (VPS and migrated Cloud Servers)
For Linux VPS, Windows VPS and migrated Cloud Servers, which are managed in the Cloud Panel
This article explains how the Network > Public IP area in the Cloud Panel is organised.
Open public IP area
- Log in to your IONOS account.
Click on the Server & Cloud tile. If you have multiple server contracts, select the desired contract.
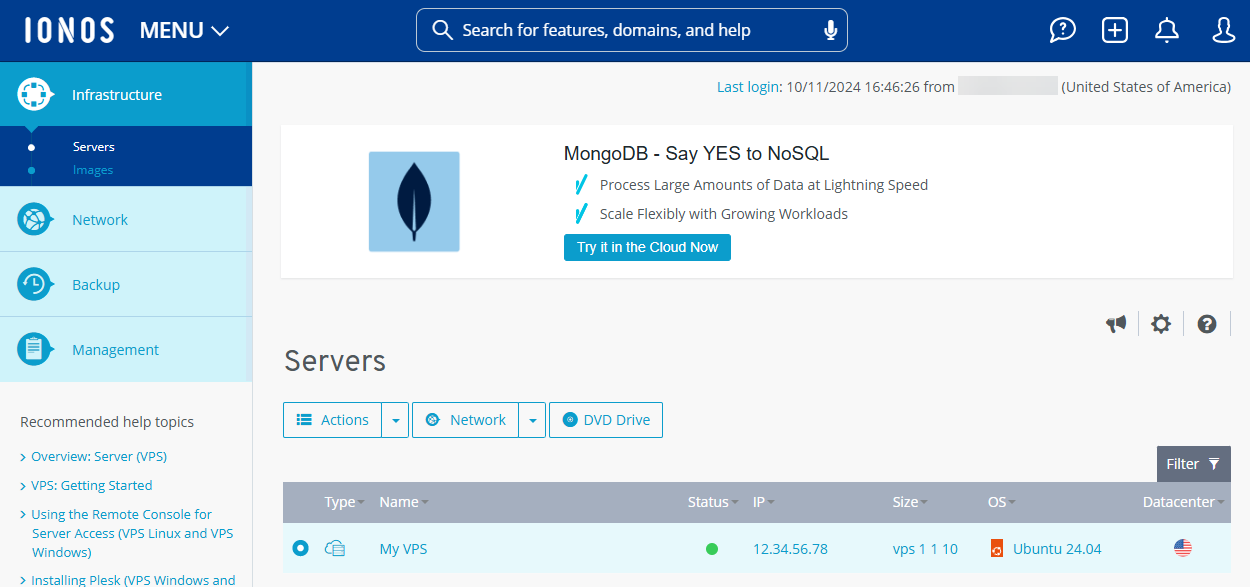
- Click Network > Public IP in the navigation bar on the left.
Structure of the public IP area
In Cloud Panel, all IP addresses are listed in a table in the Network > Public IP area.
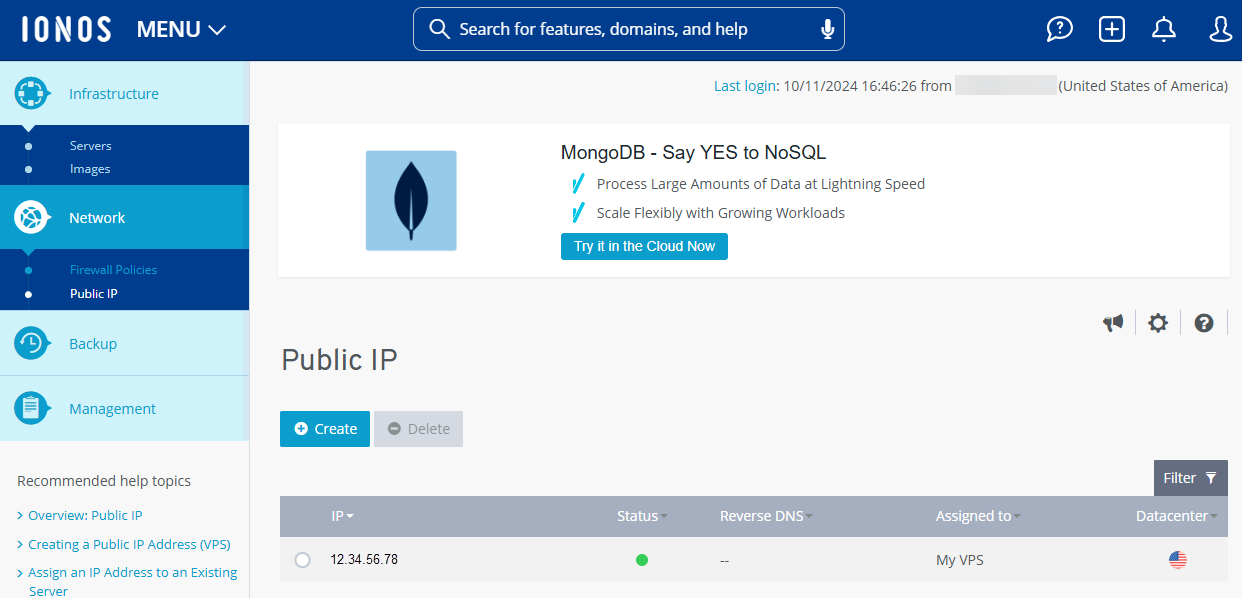
This table lists the most important information on the individual IP addresses:
IP: IP address
Status: Current status of the IP address.
Reverse DNS: Domain or subdomain assigned as host name.
Assigned to: Name of the server or load balancer to which the IP address was assigned.
Data centre: Data centre in which the IP address can be used.
To customise the reverse mapping for the IP address of your server, proceed as follows:
- Activate the desired IP address.
- Click on the pencil icon in the Configuration > Reverse DNS area.
- Enter the desired DNS name in the Reverse DNS lookup: field.
- Click on Assign DNS.
Further information
Further information on public IP addresses can be found in the following sections of the IONOS help centre:
VPS
Migrated cloud servers