Setting Up Microsoft Exchange® 2019 on an Android Device
Please use the “Print” function at the bottom of the page to create a PDF.
For Android Devices
This article explains how to set up your Microsoft Exchange 2019 account in the Gmail app.
These steps have been created using a Samsung Galaxy Note20 with Android 11 as an example. The menu items listed below may differ on other Android models/versions.
Automatic Configuration
- Launch the Gmail app.
- Tap the icon with the three horizontal lines in the top-left corner.
- Tap Settings.
- Tap Add account.
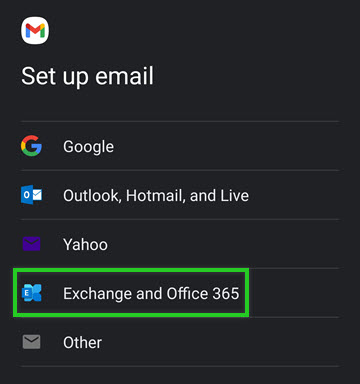
- Select Exchange and Office 365.

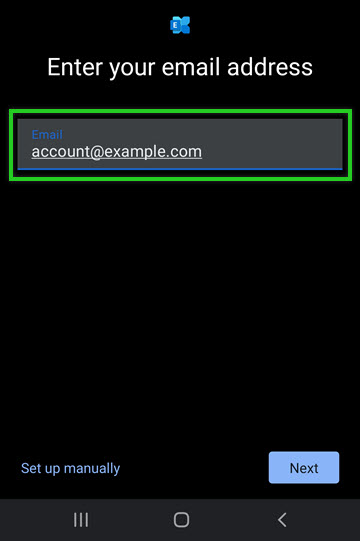
- Enter your Exchange 2019 email address.

Tap Next.
In the Password field, enter the password for this email address.
Tap Next. The account information will then be retrieved automatically.
Tap Done.
Manual Configuration
If the automatic Microsoft Exchange 2019 account setup fails, set up the account manually in Android. To do this, follow the steps below:
Follow Steps 1 - 6 listed above.
Tap Set up manually.
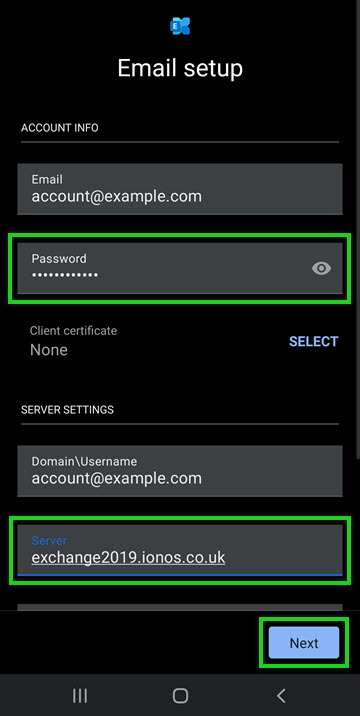
In the Password field, enter the password for this email address.
In the Domain\Username field, the Exchange 2019 email address should already be entered.
In the Server field, enter the following: exchange2019.ionos.co.uk

Make sure that port 443 is entered in the Port field and SSL is entered in the Security type list.
Tap Next. The account information will then be retrieved and verified.
Tap Done.
Help in Case of Problems
If the manual setup of the Microsoft Exchange 2019 account also fails, check if an Autodiscover record exists in the DNS settings of your domain. For more information, see the article Checking your domain's autodiscover settings.
Please note that with a newly created domain, it may take some time for the DNS settings to update. The same applies after changes to the DNS settings.