Creating a Resource in Microsoft Exchange®
This article explains how to create a resource in Microsoft Exchange.
To create a resource in Microsoft Exchange, you must set up one of your Microsoft Exchange accounts as an administrator.
To learn how to set up the administrator user for Microsoft Exchange, please see the following article:
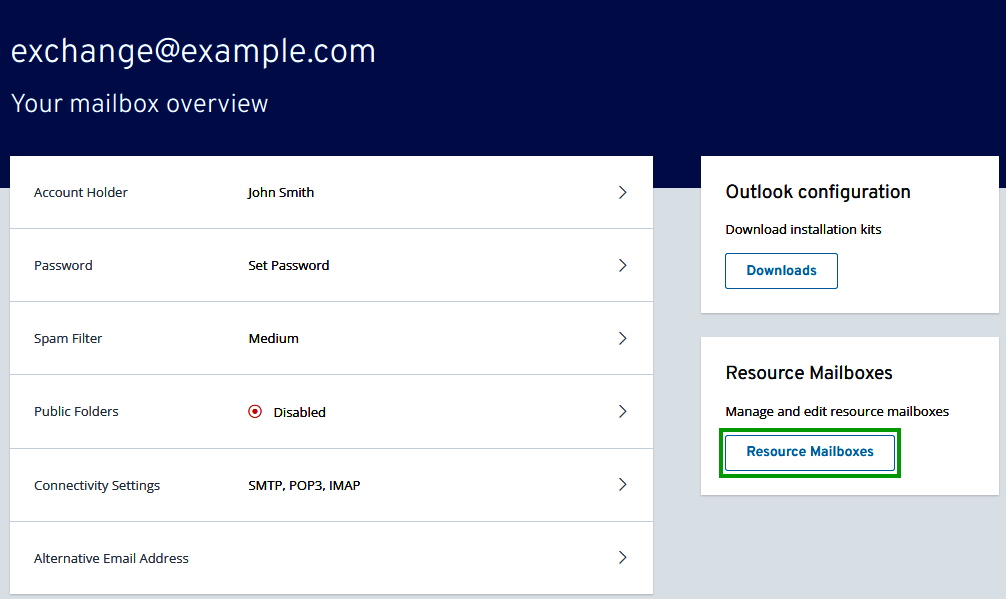
Log in to the Microsoft Exchange Administration Tool.
Click the Resource Mailboxes tile.
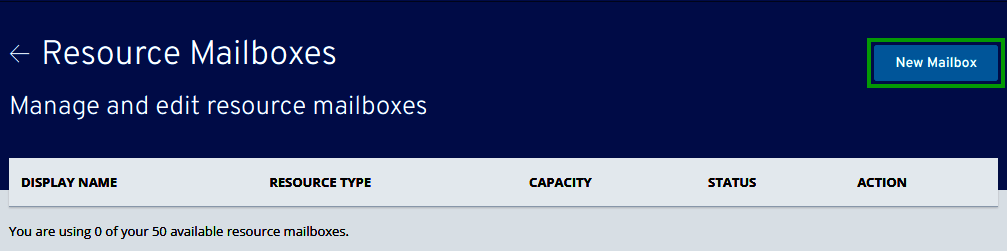
Click New mailbox.
Select/enter the settings for your resource.
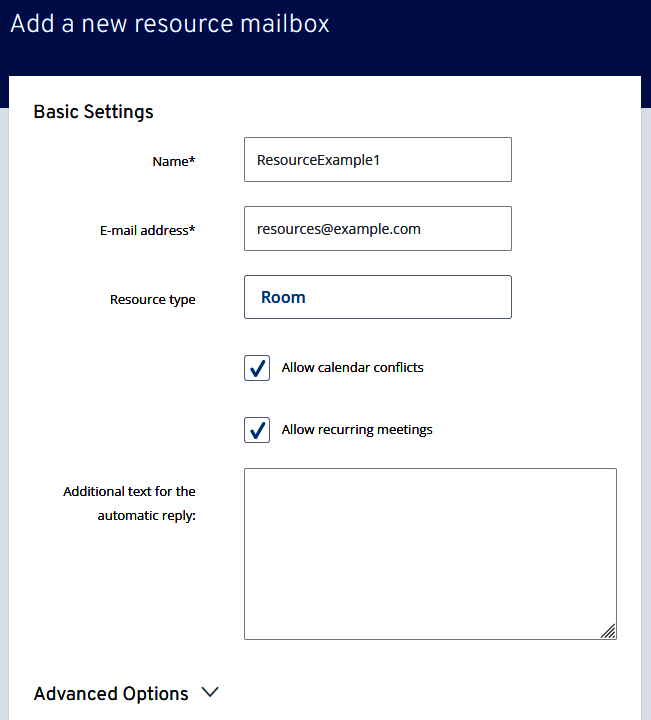
Give your resource a name.
Enter the desired email address of the resource.
Optionally, you can select the resource type (room mailbox or equipment mailbox) and set whether calendar conflicts or recurring meetings should be allowed.
In the Additional text for the automatic reply: field, you can add notes on the use of the resource, for example.
Depending on the selected resource type, some additional specifications can now be chosen. To do this, click Advanced options.
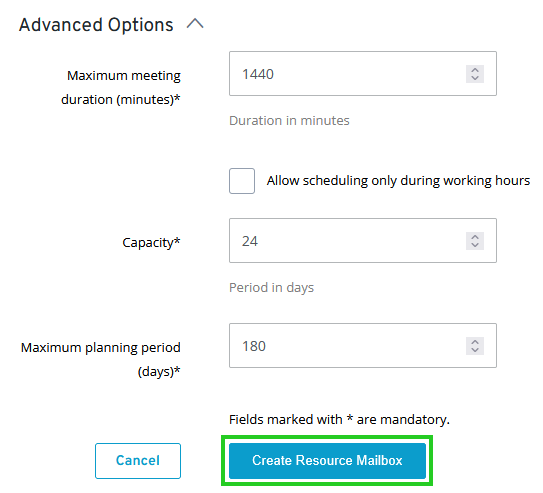
Fill in the mandatory fields marked with * and enter any desired optional settings.
For example, if you have selected the resource type Room mailbox, you must specify the maximum duration of the meetings, the room capacity, and the maximum planning period.
Optionally, you can set that the room may only be used during working hours.
To complete the setup, click Create Resource Mailbox.