Please use the “Print” function at the bottom of the page to create a PDF.
For iPhone and iPad with iOS version 14.7.1 and higher
This article explains how to check and change the sender address on an iPhone/iPad.
Note
In order to increase security for our customers, we will deactivate sending with alternative or empty sender addresses on our email servers from the 29th January 2024. After this date, emails can only be sent if the sender address has the same domain as the email inbox used.
For details and what you need to bear in mind when making your settings, please refer to the Help Centre article Important change for sending emails with a different sender address.
Changing the Sender Address
Tap Settings on the home screen.
In the settings, scroll to the Mail entry.
Tap on Mail.
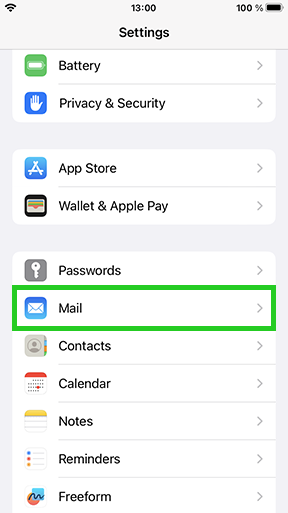
Tap on Accounts.
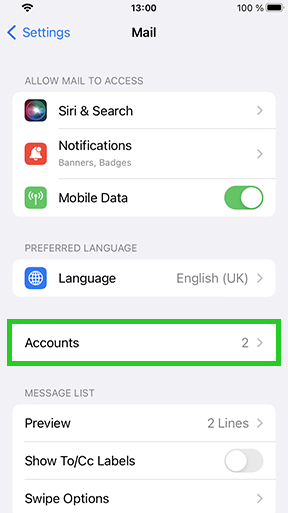
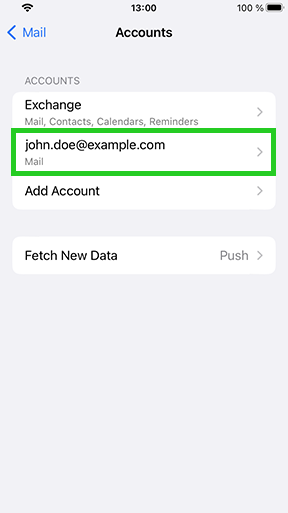
An overview of all email accounts set up on your device is displayed.
Tap on the email account that you have set up for your IONOS email address.
Tap on the Account field.
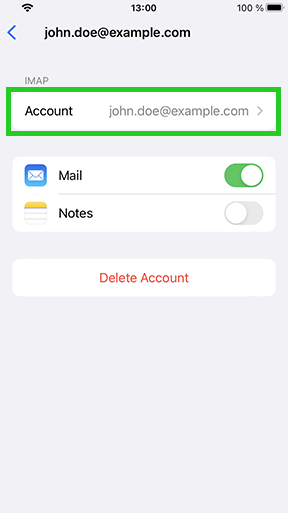
Tap on the email address in the Email field.
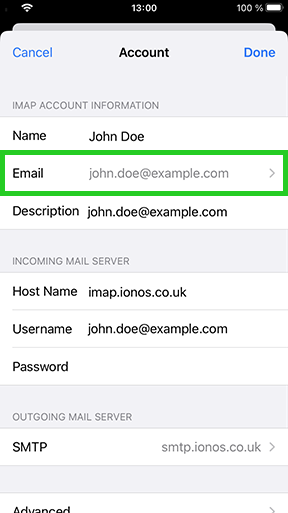
Check whether the email address that you created when setting up the e-mail inbox is entered.
Example: You have created the email address john.doe@example.com under IONOS. An email address with the ending john.doe@example.org (different domain) is displayed in the menu. In this case, you must replace the sender address john.doe@example.org with the e-mail address john.doe@example.com.
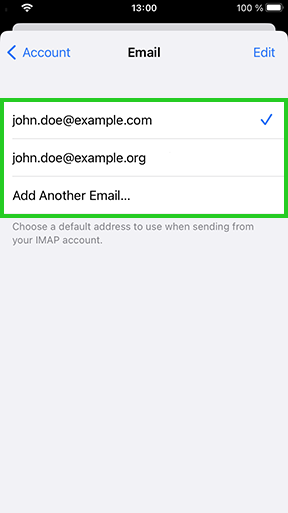
If a different email address is entered, you must add the correct email address. You must then delete the different email address in the settings. To enter the email address that you created when setting up the email inbox, tap Add another email...
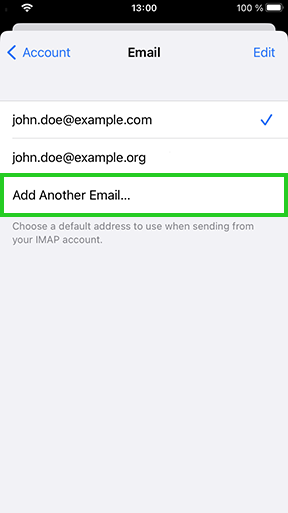
Enter the email address and tap the Enter button.
To delete the different email address, tap Edit.
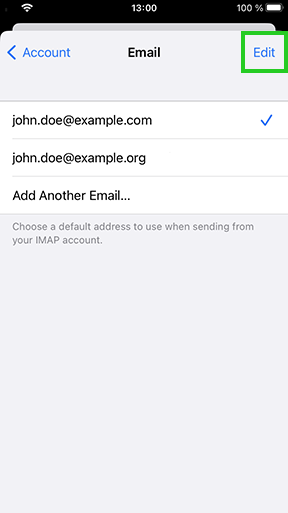
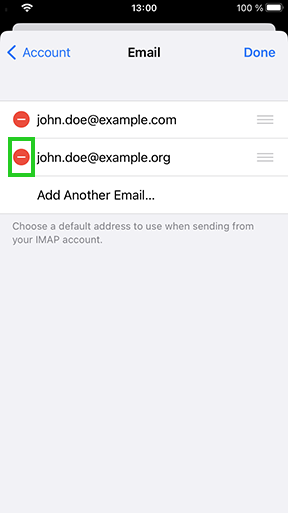
Tap the minus symbol to the left of the email address you want to delete.
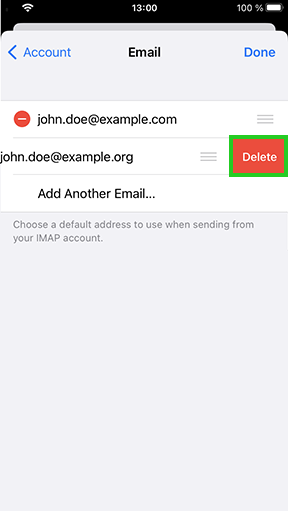
Tap on Delete.
Tap on Done.