How to host a Soulmask server
If you create a dedicated server, you can enjoy the sandbox survival game Soulmask to the fullest. As soon as you have the right hardware ready, you can simply download the Soulmask server via SteamCMD and then install and set it up.
What are the requirements for a Soulmask server?
In theory, you could host the Soulmask dedicated server application on your private computer. However, this is not recommended for performance reasons. Instead, rent high-performance enterprise hardware from a professional provider, take the load off your own device and benefit from a broadband connection that’s superior to a household connection. What’s more, you don’t have to leave your device running around the clock to keep the server online.
The specific requirements of a Soulmask server depend primarily on how many players should be able to connect to the server at the same time. The RAM requirement in particular increases significantly if you’re planning a large-scale multiplayer scenario. However, the following values are the minimum requirements to get started:
- Processor (CPU): min. 3.8 GHz (3-4 cores)
- Working memory (RAM): min. 6 GB
- Hard disk storage: 20 GB
In addition to these requirements for the dedicated server application, there are the operating system requirements. With the software for the Soulmask server, you have the choice between Linux and Windows. If you use Windows Server 2022, for example, you also need 1.4 GHz processor power, 2 GB RAM and 36 GB hard disk space (512 MB and 32 GB without graphical user interface) to host.
How to host a Soulmask server with IONOS
Finding the perfect hosting solution for your own Soulmask server scenario can be tricky. Not only do you have a large number of providers to choose from, but also a wide variety of server models and packages. At IONOS, for example, the following three types are available for hosting a game server:
- VPS (vServer): IONOS relies on virtualisation for its vServers (also known as VPS). The virtualised performance always comes from a fixed host system. The costs are fixed, depending on the service package selected.
- Cloud Server: The cloud servers from IONOS also use virtualised hardware power. Compared to the VPS, however, there is no fixed host, but many different host systems. This makes cloud servers highly scalable, and you only ever pay for the power you actually use.
- Dedicated Server: When you rent a dedicated server from IONOS, you get dedicated hardware at enterprise level. With this server model, you also only pay for the performance you actually needed at the end of the month.
Try out your VPS for 30 days. If you're not satisfied, we'll fully reimburse you.
3 scenarios for your Soulmask server (incl. suitable IONOS packages)
In the table below, we have defined three possible scenarios for your Soulmask server and assigned the most suitable IONOS packages (with Windows Server as the operating system) to make it easier to get started.
| Soulmask server scenario | Suitable IONOS server with Windows |
|---|---|
| 2-4 people; server permanently online | VPS Windows L |
| 5-10 people; server permanently online | VPS Windows XL |
| 10+ people; one or more servers permanently online | Dedicated Server IX6-32 HDD |
Try out your VPS for 30 days. If you're not satisfied, we'll fully reimburse you.
How to create a Soulmask server step by step (Windows server)
Installing and configuring your own Soulmask server is done in just a few steps - once you’ve found the right setup for hosting. The software can be installed quickly and easily using the command line client SteamCMD. We’ll show you how it’s done in the following sections using IONOS servers (VPS, Cloud Server, Dedicated Server). The operating system used is Windows Server 2022.
Step 1: Establish a remote connection to the server
To be able to interact with the rented server from IONOS, you first need an active remote connection. Thanks to this remote access, you can control the operating system and therefore the hardware remotely. In Windows, the ‘Remote Desktop Connection’ tool is a standard application for establishing a remote connection. All you need is the IP address of the server and the individual login data, which you can find in your customer account:
- Log in to the Login page for the IONOS customer account.
- Click on the Server & Cloud entry.
- Select the server you’ve rented to create your Soulmask server.
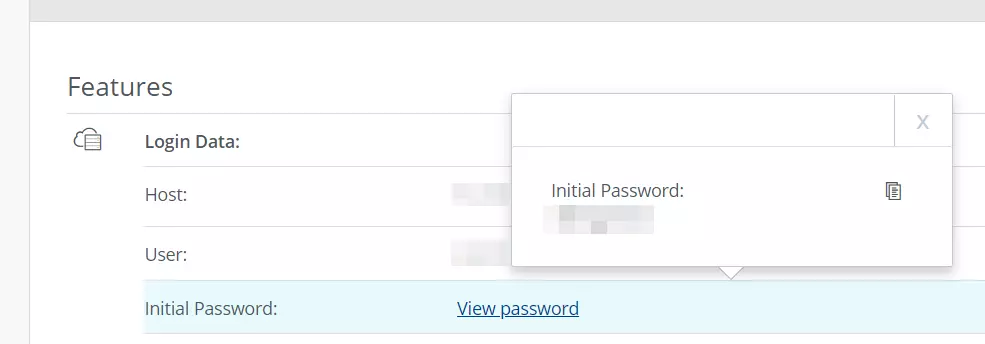
- Make a note of or copy the information under Login Data (IP address, user and initial password).
- Start the tool Remote Desktop Connection on your PC.
- Establish a remote connection to your server using the login data. Confirm the server certificate if this is your first connection.

Find out more about how to connect to Windows via remote desktop in our separate article in the IONOS Help Centre.
Step 2: Install SteamCMD
Once the connection has been successfully established, the interface of your server will open in a separate remote window. You can now install applications such as the Steam command line client SteamCMD in the usual way. You will need this to install the Soulmask server application in the hosting environment. The SteamCMD installation requires the following three steps:
- Click on the following download link for SteamCMD (Windows) to download the installation package to your server.
- Unpack the ZIP file in a directory of your choice, for example in
C:\SteamCMD. - Double-click the
steamcmd.exefile to install SteamCMD.
Using the SteamCMD command line client, you can download and install not only the software for a Soulmask server, but also the applications for many other game servers such as a The Front server or a Palworld server.
Step 3: Download and install the Soulmask server
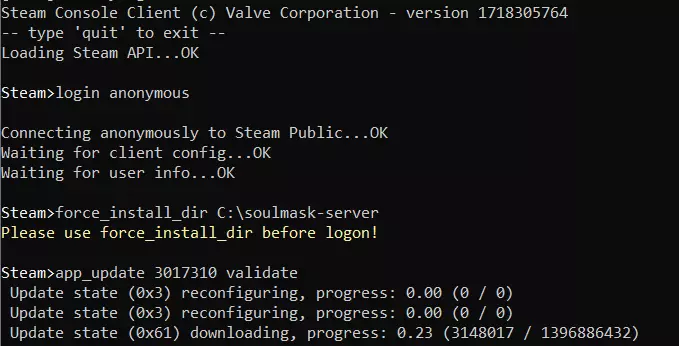
After installation, you can start SteamCMD at any time by executing steamcmd.exe. The client is ready for input as soon as you see the line Steam>. To download applications such as the software for the Soulmask server, first connect to the public Steam servers. In the case of Soulmask, an anonymous login is sufficient:
login anonymousIf you want to create an individual directory for your Soulmask server (here, as an example: C:\soulmask-server), you can do this in the second step with the following command:
force_install_dir C:\soulmask-serverWith the command app_update ... validate and the ID of the Soulmask dedicated server application (3017310) you can finally install the Soulmask server:
app_update 3017310 validate
After successful installation, execute the quit command to exit the command line client properly.
Step 4: Create start script
The next step is to create a suitable script to start your Soulmask server. Before doing so, however, you must copy the three files steamclient64.dll, tier0_s64.dll and vstdlib_s64.dll into the subdirectory \WS\Binaries\Win64. Otherwise, the server currently lacks access to the three dynamic program libraries (this problem may be fixed in a later version).
Before you create your own script, execute the file StartServer.bat by double-clicking on it. Your Soulmask server will start for the first time in a command prompt window. After a successful start, exit the server instance by closing the window. You can now also use StartServer.bat directly as a template for your own start script by creating a copy of the file and opening and editing it with the editor of your choice. You can find a list of possible parameters in the following Soulmask fandom post. At this point, we have only defined a server name and limited the maximum number of players to 10:
@echo off
start WSServer.exe Level01_Main -server %* -log -UTF8Output -MULTIHOME=0.0.0.0 -EchoPort=18888 -forcepassthrough -SteamServerName=Soulmask Server by IONOS -MaxPlayers=10
exit /BStep 5: Release the server ports
However, before you start your Soulmask server using the script, you must enable the two TCP/UDP ports 27015 and 8777 in the firewall settings of your rented server. Only after you have completed this step will your server be available for access via the internet. Port sharing works as follows for an IONOS server:
- Log in to the IONOS customer account.
- Select the Server & Cloud section and select your Soulmask server.
- Click on Network on the left and then on Firewall policies.
- Create rules for the TCP/UPD ports 8777 and 27015 under Incoming.

Alternatively, refer to the IONOS Help Centre to find out how to create a firewall policy for your VPS, Cloud Server or Dedicated Server from IONOS!
Step 6: Start the Soulmask server
To start the created Soulmask server, you can now execute the script at any time. The parameters defined in it are then automatically applied to the server instance. A command prompt window will open, which you must leave open for your server to run. If you close the window, the Soulmask server will stop.
Step 7: Connect to the server
Now, the shared multiplayer experience can finally begin. You and your fellow players can connect to the Soulmask server at any time. To do this, start the survival game in the usual way via Steam and then carry out the following steps:
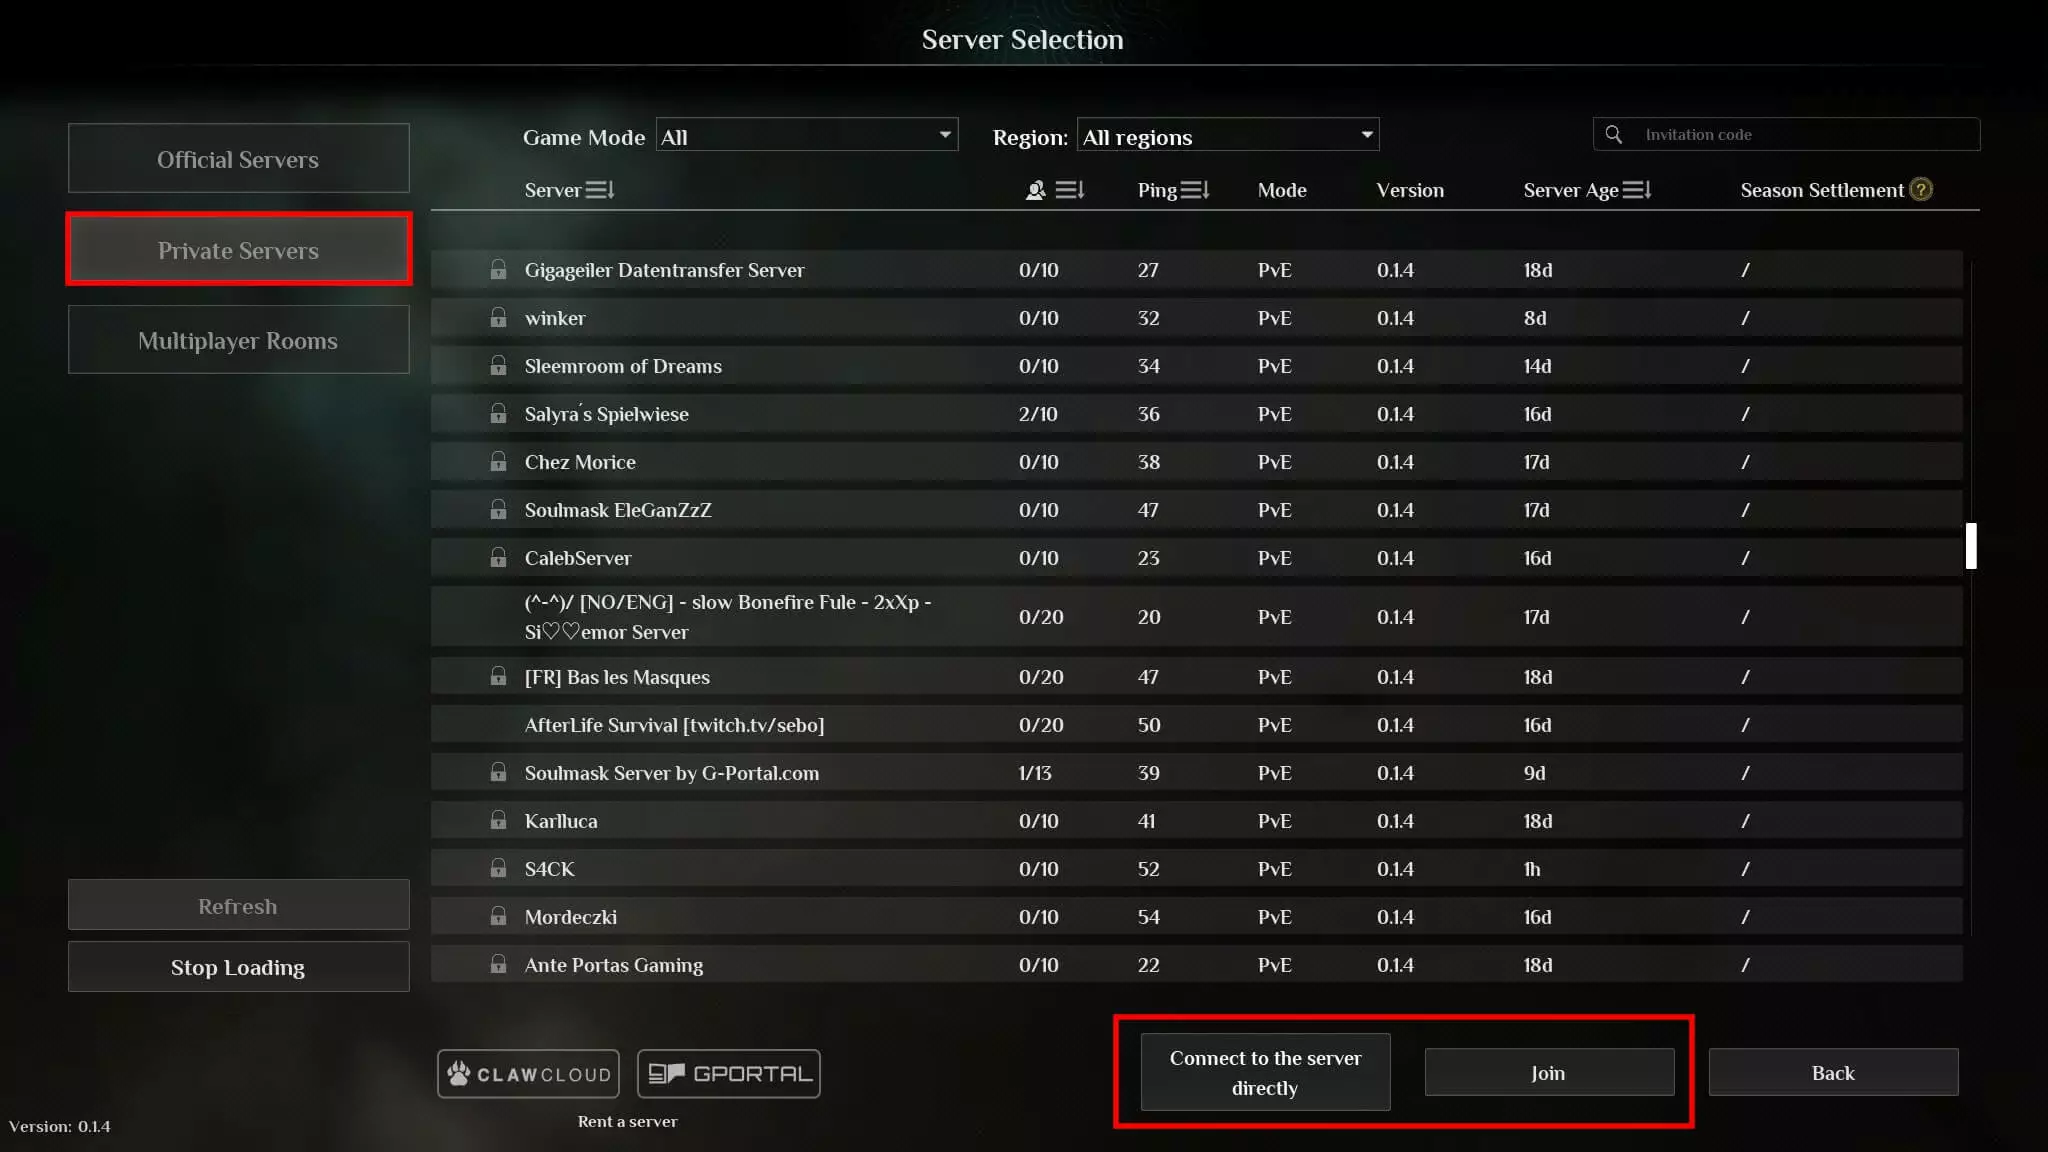
- Click on Online game in the main menu.
- Select the item Private Servers.
- Search for your server using the filter function and click on Join.
- Alternatively, you can use the Connect to the server directly option. Here you enter the IP address and port. Then, a connection to the server is established.

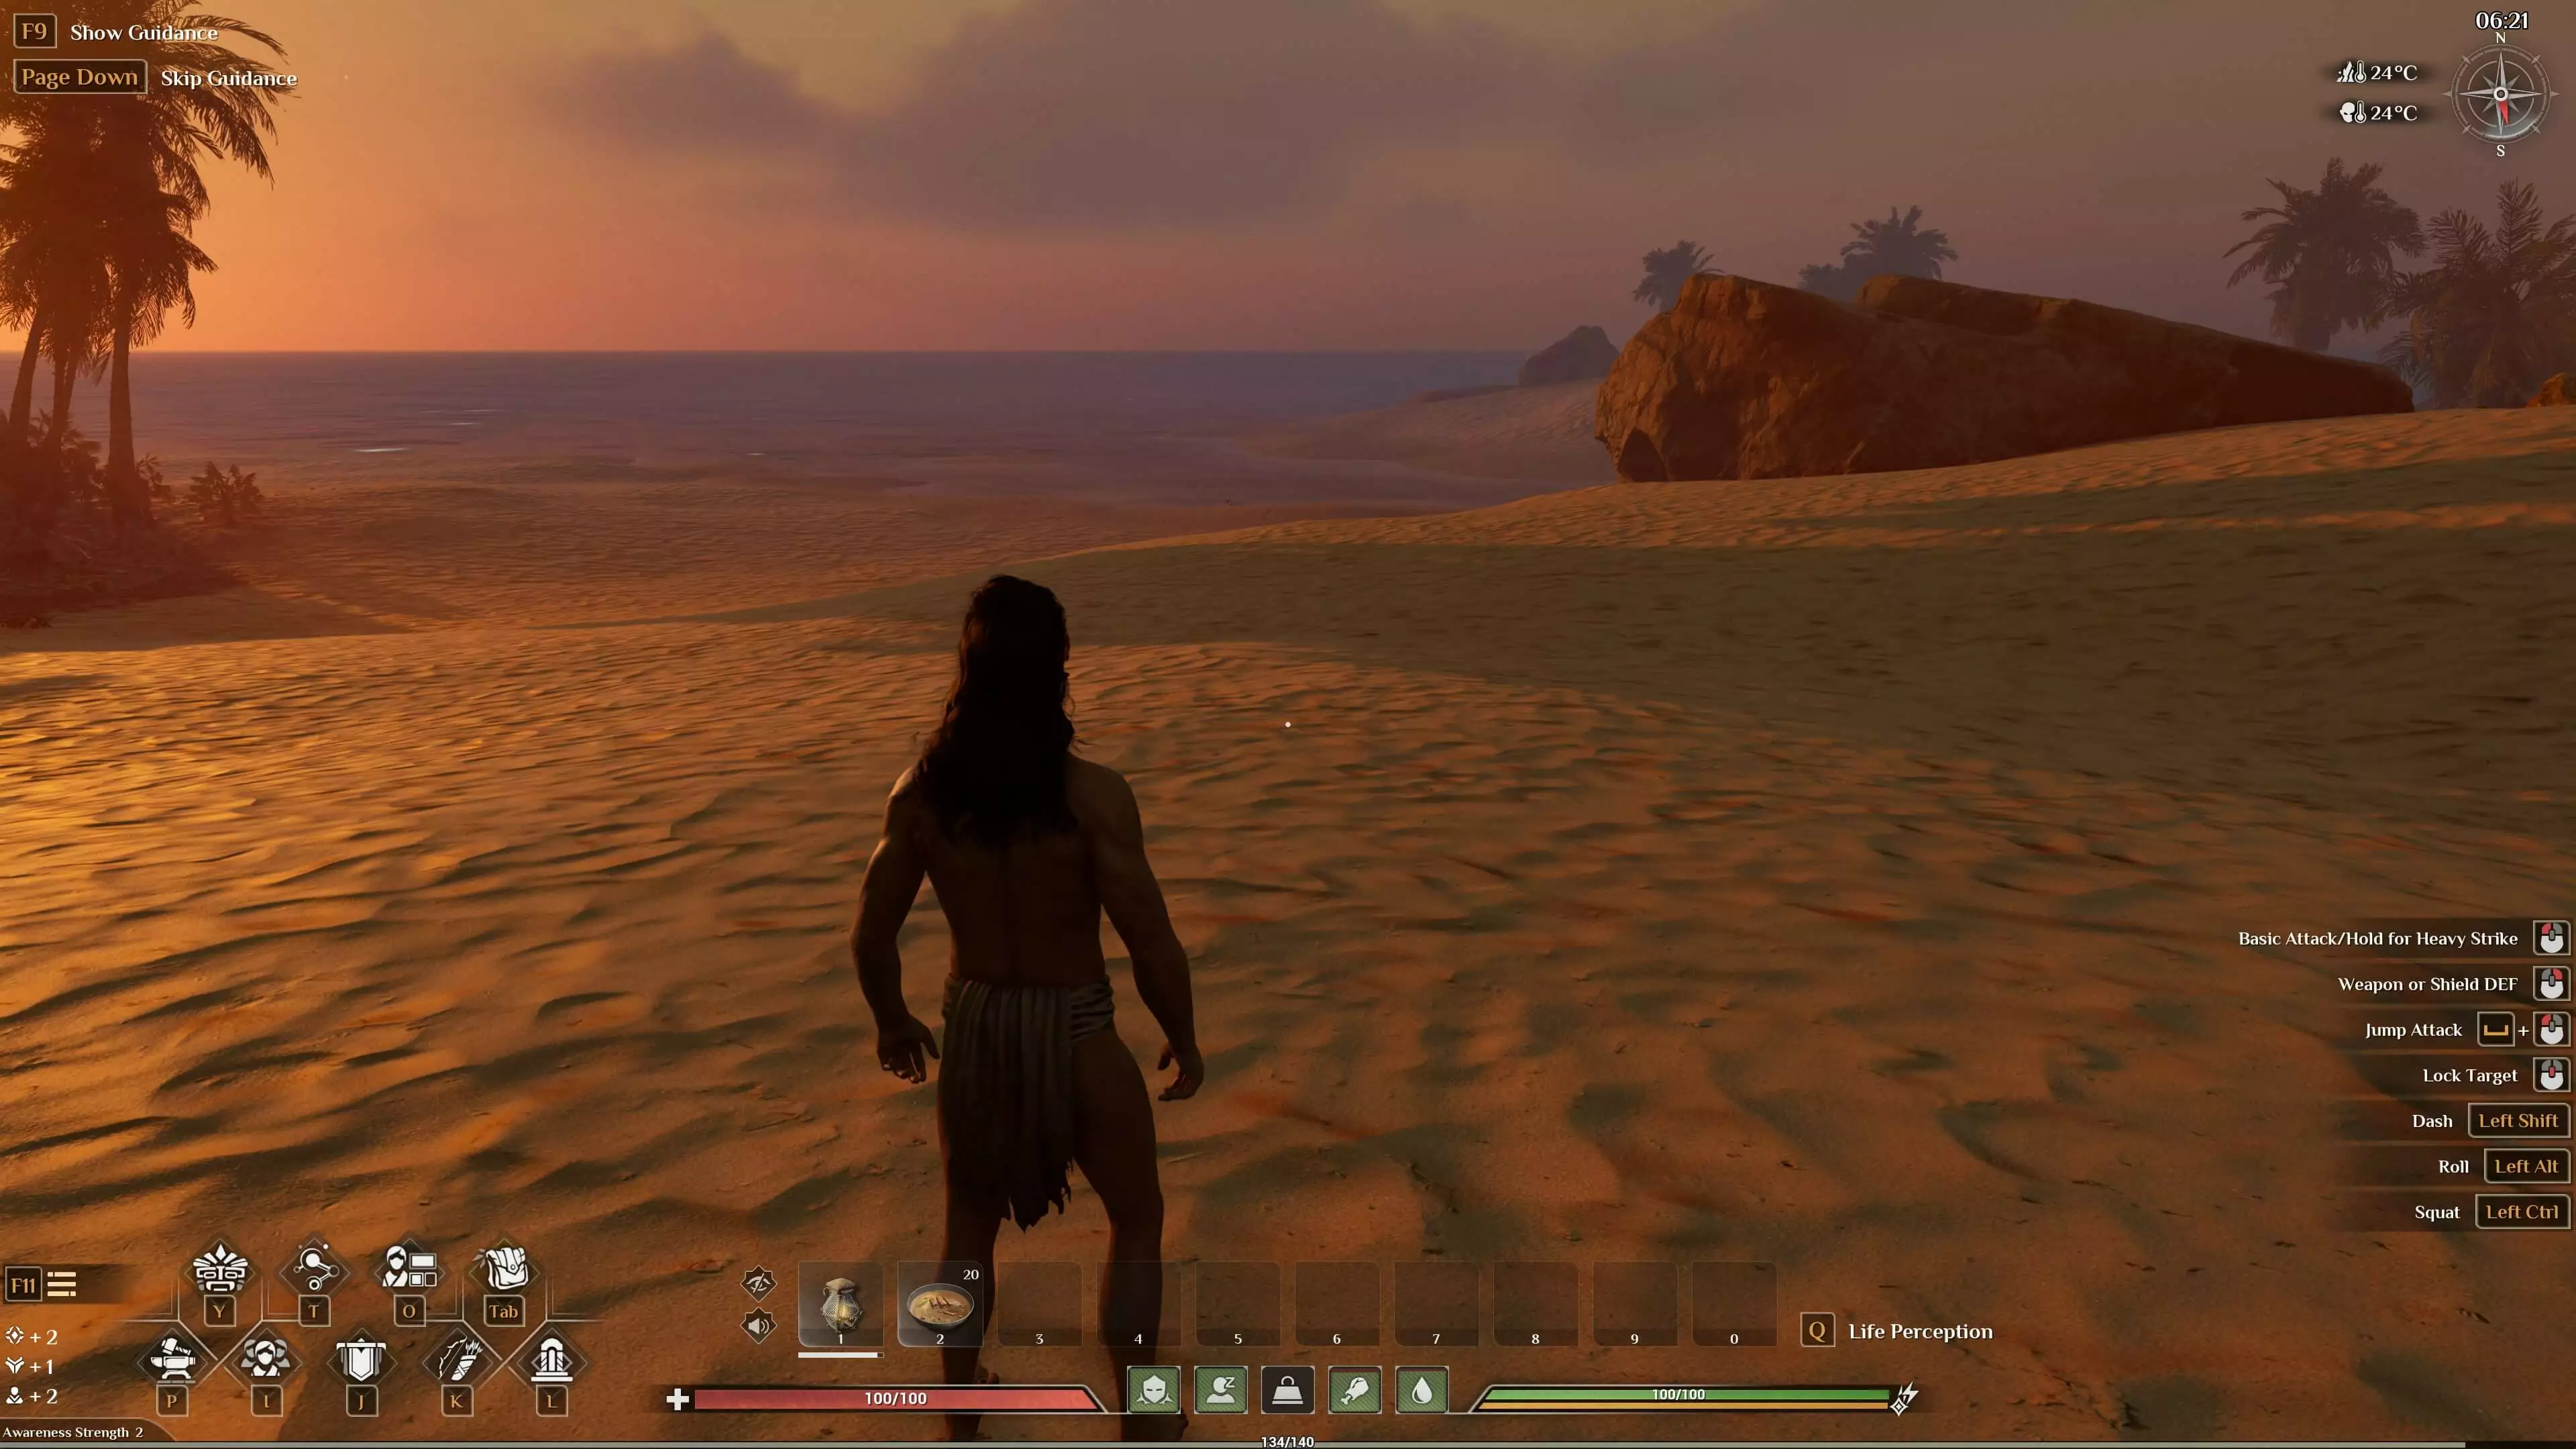
After a short connection setup and the creation of your individual character, fun in the colourful fantasy world can begin!

Register a customised .gg domain with IONOS and give your Soulmask server a memorable, easy-to-read address!

