How to create and host your own Palworld server
With a dedicated Palworld server, you have full control over the game world, player base and modifications. As soon as you have the hardware ready, you can install the required server application via SteamCMD or the Steam client.
What are the requirements for a Palworld server?
While it’s possible to set up and host a dedicated server for Palworld on your own computer, the server application is relatively resource-intensive. Due to the large size of the game world, it’s best to host the server on external hardware. Hosting with a professional provider will give you the best gaming performance as it not only gives you access to high-performance server resources, but also professional support. You’ll also benefit from a fast broadband connection, which is much quicker than your internet connection at home.
You can use rented server hardware in a variety of ways. In addition to a game server from IONOS, you can also install and host your own TeamSpeak server on it.
Palworld server requirements can vary depending on how many players are connected to the server at the same time. The minimum requirements for a Palworld server are:
- Processor (CPU): minimum 3.8 GHz (dual core)
- Memory (RAM): minimum 6 GB, plus an additional 2 GB per player
- Hard disk space: 30 GB
In addition to the requirements above, there are also server operating system requirements. For a Windows Server 2022, for example, an additional 1.4 GHz in processor performance, 2 GB RAM and 36 GB hard disk space (512 MB and 32 GB without graphical user interface) are required.
The high RAM requirement is due to the Palworld game world being so large. The development team recommends restarting the server regularly to reduce the load on RAM.
What options does IONOS offer for hosting a Palworld server?
Various providers offer a range of server hosting options for Palworld. With IONOS, you can choose between three different server types for hosting games with a dedicated server:
- Cloud server: IONOS cloud servers offer the perfect introduction to hosting. All resources are virtualised and flexibly scalable. Billing is calculated to the minute.
- vServer/VPS: IONOS vServers also rely on virtualisation (fixed host system). The monthly costs for this server model are fixed, regardless of how much the server is used.
- Dedicated server: When you opt for a dedicated server from IONOS, you receive enterprise-grade hardware without the use of virtualisation. Just like with the cloud server option, billing is calculated down to the minute.
Whichever IONOS server package you choose, you’re guaranteed a fast server connection of up to 1 Gbps and a server uptime of 99.9%!
Try out your VPS for 30 days. If you're not satisfied, we'll fully reimburse you.
3 Palworld scenarios and suitable IONOS servers for the job
Unsure which server type and which package is suitable for your gaming habits? Below we present three possible usage scenarios for your own Palworld server, including the most suitable server packages from IONOS.
| Palworld server scenario | Suitable IONOS server with Windows |
|---|---|
| 2–4 players; server permanently online | VPS Windows XL |
| 5–8 players; server permanently online | VPS Windows XXL |
| More than 8 players; server permanently online | Dedicated Server AR8-64 NVMe |
How to set up and configure a Palworld server (Windows)
Once you have rented the hardware (or put it together yourself), you can start setting up your Palworld server. The instructions below are for IONOS customers (vServer, Cloud Server, Dedicated), and the operating system used in the instructions is Windows Server 2022.
Step 1: Establish remote connection to the server
In order to install and set up your Palworld server, you need an active connection to the hardware you’re renting from IONOS. The easiest way to remotely connect to Windows Server 2022 is via the Remote Desktop Protocol (RDP). You can set this up quickly and easily in the IONOS Control Panel:
- Log in to your IONOS customer account.
- Click on the Server & Cloud category.
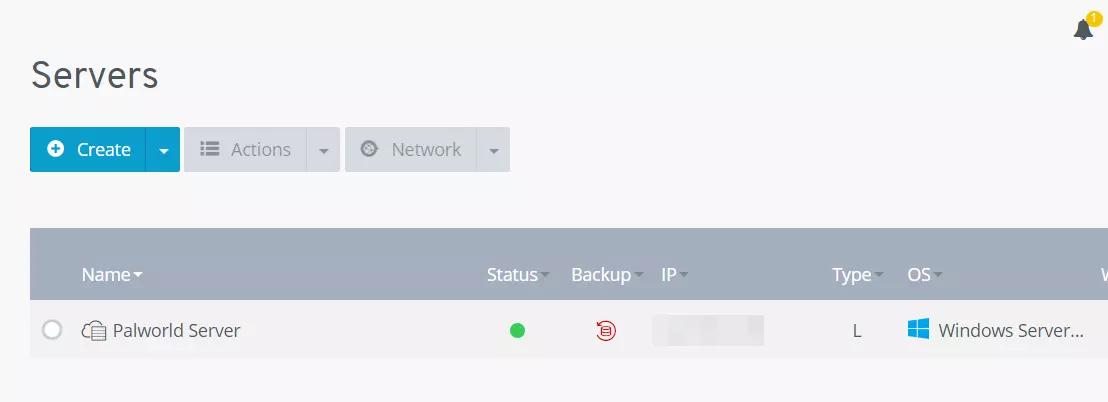
- Select the correct hardware for the Palworld server.
- Click on the download link next to where it says Remote Desktop connection.
- Double-click on the downloaded .rdp file.
- Log in with your individual server data (‘user’ and ‘initial password’) and confirm the server’s certificate to establish the remote connection.

In a separate article in the IONOS Help Centre, we explain how to connect to Windows Server via a remote desktop connection.
Step 2: Install SteamCMD
As soon as the connection to the hardware has been established, you can start setting up the Palworld server by installing SteamCMD on the system. This command-line client allows you to connect to the public Steam servers and download dedicated server applications.
Click on the following SteamCMD download link and unzip the installation package into a folder of your choice, such as C:\SteamCmd. Then execute the unzipped file to install the command-line tool.
Step 3: Download the Palworld server
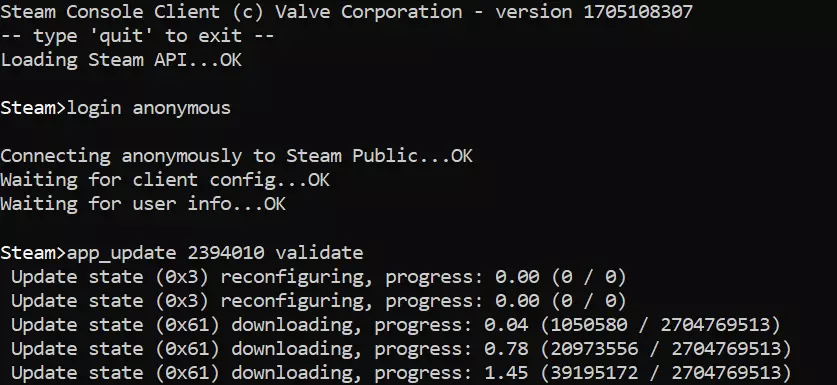
As soon as you execute the file steamcmd.exe, the command-line client will start, and you can connect to the public Steam servers at any time. When it comes to the Palworld dedicated server software, an anonymous login is more than enough. You can log in anonymously using the following command:
login anonymousBy using app_update together with the Steam App ID for Palworld Dedicated Server (2394010), you can download the server software:
app_update 2394010 validate
It is also possible to acquire the Palworld server application via the Steam platform. After installing it on your server, sign in with the account you used to buy Palworld and go to the Library. Select the Tools option by ticking the box. Now, you should find, among other things, the entry ‘Palworld Dedicated Server’.
Step 4: Configure the Palworld server
As soon as all program files have been downloaded, you can start configuring the Palworld server. You will find the required configuration file with the name PalWorldSettings.ini in the following subdirectory of your SteamCMD installation: .\steamapps\common\PalServer\Pal\Saved\Config\WindowsServer. You can use this file to set the difficulty level or make individual settings for parameters such as the spawn rate of Pals or the amount of experience points received.
The most important parameters include the following:
ServerPlayerMaxNum=32: The default maximum player count is set to 32. You can adjust this number to limit the number of players that can play on the server.
ServerName="Default Palworld Server": Assign a unique name to your Palworld server, otherwise it will be shown as ‘Default Palworld Server’.
ServerDescription="": Providing a brief description gives users an idea of the gaming experience they can expect on your server.
AdminPassword="": Assign a unique password for the admin login on your server.
ServerPassword="": Using a server password is recommended for private gaming sessions. That way, only users who have this password can log in.
Make sure to always separate the individual parameters with a comma and then enclose them together in brackets. Before specifying the option settings, there are instructions that state that what follows is a script with server options. Here is a simple configuration example that limits the number of players to 8 and assigns a name to the game server:
[/Script/Pal.PalGameWorldSettings]
OptionSettings=(ServerPlayerMaxNum=8,ServerName="Palworld Server by IONOS")Step 5: Open the ports
In order for players to be able to access your Palworld server, you need to open certain ports in the server firewall. For your Palworld server, these are the port for Steam requests, or more generally for game data traffic (TCP/UDP: 27015) and the server’s public port (TCP/UDP: 8211). With IONOS, you can configure the server firewall in the control panel of your customer account:
- Log in to your IONOS customer account.
- Switch to the Server & Cloud menu and select your Palworld server.
- In the left-side menu, click on Network and Firewall Policies.
- Now create a rule under Incoming for each of the TCP/UDP ports 8211 and 27015.

Step 6: Start the server
After configuring and opening the ports, you can start your Palworld server. To do this, execute the file PalServer.exe in the start folder of the server directory .\steamapps\common\PalServer. A command prompt window will open to let you know that the server has been started.
Step 7: Connect to the newly created Palworld server
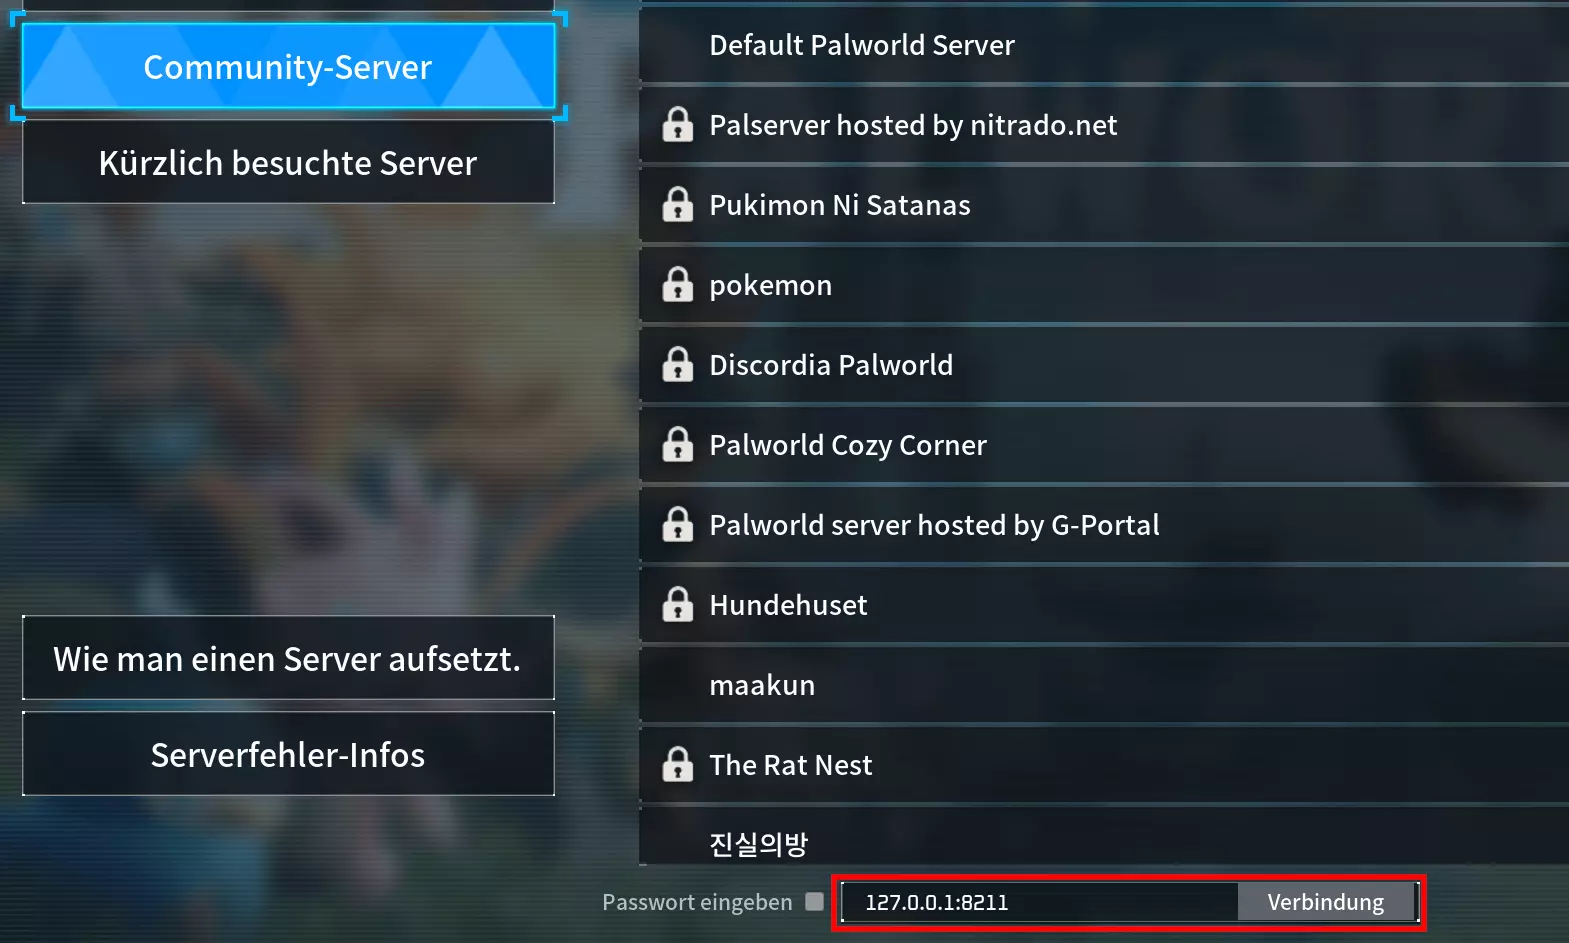
You and your fellow players can now connect to the server at any time, create characters and hunt Pals. If you cannot find your server in the official list, you can find it by entering the IP address:
- Launch Palworld.
- Click on Join Multiplayer Game.
- Then go to the Community Servers category.
- Find your server using the search function. Alternatively, type the server’s IP address along with the port
:8211into the input field below and click on Connect.

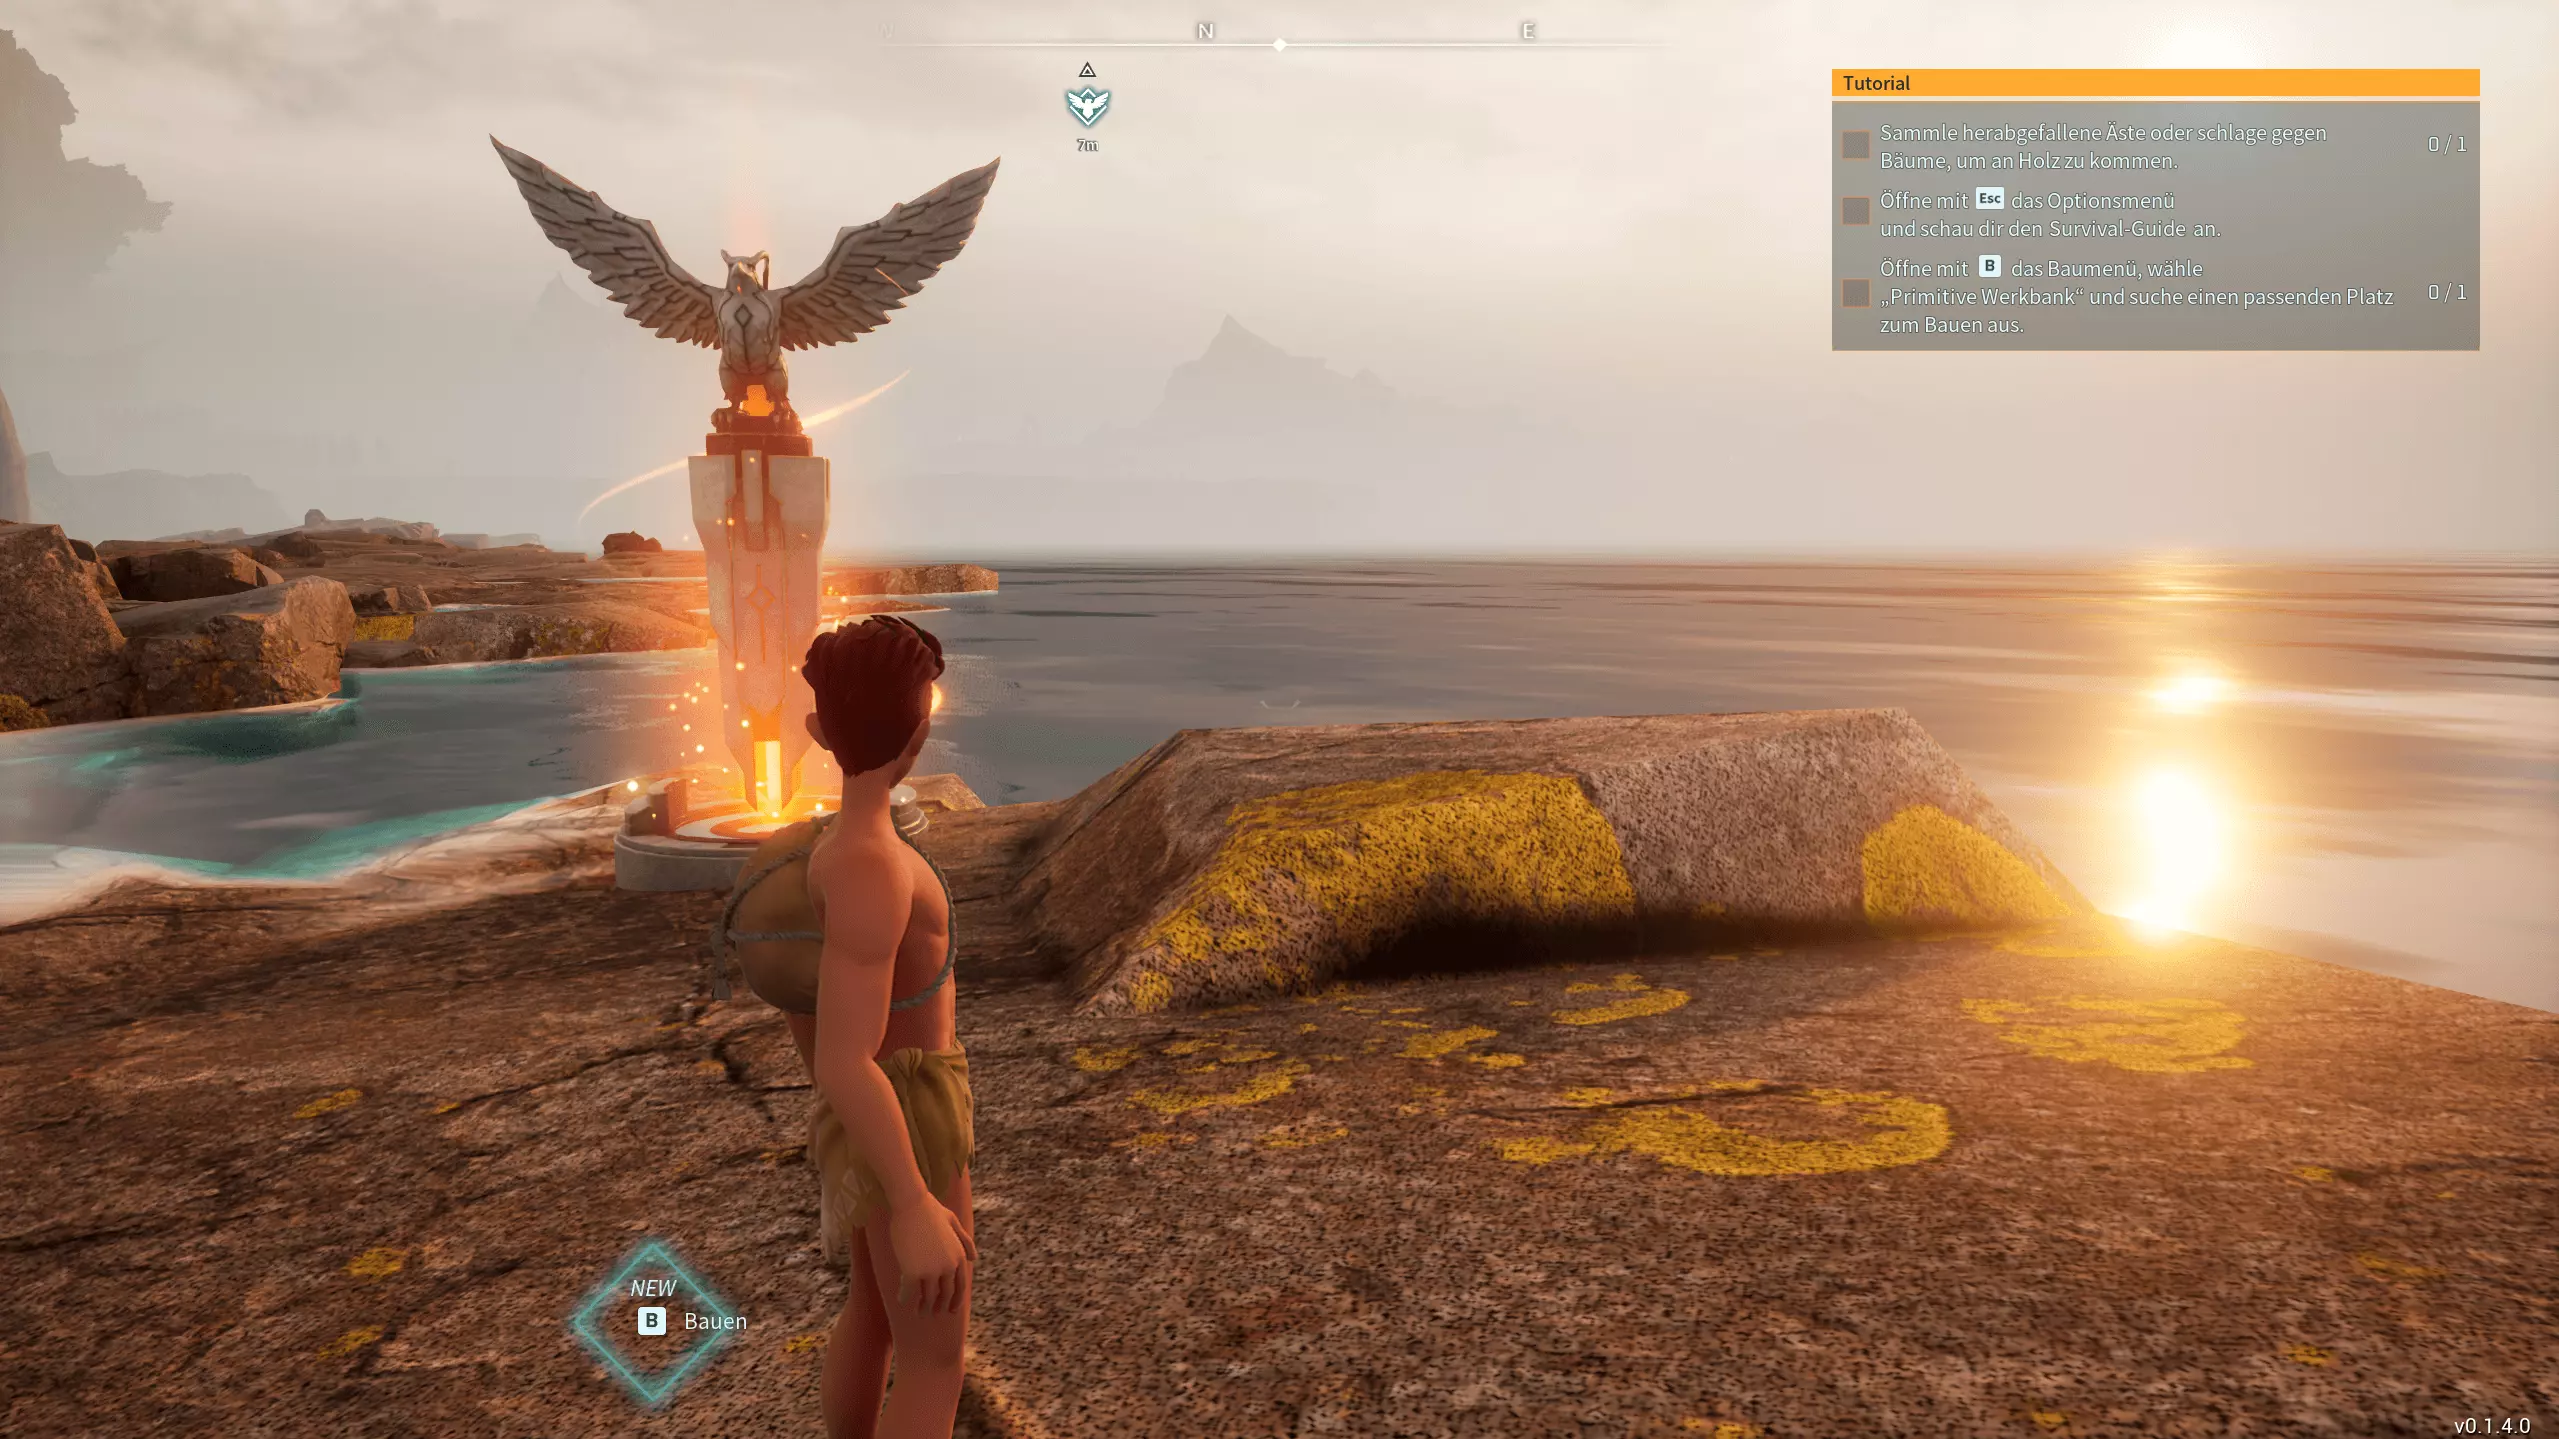
After successfully establishing a connection, it’s time to create your character. Once your have your character, select one of the starting points and then you and your friends will be ready to embark on an adventure!

Make your server even more unique by registering your own server address with a suitable domain extension such as a .gg domain!

