Changing startup programs in windows 8: A step-by-step guide
Some programs start automatically when you turn on your PC. This ensures that the most important applications are running as soon as the operating system is booted up and you’re ready to use your computer. This feature also prevents you from having to start your favourite programs manually every time you turn on your PC. On the other hand, some programs automatically add themselves to the startup folder when you install them. That isn’t always desirable, especially if don’t use these applications that often. You can change the startup folder to meet your needs. That way you can get to work faster and your computer will perform better. We’ll show you how to change startup programs in Windows 8.
What are the benefits of changing the Windows 8 startup folder?
It can be very useful to add some applications to your Windows 8 startup folder. Thanks to the startup folder, you don’t have to open frequently used programs on your own. This saves time and simplifies your work routine. At the same time, you can easily remove unwanted programs from your startup folder. This frees up resources on your computer and allows it to boot faster. One thing that can really slow down the startup process is annoying malware, which tends to run from the startup folder.
But there are other applications that you should always have in your startup folder. These include important system programs for your operating system, for example. Your anti-virus software should also run automatically when you boot up to make sure your computer is protected as soon as possible.
How do you open the Windows 8 startup folder?
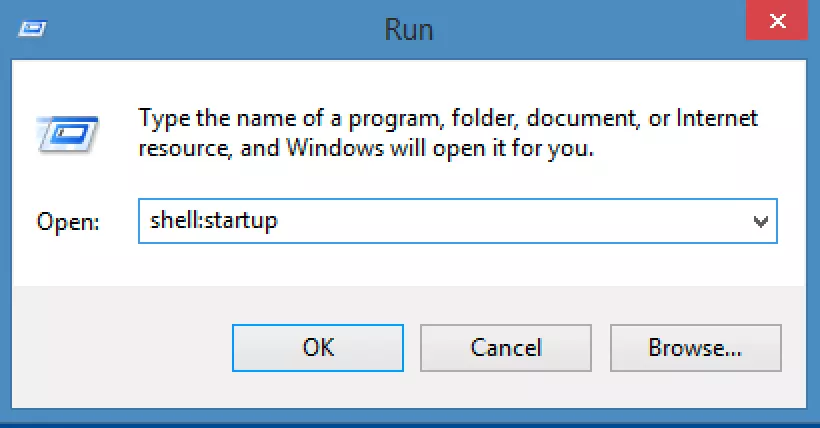
The startup folder is located in the Users directory. The easiest way to find the folder is to use the Run dialogue. You can do this in two short steps:
- Use the keyboard shortcut [Windows] + [R] to open the dialogue box.
- Type in the following command in the dialog box: shell:startup
Windows 8 startup folder: Adding and removing programs
There are several ways to add new programs to the startup folder or to remove unwanted programs.
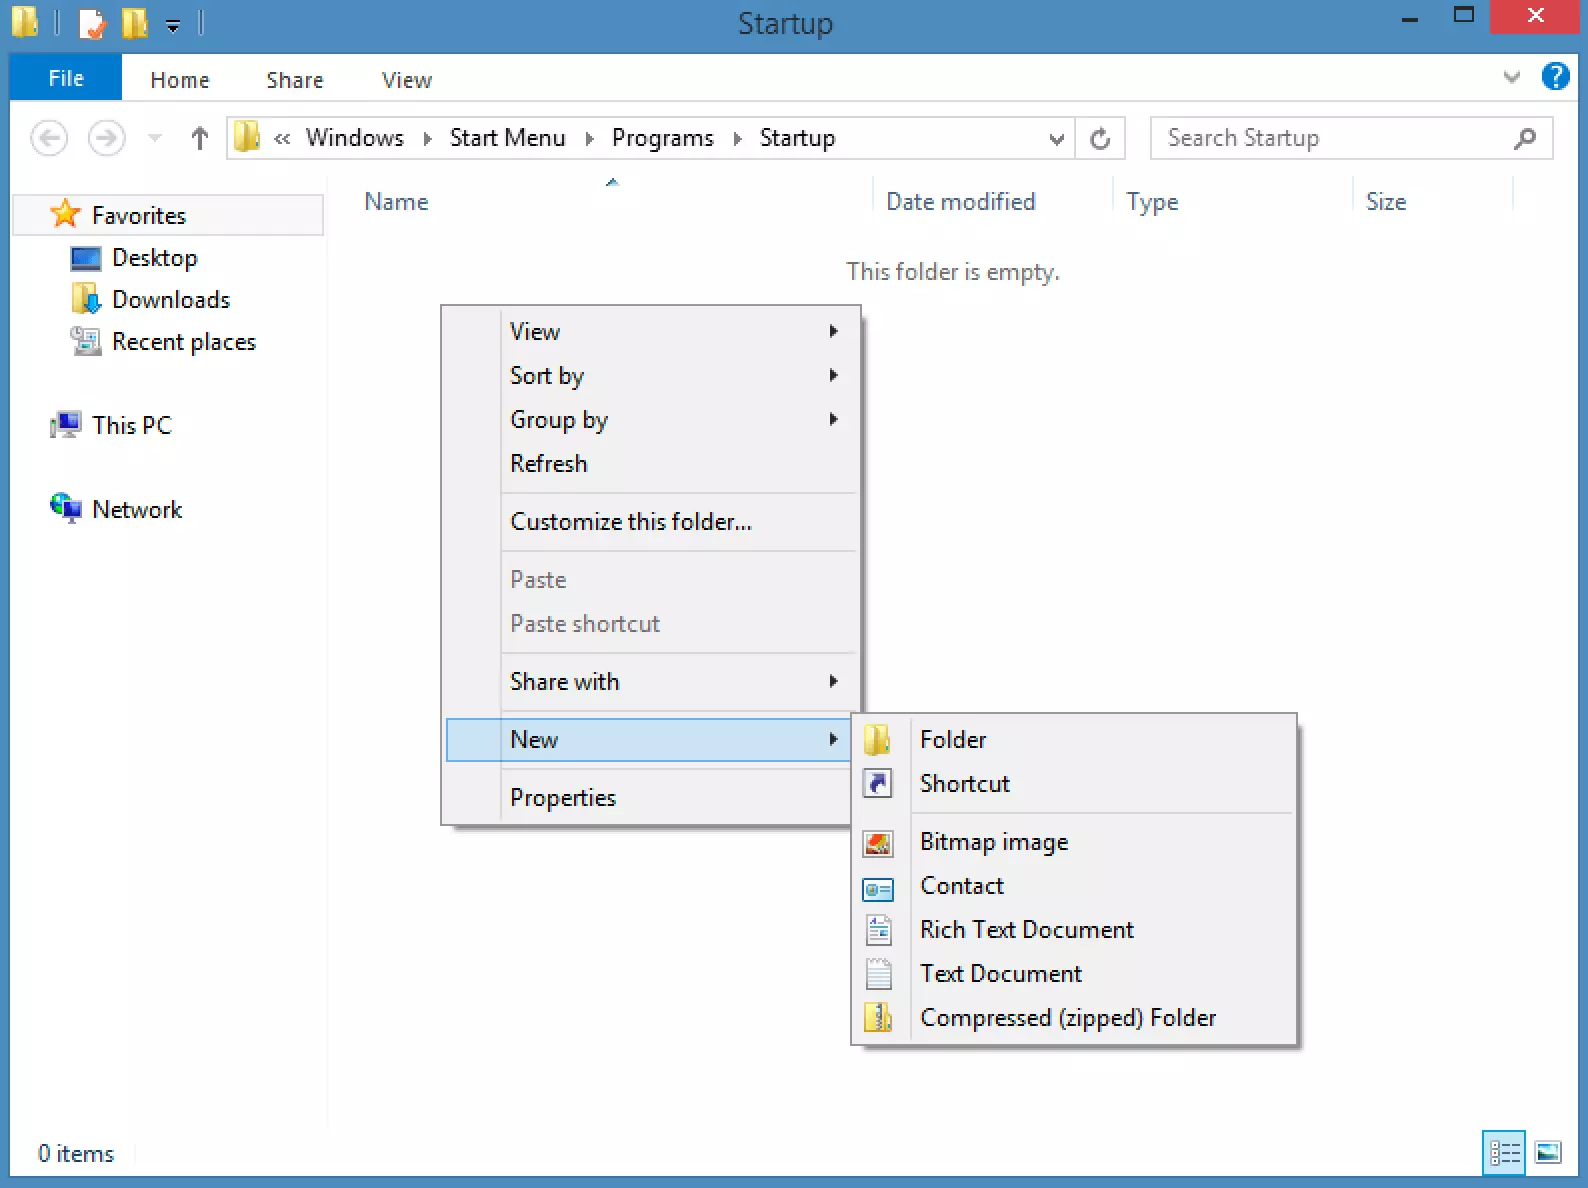
- The first step is always to open the startup folder, as shown above.
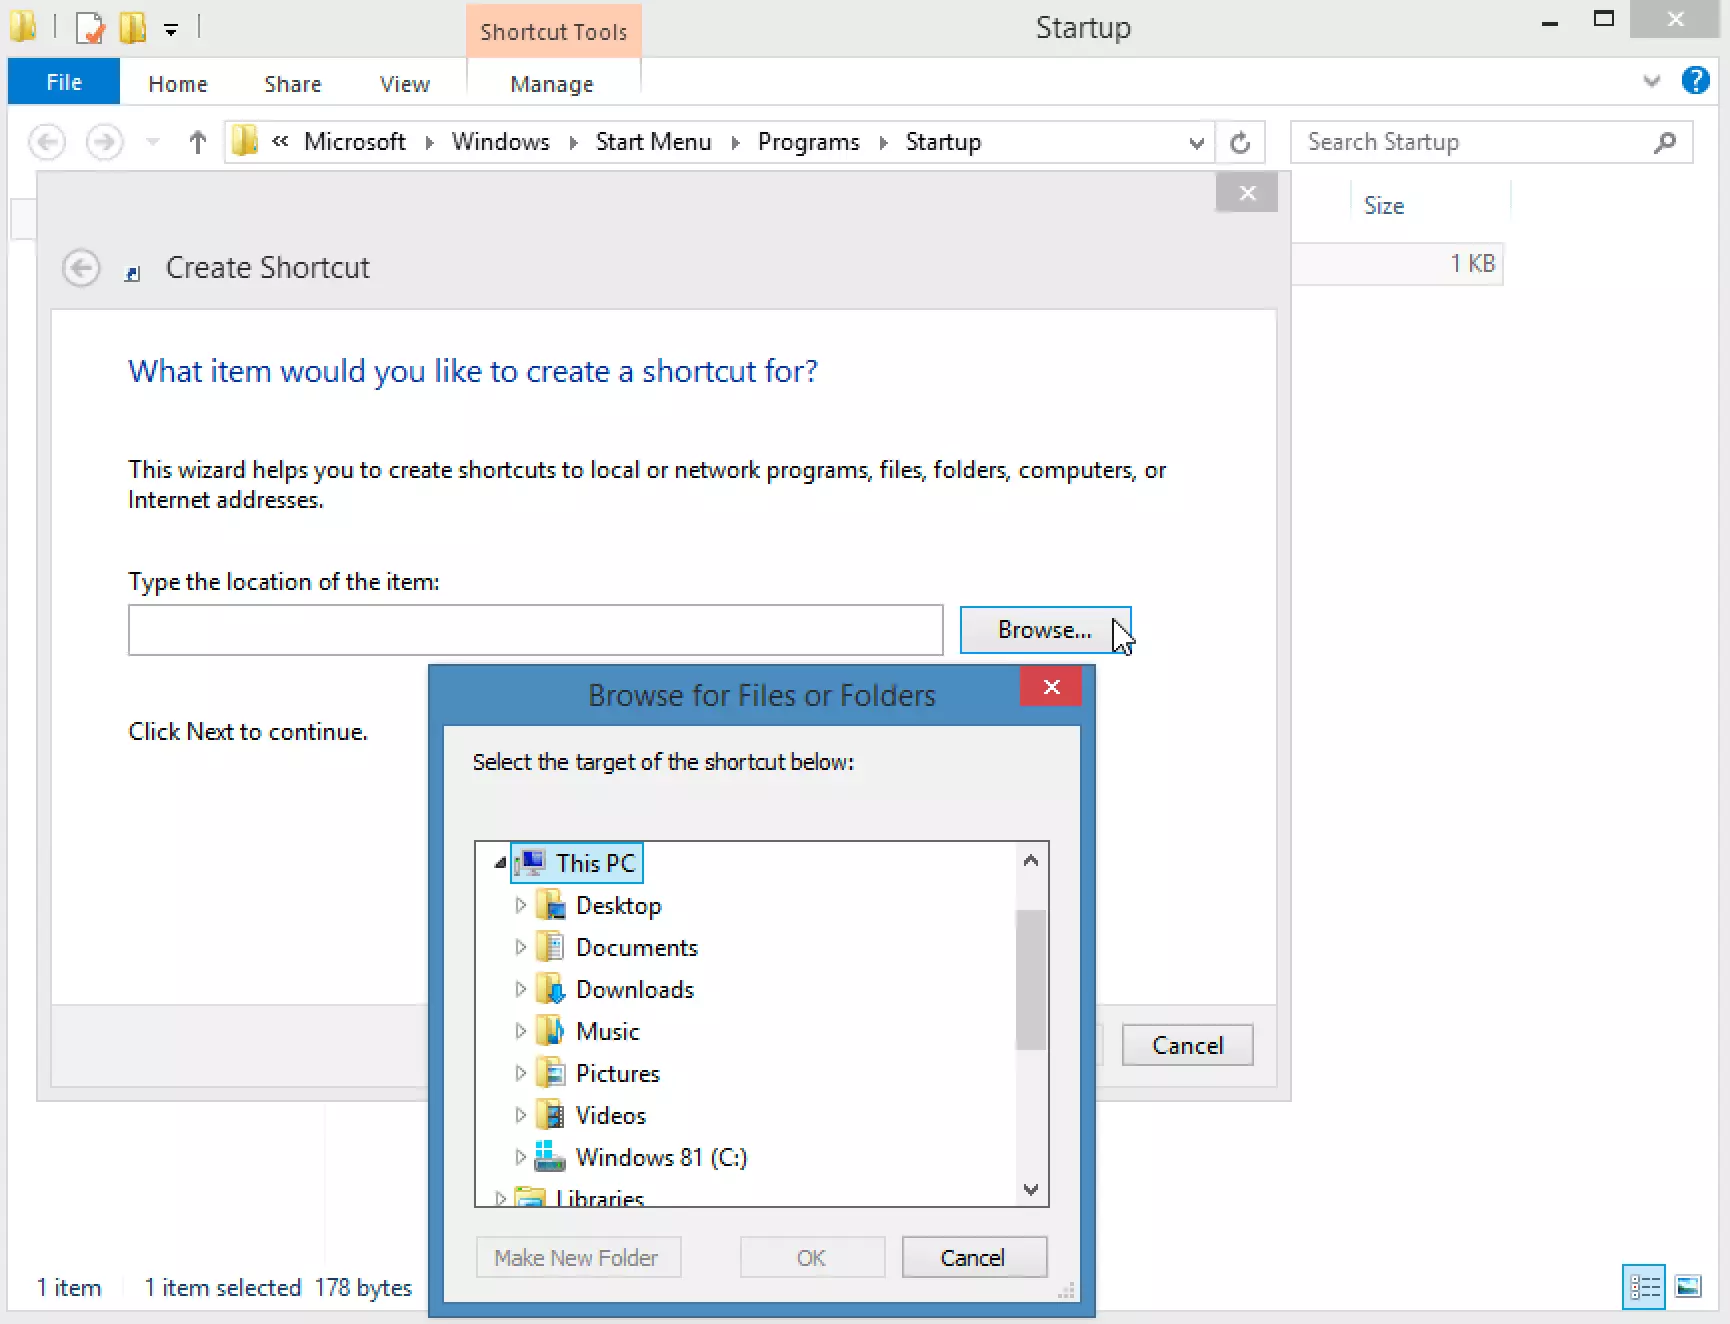
- Next, right-click and select New and Shortcut.
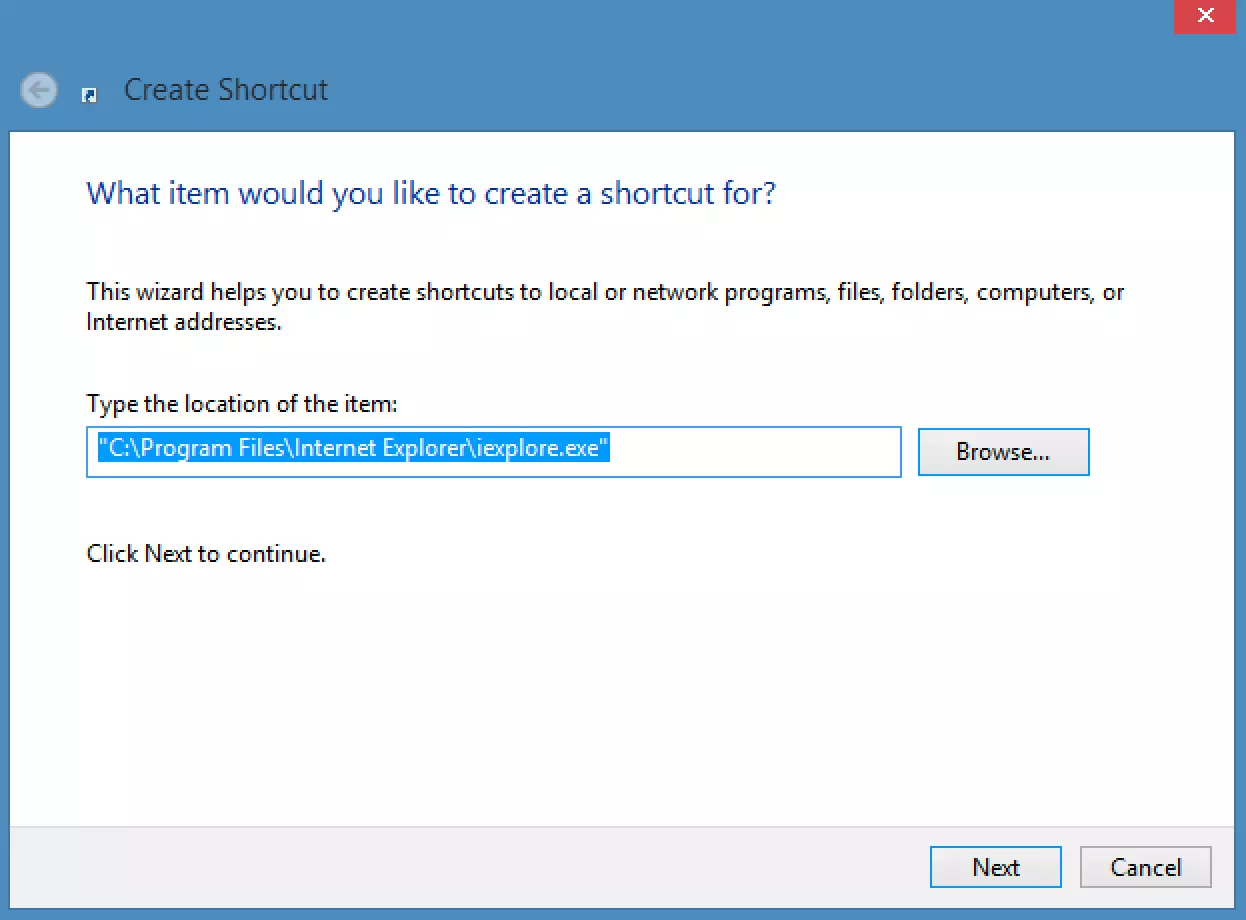
- In the directory structure that appears, select the program for which you want to create a shortcut. Note: You must choose a file with the .exe extension.
- Choose a name for the shortcut and then click Finish. The new shortcut has now been saved to the startup folder.
- If you want to remove programs from the Windows 8 startup folder, you simply delete the shortcuts for these programs. To do this, right-click the shortcut you want, then click Delete.
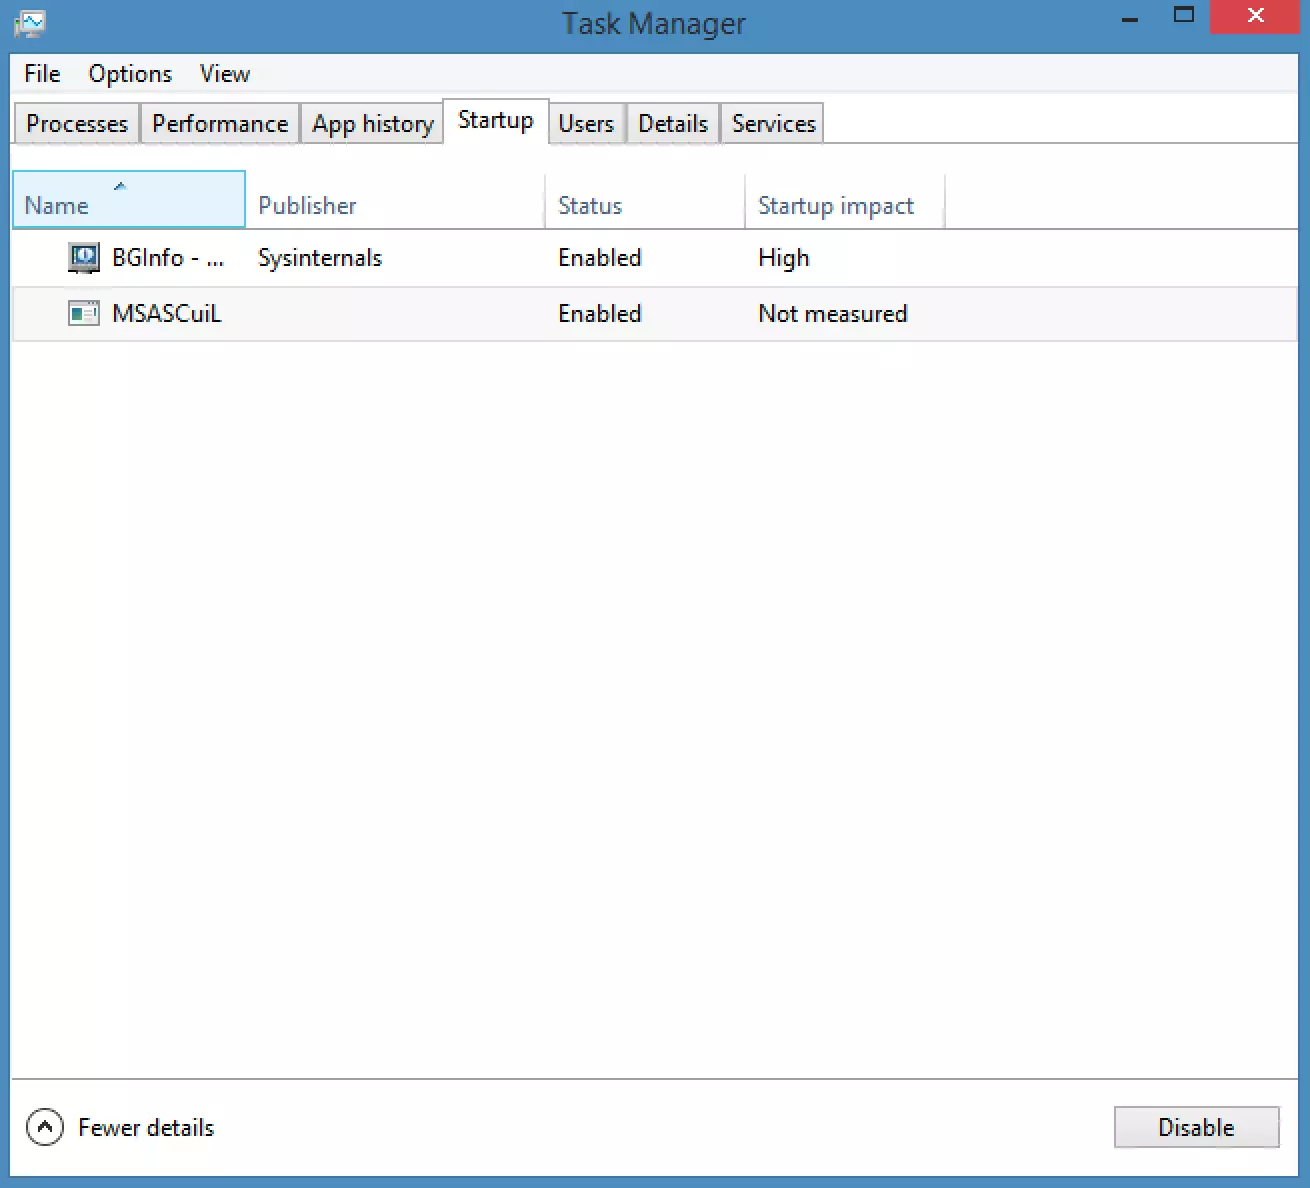
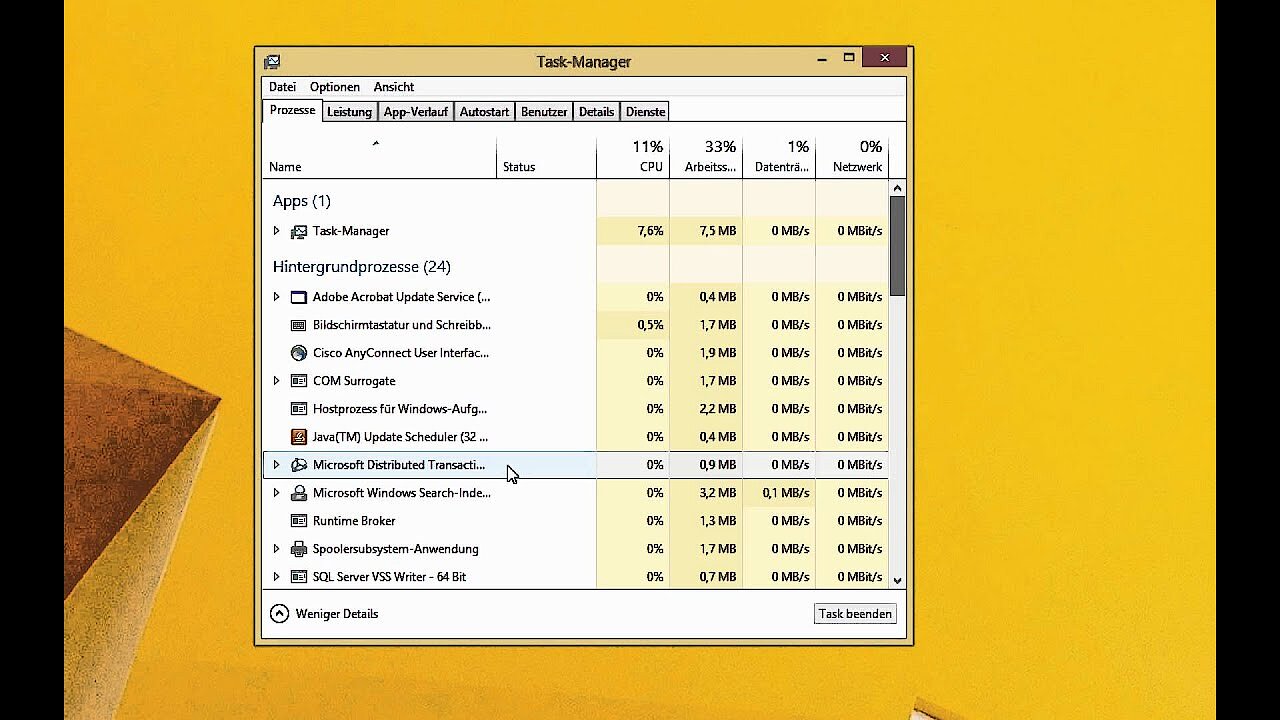
You can also use the Task Manager to change the programs in the startup folder. You can open it by pressing [Ctrl] + [Alt] + [Delete]. The Startup tab lists all programs that run when the computer is started. Unlike the startup folder above, the “Startup” tab in the Task Manager mainly lists system programs. You can remove a program from the startup list by clicking on the program and choosing the Disable button.
In this tutorial, you’ll learn how to remove programs from the startup folder using the Task Manager.
We also explain how to change the startup folder in Windows 7 and the startup folder in Windows 10.


