0x80240fff: troubleshooting the Windows Update error
Problems with Windows updates are extremely common. For example, error 0x80240fff occurs in Windows 10 when your system has problems finding available updates. Possible causes include a corrupted update cache or a failure to connect to Microsoft’s update servers.
Fixing error 0x80240fff with the Windows Update troubleshooter
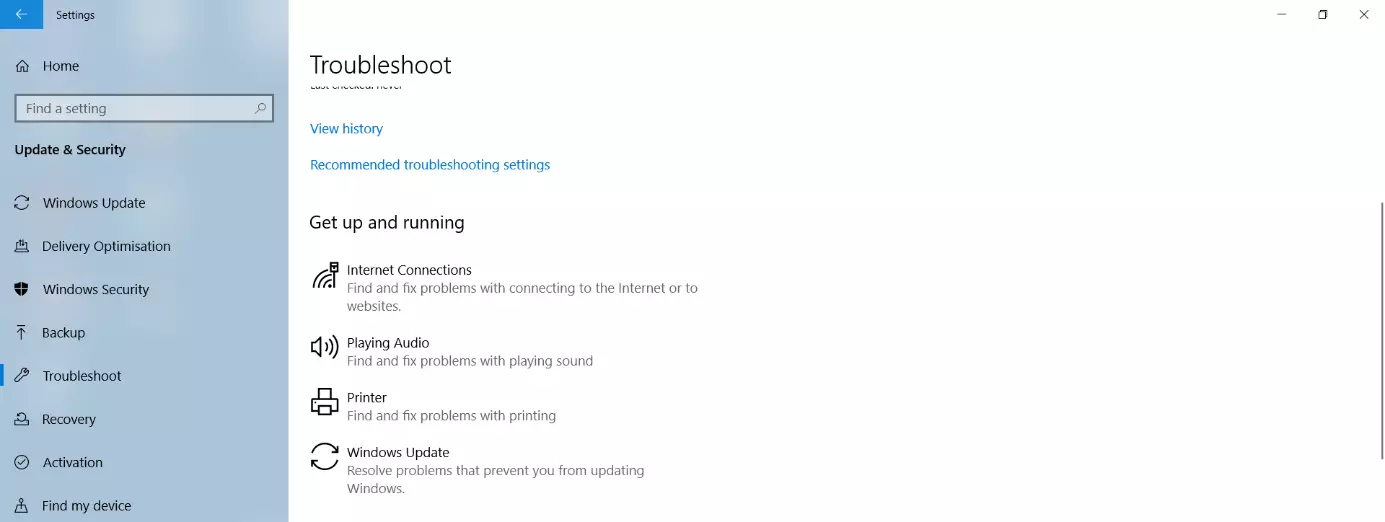
Microsoft is aware that the Windows Update Center is always causing new problems that prevent users from implementing improvements by installing new updates. That’s why there’s a tool under Update & Security > Troubleshooting in the Windows 10 settings app that automatically fixes most errors in the Windows Update system.
You can open the Windows settings app by choosing the Settings icon in the Start menu or by pressing the Windows key + i.
Run the troubleshooter to fix the 0x80240fff error using this approach. In most cases, all you have to do is wait. The troubleshooter runs automatically and requires no further action on your part. When it finishes, a message appears notifying you whether the problem could be fixed.
Error code 0x80240fff: fixing the problem by checking your network connection for Windows Update
Various applications and settings can interfere with the connection to Microsoft’s update servers. The internet connection itself may also be the cause of the 0x80240fff error. The following possible scenarios are the most common:
- Your internet connection is heavily strained by streaming services or large downloads by other devices in your local network.
- In areas with poor internet service, available bandwidth can be lower during the evening hours, when multiple neighbours are using streaming or other services.
- Wi-Fi connections tend to be much more unreliable than Ethernet connections, so you’re more likely to have problems when installing an update over a Wi-Fi network.
In many cases, it helps to simply wait and repeat the update at a later time. If you’ve ruled out your internet connection as the source of the problem, you can optimise your software and settings:
- Turn off third-party antivirus software and firewalls.
- Close third-party VPN software. This software may interfere with updates even if you’re not connected to a VPN.
- Also close all other active programs if you receive the 0x80240fff error message.
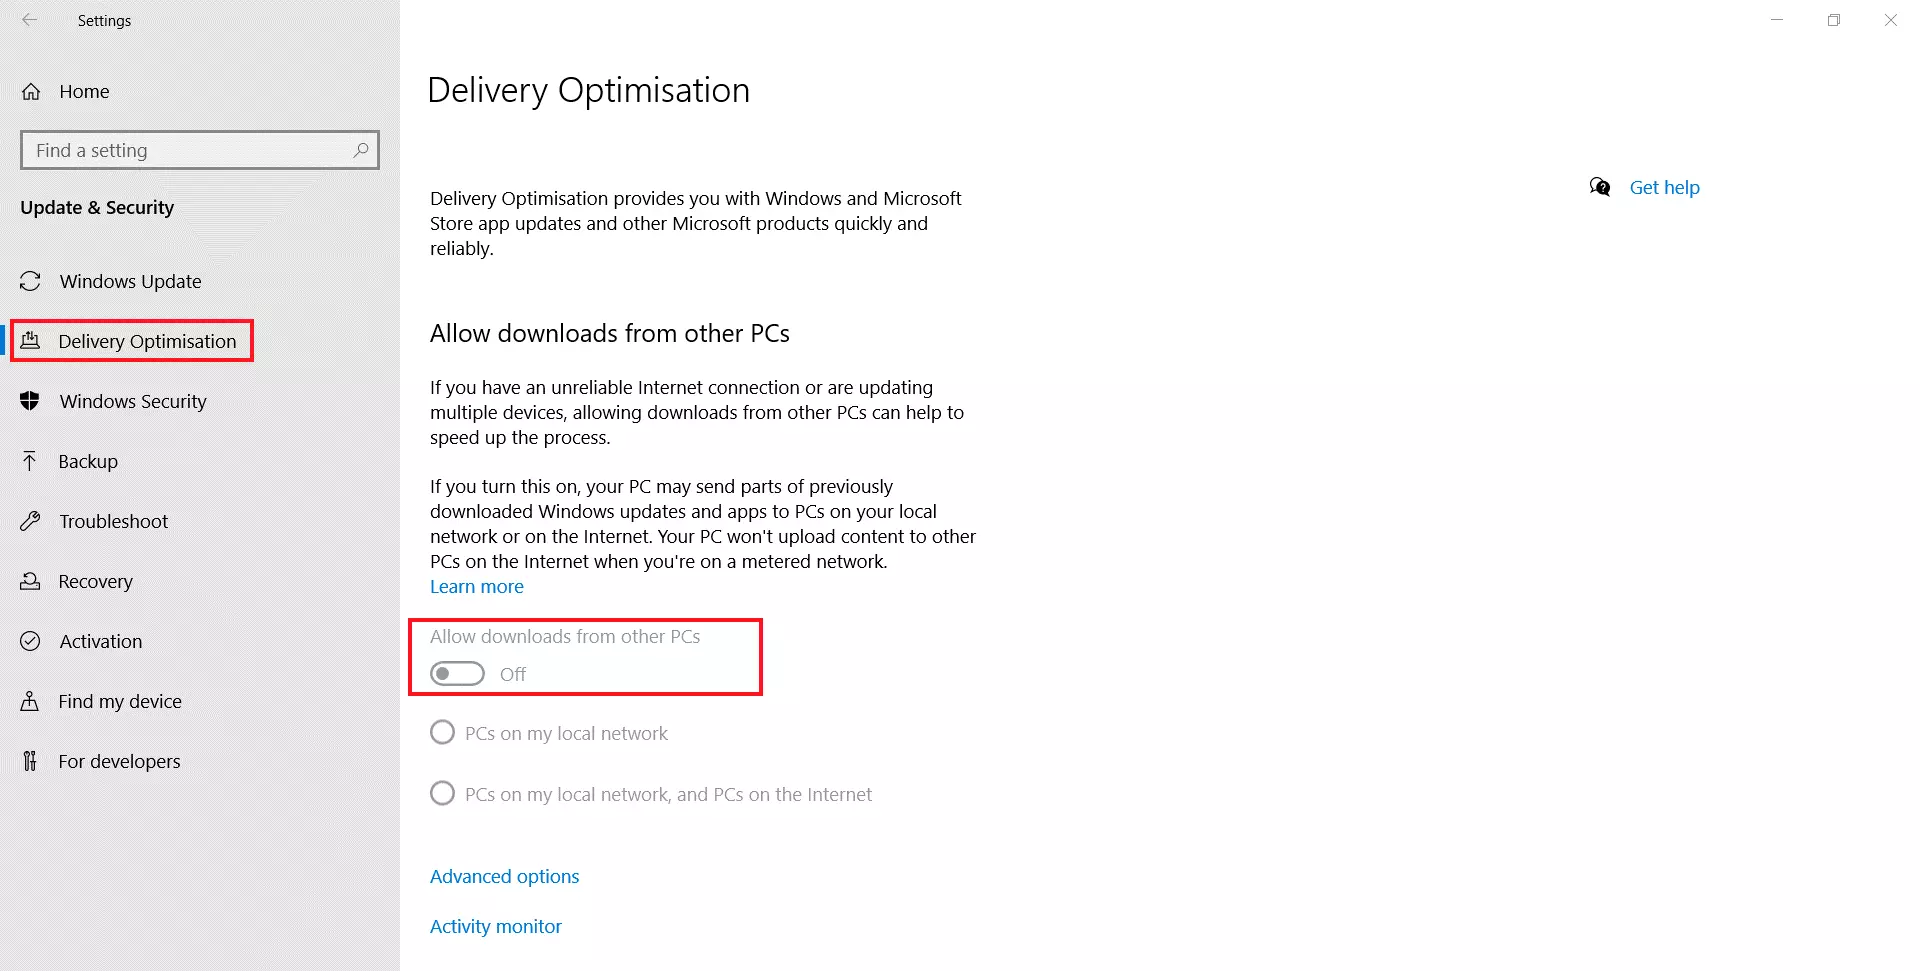
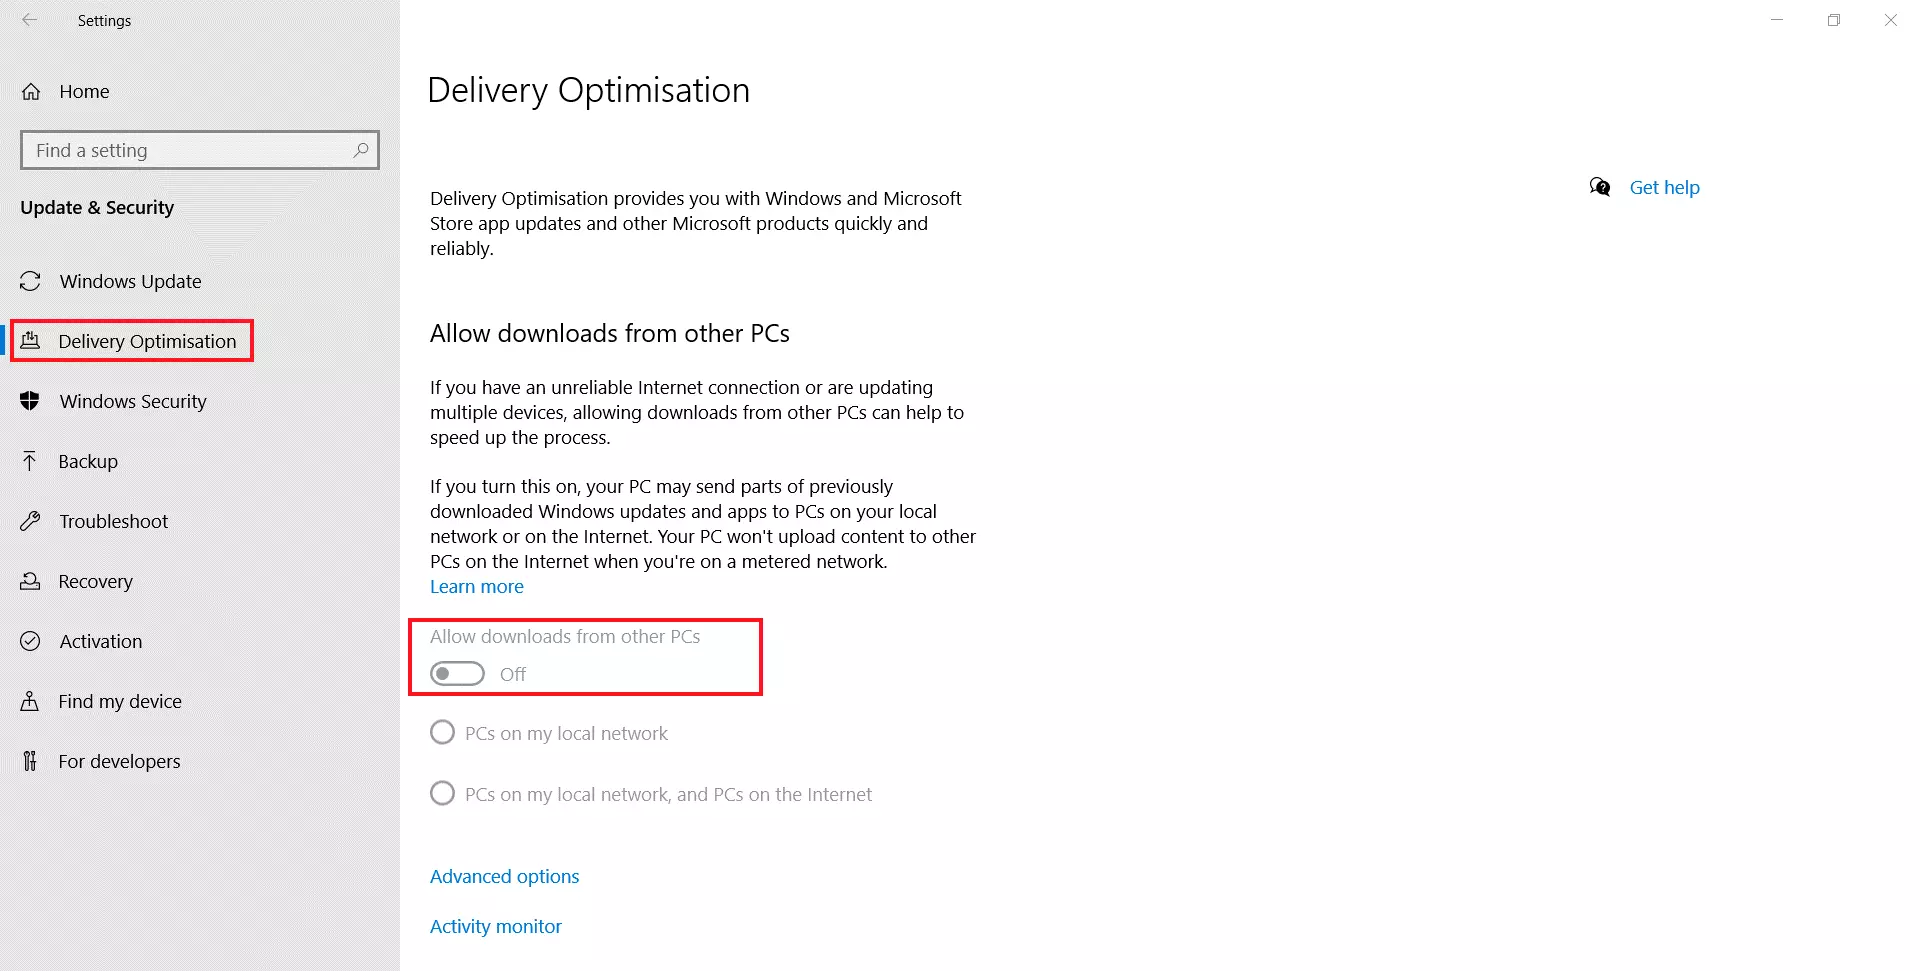
- In the Windows settings app, go to “Update & Security” > “Delivery Optimization” and disable the “Allow downloads from other PCs” option.
- In the same menu, go to Advanced Options and turn off all four options for limiting bandwidth.
- Next, right-click the Windows logo in the taskbar to open the Start menu. Choose Computer Management.
- In the sidebar on the left, go to “Services and Applications,” choose Services, and look for Background Intelligent Transfer Service in the main window in the centre of the screen. Start this service under “More actions” in the sidebar on the right. If the service is already running, choose “Restart.”
Fixing error 0x80240fff using the Reset Windows Update Tool
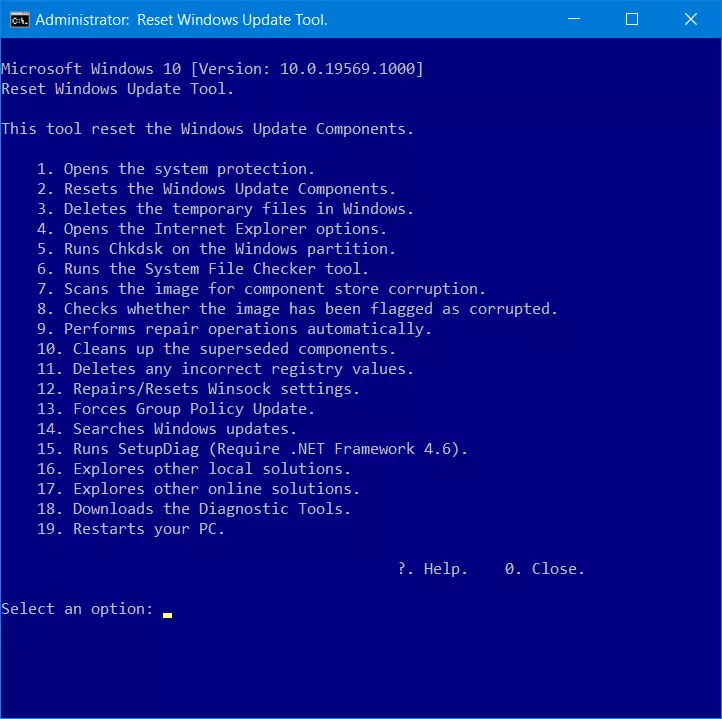
Microsoft has collected various tools for troubleshooting update problems in the Windows support database and grouped the most important functions in the Reset Windows Update Agent or Tool. This suite helps if basic troubleshooting for Windows Update fails.
To use the option, download and run the Reset Windows Update Tool in the Script Center hosted by Microsoft. To do this, unzip the downloaded ZIP file in a folder on your hard drive. The folder contains the ResetWUEng.cmd script file. Right-click the file to run it as an administrator.
Turn off third-party security software before you do this because these applications often block access to highly sensitive system components.
Run the individual components of the troubleshootinGoogle Workspace by entering numbers. To resolve the 0x80240fff error, you should run components 1 through 14 one at a time. In most cases, the error will not reappear during future updates.
Fixing error 0x80240fff using the command line program
Error code 0x80240fff can be caused by a corrupted update cache. To fix this problem, you can clean up the cache as follows:
- Right-click the Windows logo in the taskbar to launch the Start menu. Select Command Prompt (Admin) or Windows PowerShell (Admin). Depending on your Windows configuration, only one of these options will be displayed.
- Stop the automatic update service by entering the command net stop wuauserv.
- Use the following command to rename the update cache folder: ren C:\Windows\SoftwareDistribution SoftwareDistribution.OLD (if Windows is installed on a different drive on your PC, replace the drive letter accordingly).
- In the same command line window, run the System File Checker by entering the command sfc /scannow. This command line tool takes a few minutes to scan and repair the system files.
- When the check is complete, start the automatic update service again by entering the command net start wuauserv.
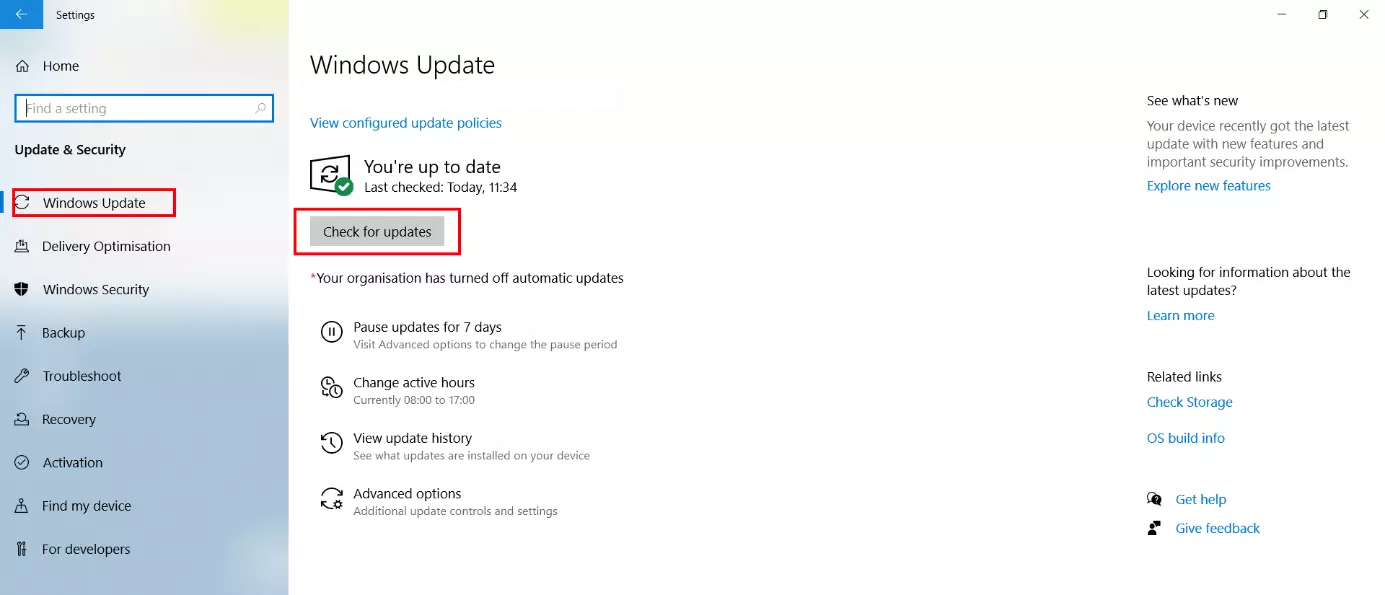
Then go to the Windows 10 settings app and open the Update & Security page. In many cases, this page will immediately display one or more updates to install. If not, click “Check for updates” followed by Download.
In many cases, it can help to restart your PC and check for updates again.


