Clear DNS cache: how to empty the DNS resolver cache
A regular DNS flush is useful for several reasons. In Windows, macOS, and Linux distributions like Ubuntu, the web address cache is cleared in a few steps.
Clear DNS cache in Windows, Mac, and Linux – here’s how
Each operating system deals with internally stored entries for address resolution differently. To clear the DNS cache because, for example, the DNS server is not responding, you need system-specific tools and commands. Here are some instructions for the most important representatives.
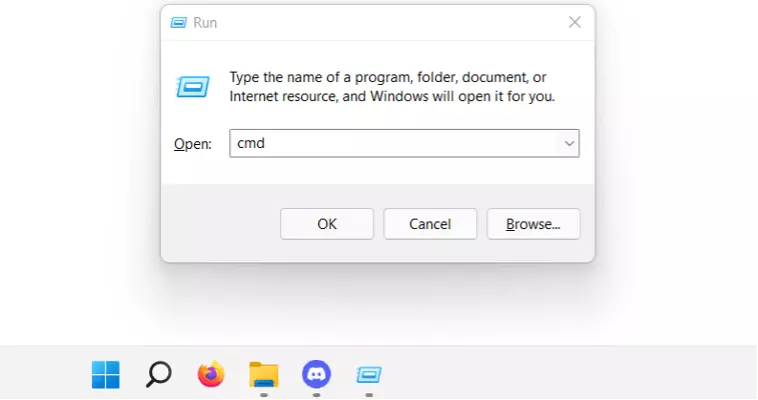
Clear DNS cache in Windows 11: here’s how
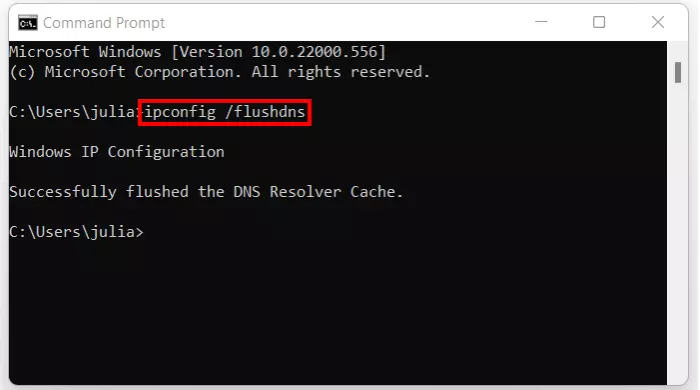
Now type the following CMD command into the window of the command prompt:
ipconfig /flushdnsExperiencing issues with the DNS server even after clearing the cache? One solution is to switch the DNS server!
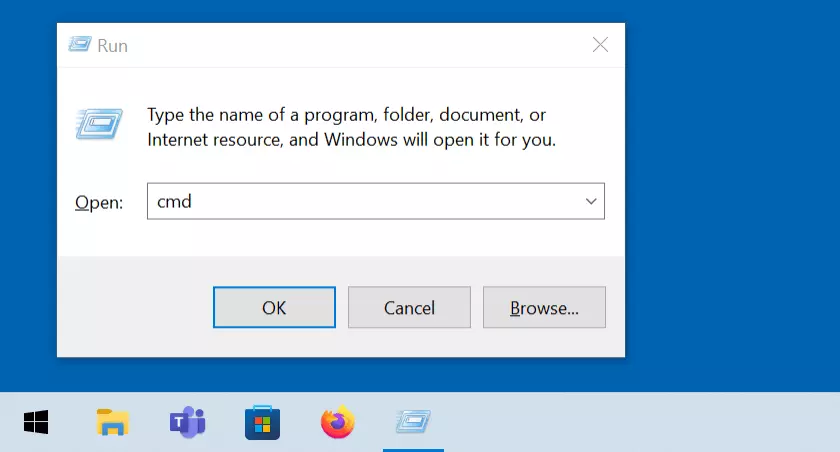
Clear DNS cache in Windows 10: tutorial
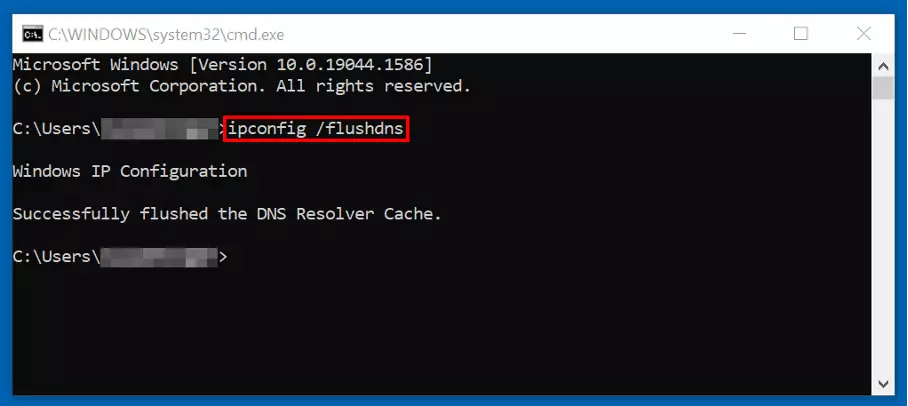
Enter the following command to clear the Windows 10 DNS cache using the command line tool ipconfig:
ipconfig /flushdnsClear DNS cache in Linux distributions: step-by-step
Linux distributions do not use a native DNS cache. Address entries are only cached on the systems when DNS services such as dnsmasq, nscd or systemd-resolved (default in Ubuntu 18 and 20) are used.
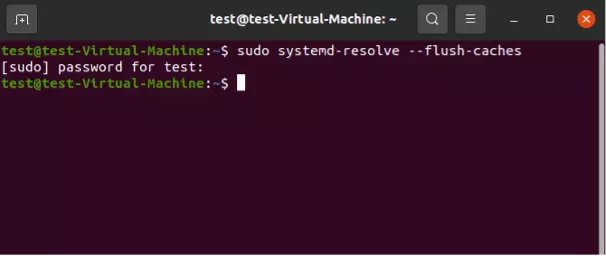
A terminal command for deleting the cache memory is only available for systemd-resolved:
sudo systemd-resolve --flush-cachesTo execute the command, simply enter the administrator password. Don’t be surprised if the command does not return a message. To verify that the deletion was successful, you can view the systemd-resolved cache by executing the following terminal command:
sudo systemd-resolve --statisticsYou can empty the caches of other DNS services such as dnsmasq and nscd by restarting the services. The appropriate commands in this case are ‘sudo service dnsmasq restart’ and ‘sudo service nscd restart’.
Clear DNS cache in macOS
Mac operating systems, like Windows systems, rely on a native DNS cache. However, the command you need to type to clear the DNS cache varies depending on the version you installed. In any case, you need the terminal for the input, which you can call up via the ‘Utilities’ menu.
For macOS versions 10.11 (El Capitan) and later, as well as 10.7, 10.8, and 10.9, the clear command is as follows:
sudo killall -HUP mDNSResponderIf you are using a device with macOS 10.10 (Yosemite), you need the following command:
sudo discoveryutil udnsflushcachesOlder versions like macOS 10.5 and 10.6 use the following command:
sudo dscacheutil -flushcacheAfter entering the corresponding command, you will be prompted to enter the administrator password. The DNS cache will then be cleared.
Using a mobile Apple device with iOS? Clear the DNS cache by temporarily activating flight mode. Wait five to ten seconds and switch off the offline mode.


