

The PowerPoint Slide Master in detail

PowerPoint is the most popular application for creating presentations. It is intuitive and easy to use. Professionals who work with PowerPoint use a range of handy functions such as PowerPoint shortcuts, macros and the Slide Master in order to create impressive presentations. The PowerPoint Slide Master is a particularly helpful feature that every user should be familiar with.
When creating a PowerPoint presentation, the golden rule is to be consistent. The layout and design should be the same across all the slides; logos and pictures should not jump from place to place between slides. Even tiny changes in the position of recurring design elements on successive slides can have a negative impact on a viewer’s perception of the presentation. Headings and font styles and sizes must also match. Manually copying and pasting all of the recurring objects onto each side is very time-consuming and often a source of error.
By using the PowerPoint Slide Master view you can avoid these kinds of mistakes, ensure that your presentation is consistent, and save time and energy! When you create a master slide using the Slide Master, it acts as a template for all of the following slides. The advantage in doing this is that you only have to define the master once, then you can concentrate on the actual content of your presentation. This article provides a step-by-step guide to creating a PowerPoint master slide and using this popular program intelligently.
Opening Slide Master view
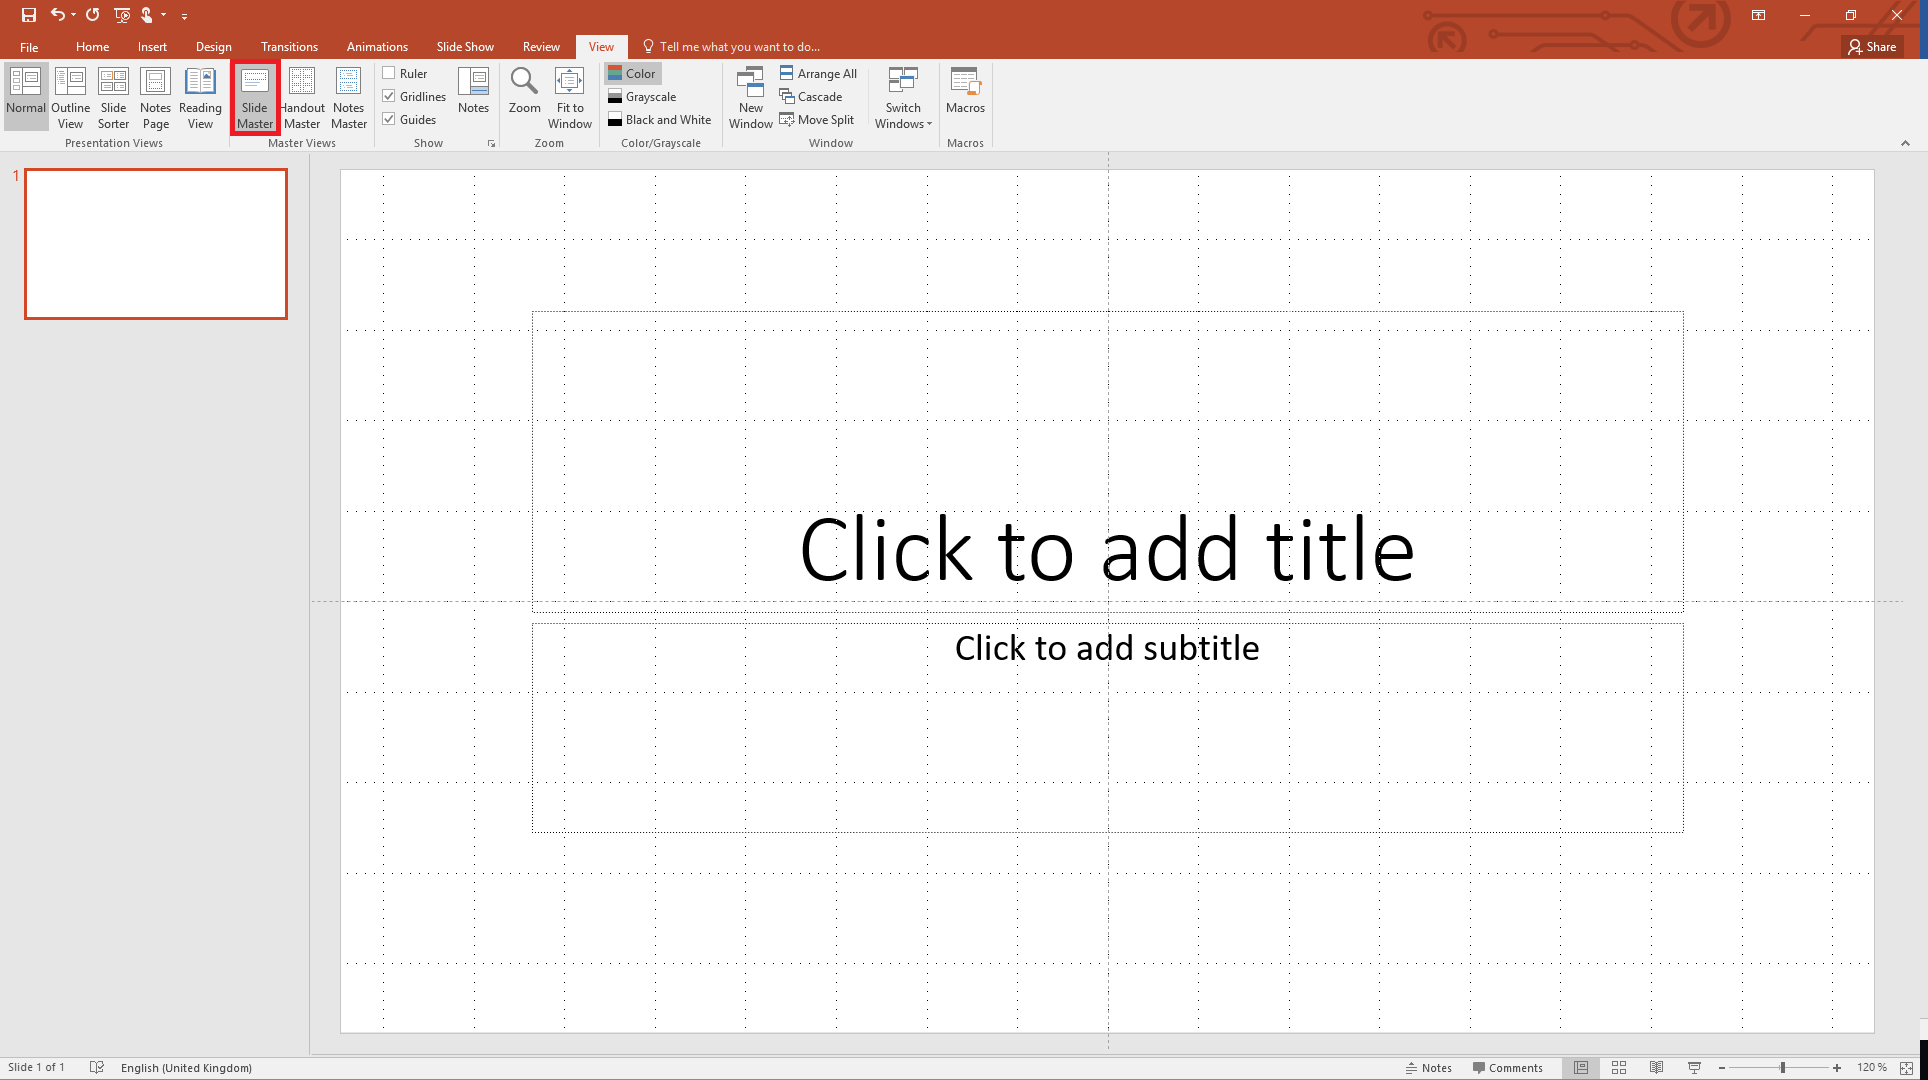
First of all, you need to open the Slide Master in PowerPoint. To do this, go to the “View” tab of the ribbon and click on “Slide Master”.
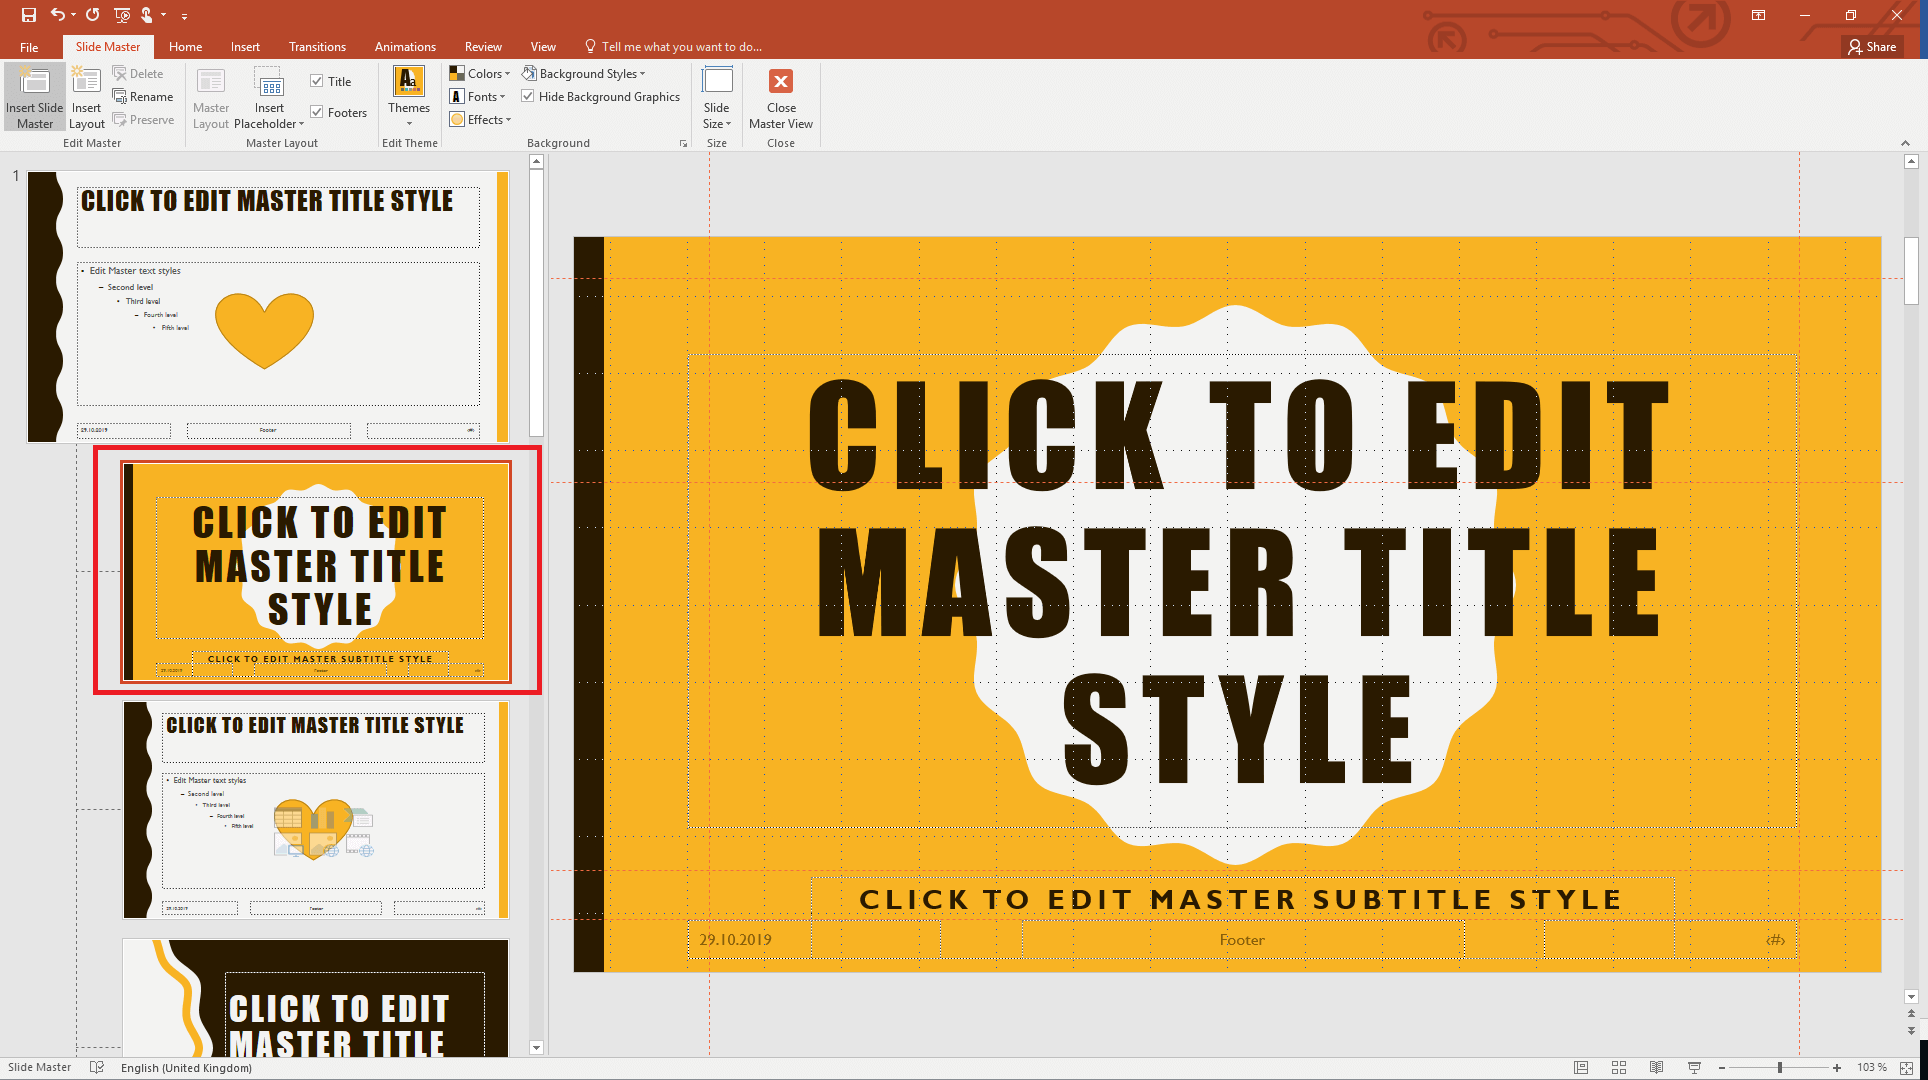
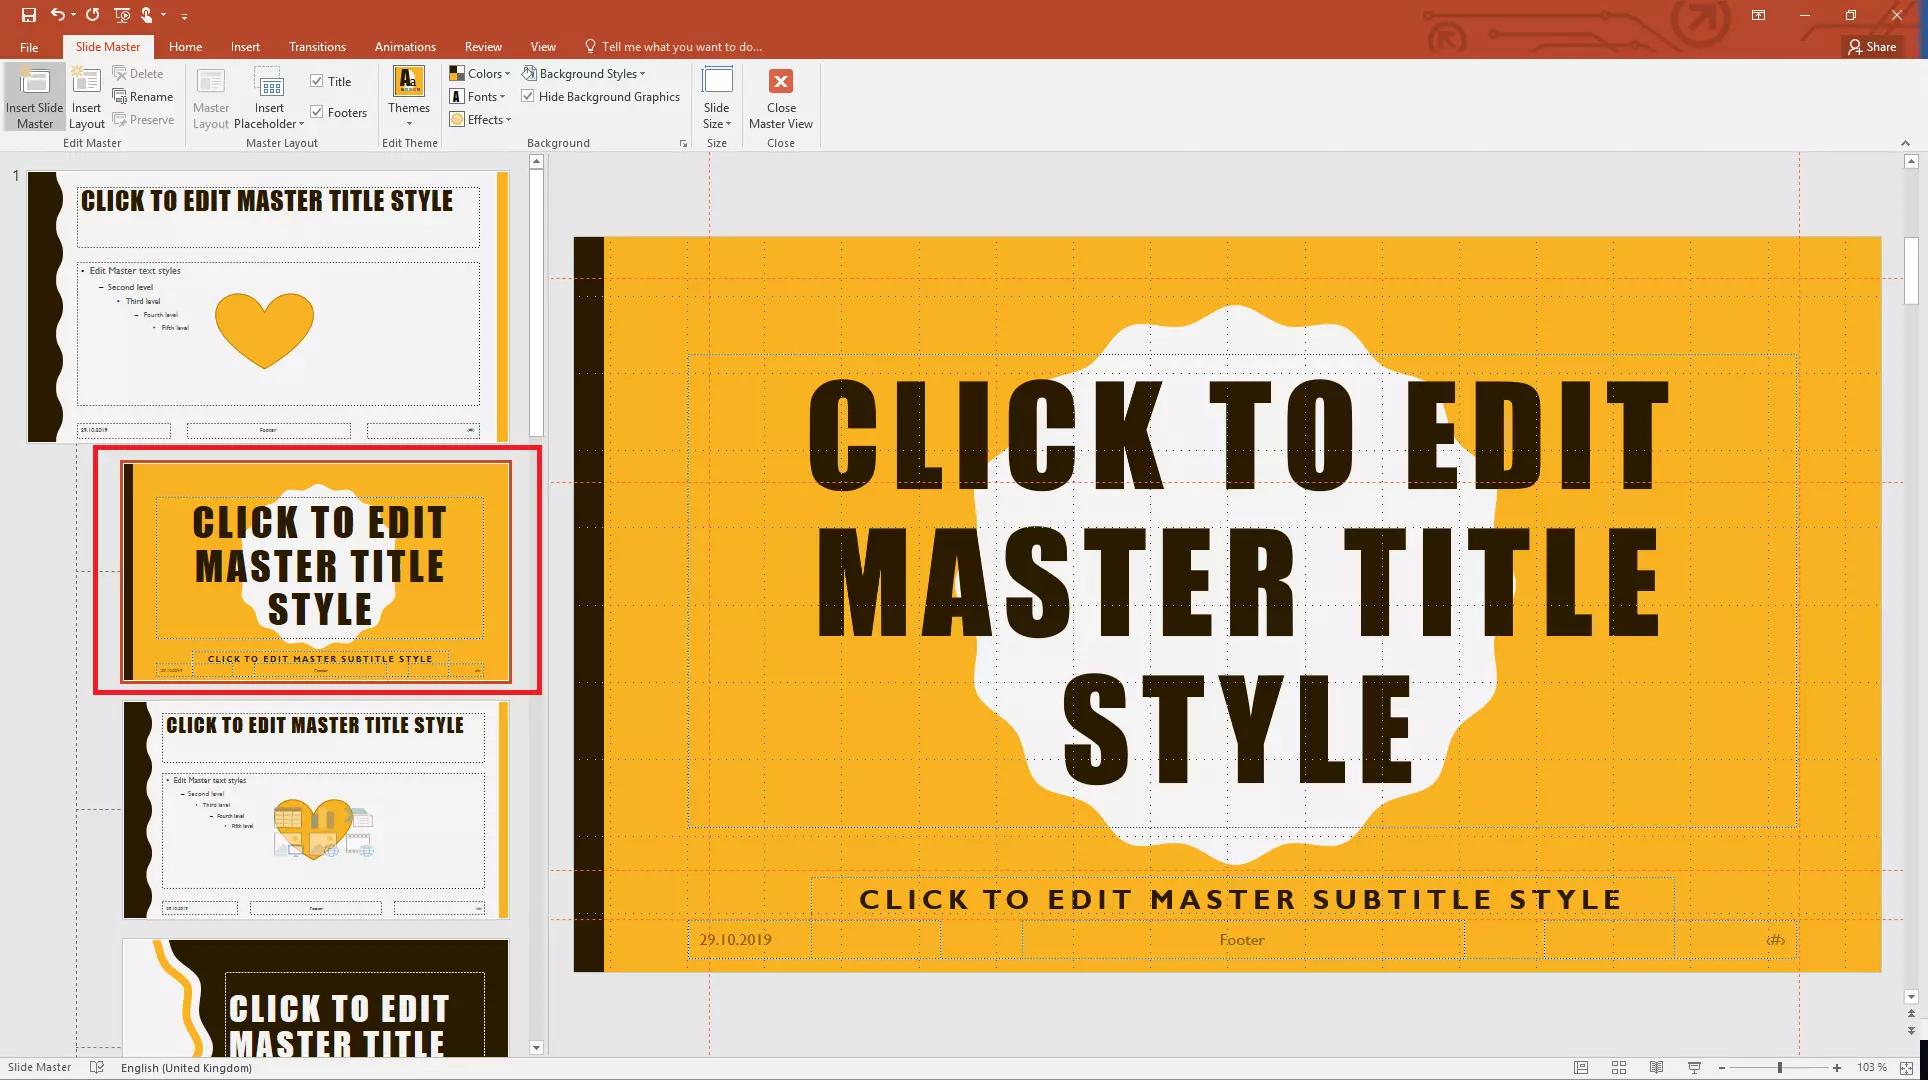
In Slide Master view, you will see the following panes:
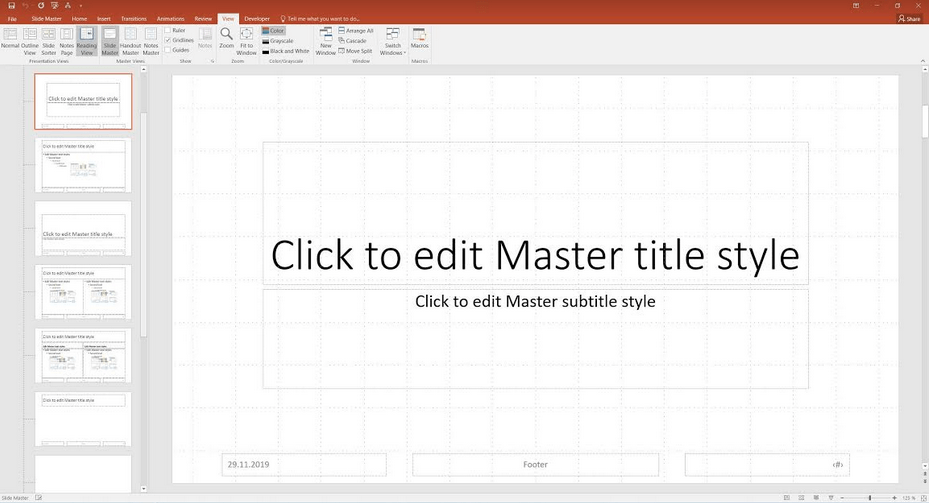
In the left-hand pane, you have an overview of all of the different layouts. The first thing to note is that the top slide in this list is the slide master. The slides below this are called slide layouts. In other words, the first slide in the overview is the master slide. It is this slide that acts as the template for the layout of all of the other slides.
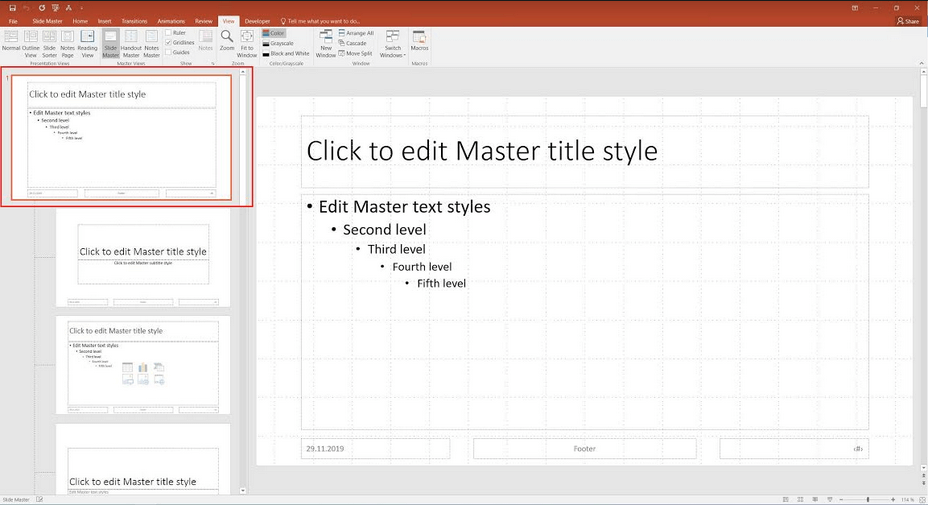
The slide layouts are linked to the slide master. This means that they reflect the design of the overall slide master. However, you still have the option to change the individual layouts. Any changes you make to the slide master, such as adding images, changing the background or editing fonts, will automatically be applied to the slide layouts. Changes to a slide layout on the other hand will only be applied to that particular slide layout.
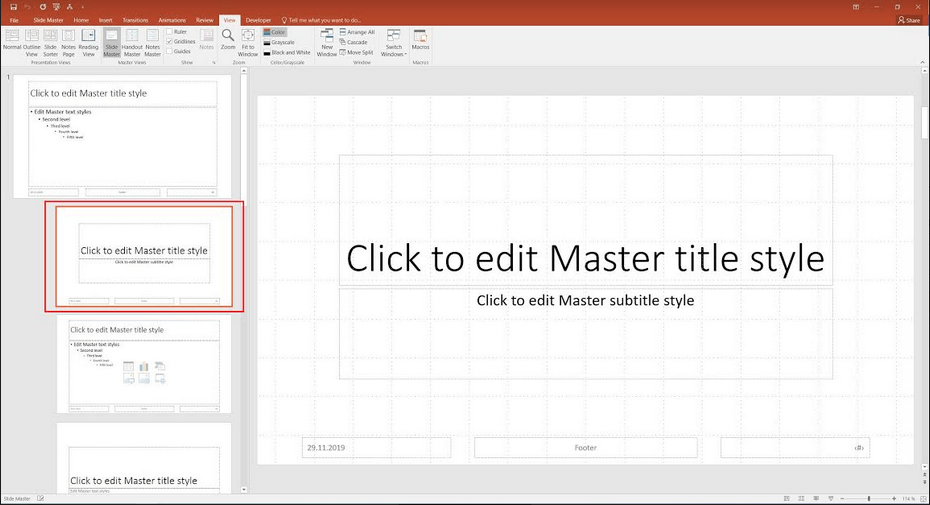
When you want to edit a slide, simply click on its thumbnail in the left-hand pane. It will then open in the right-hand pane for you to edit.
Designing a PowerPoint slide master and customising the slide layouts
Now you can begin the real work: creating your design in the PowerPoint Slide Master.
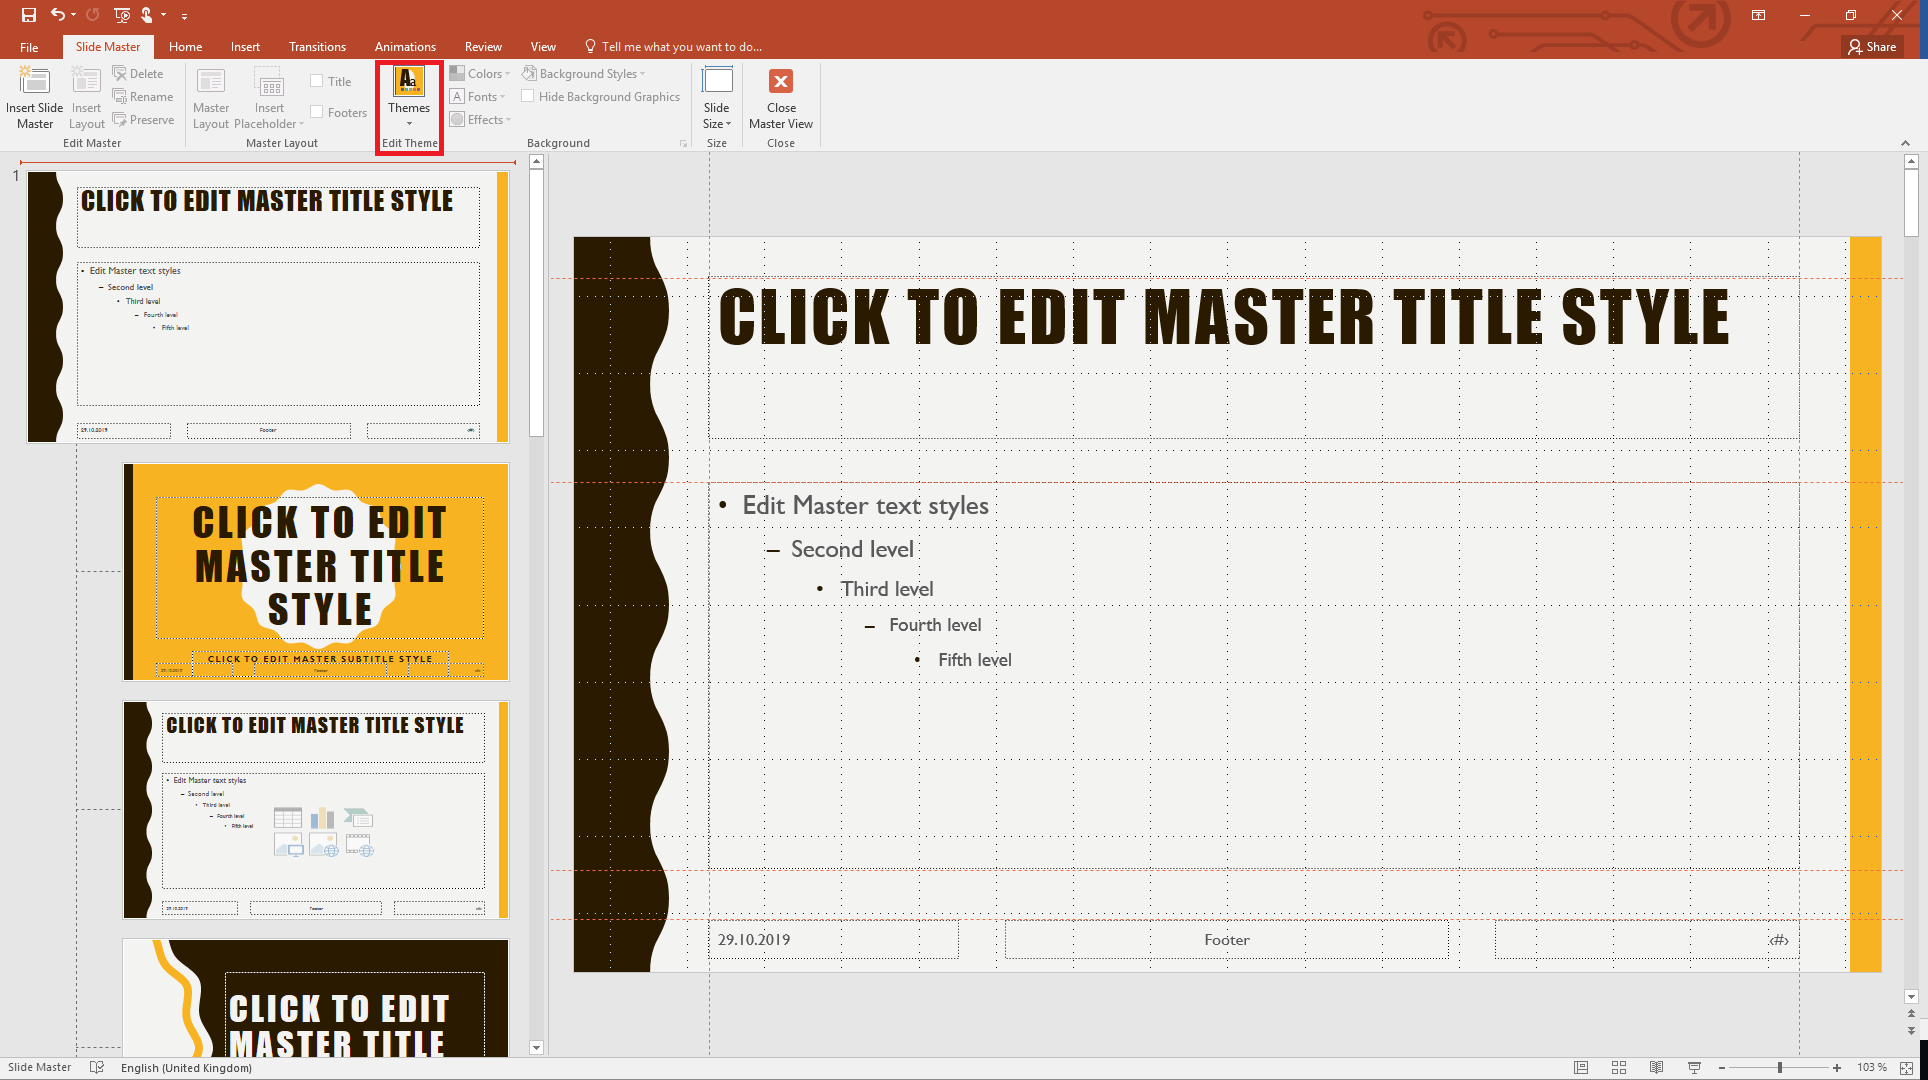
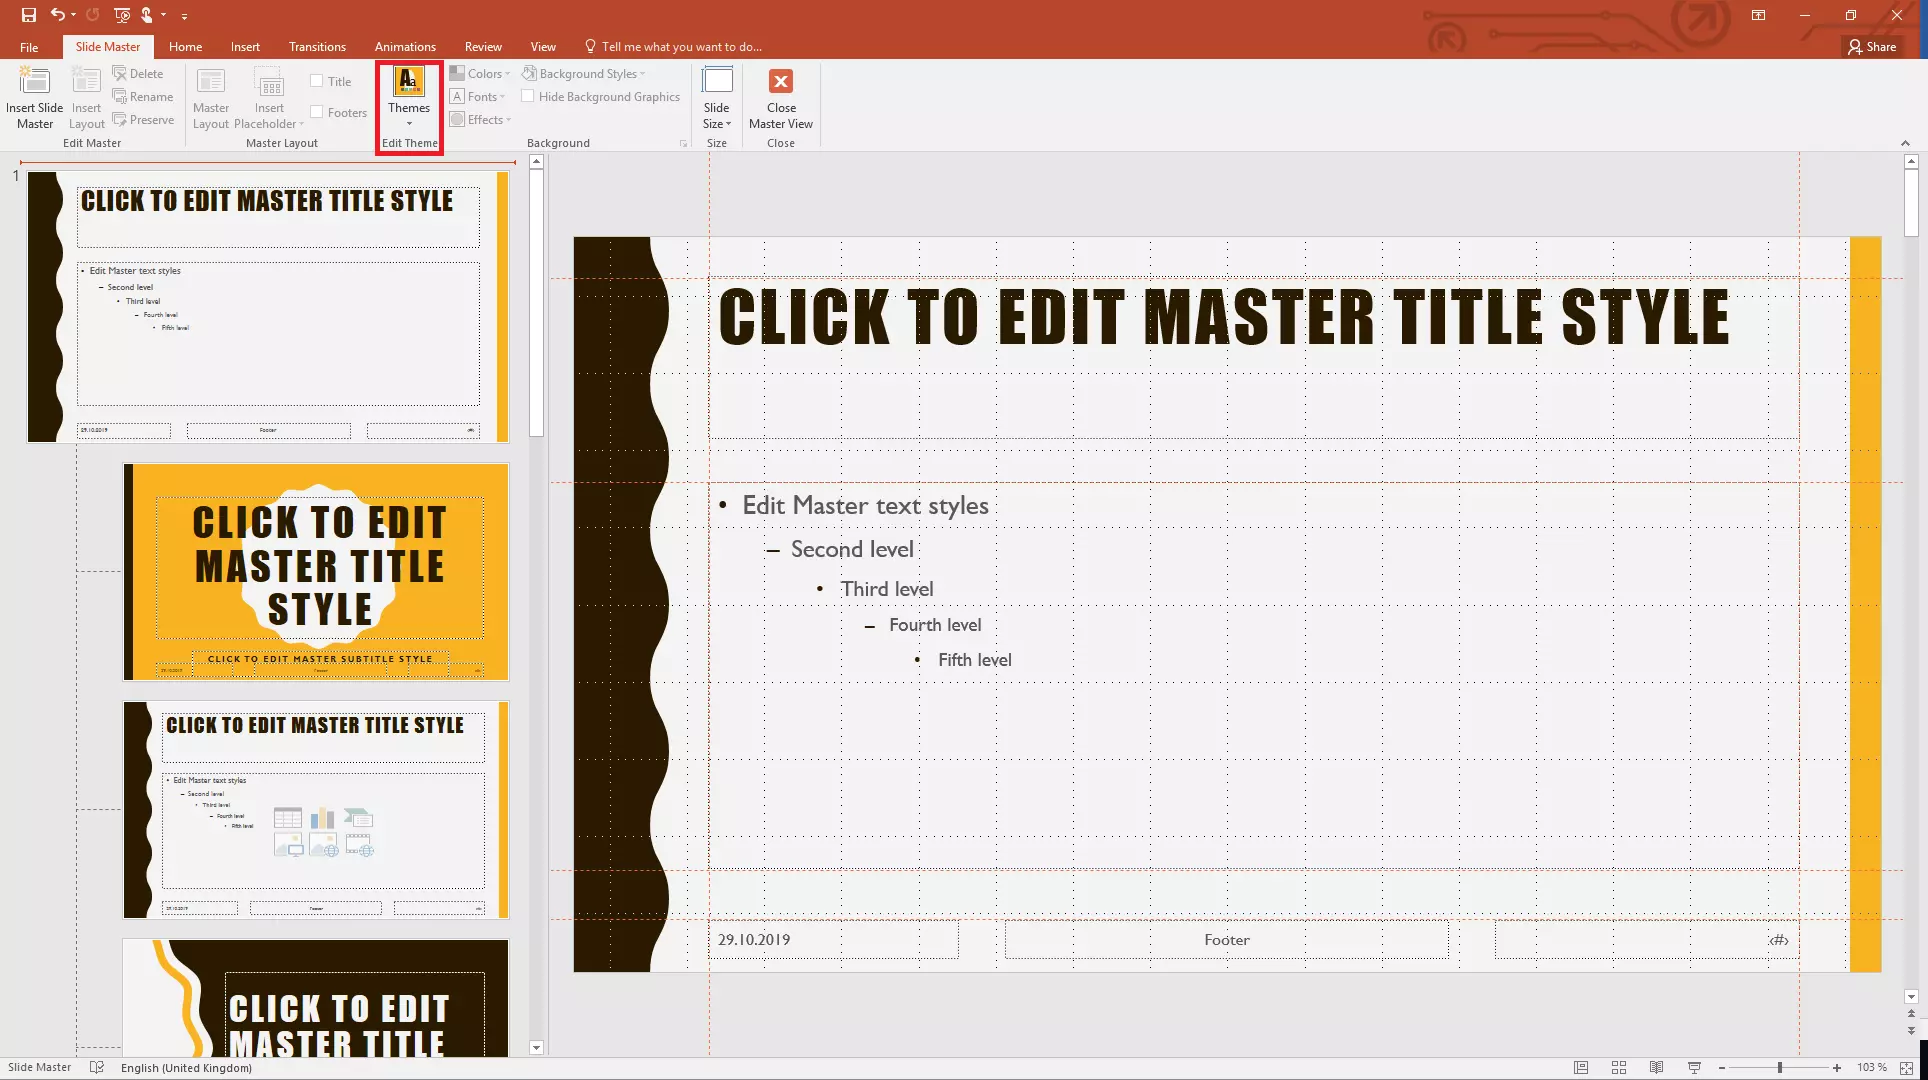
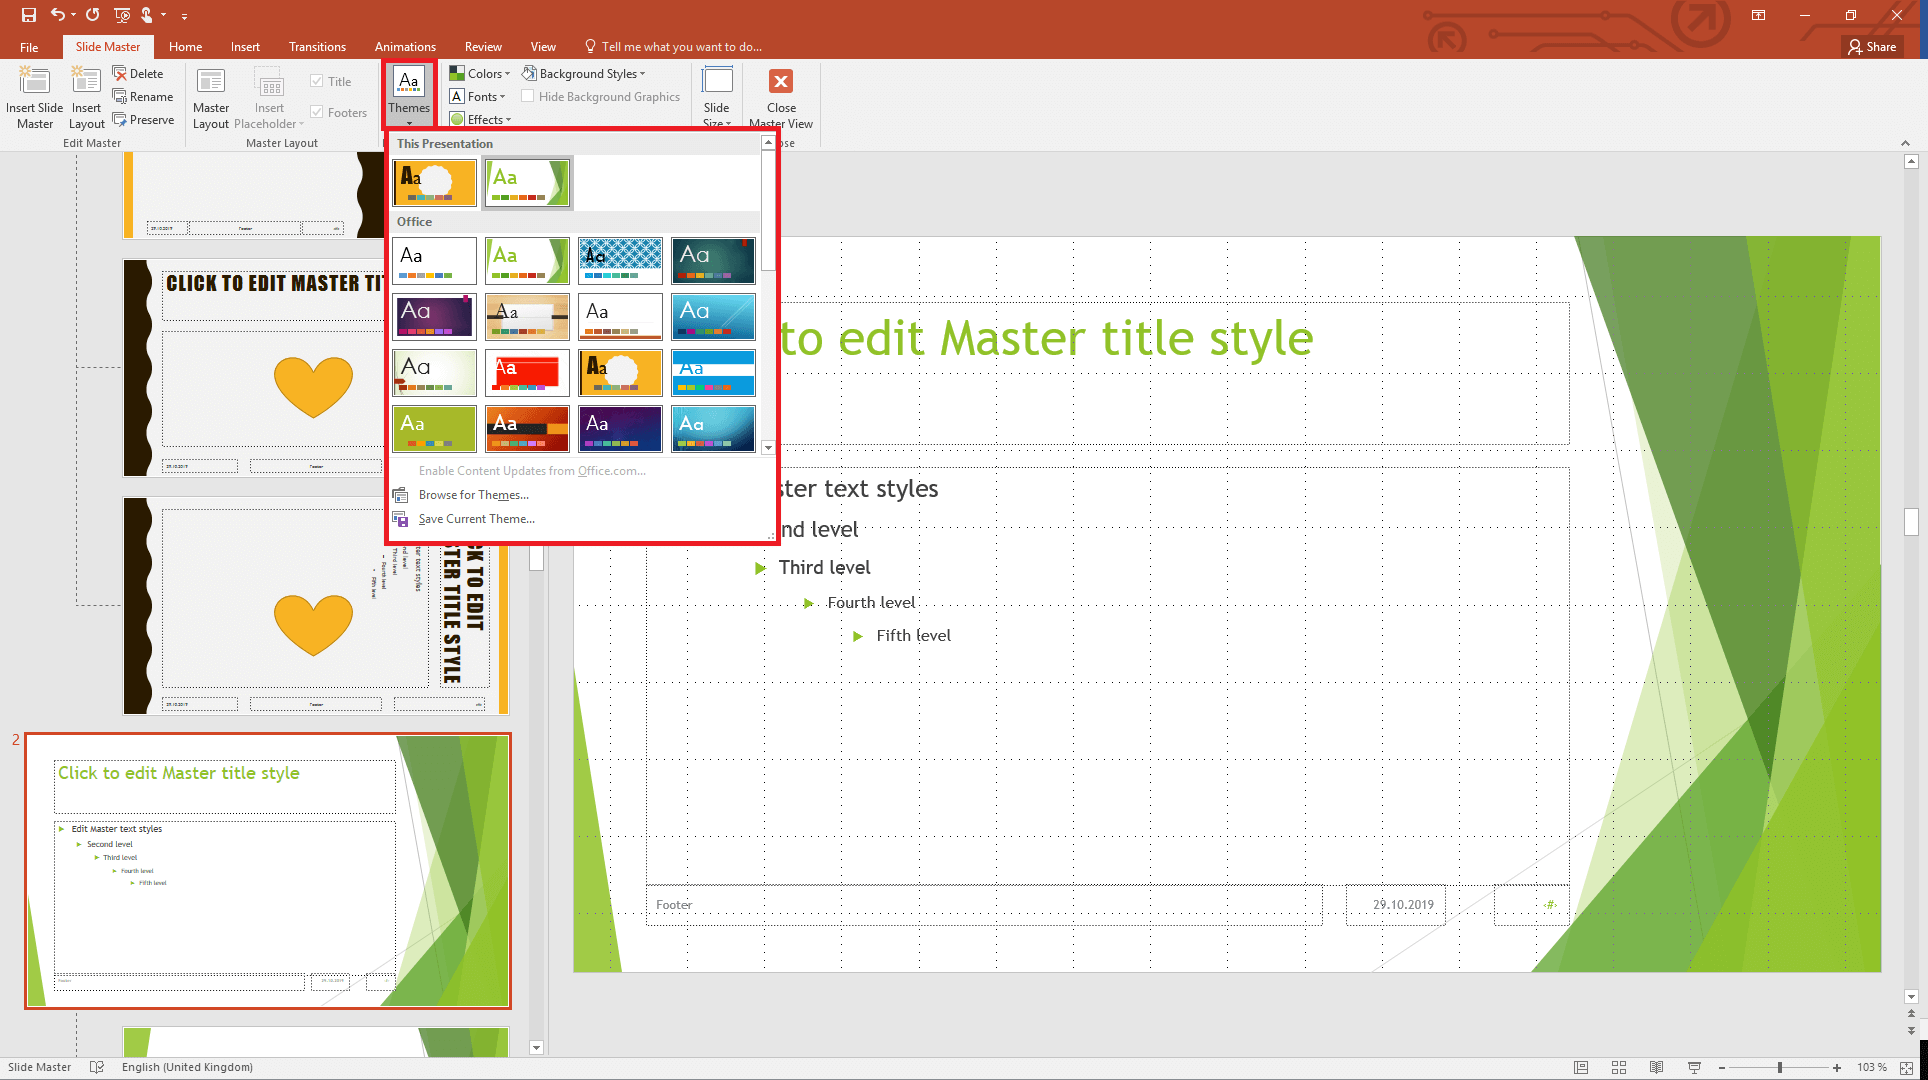
Step 1: Define your main design on the slide master. There are many colours, font styles and special effects to choose from. You can either create your own design, or select one of the pre-defined themes available on PowerPoint for the Slide Master.
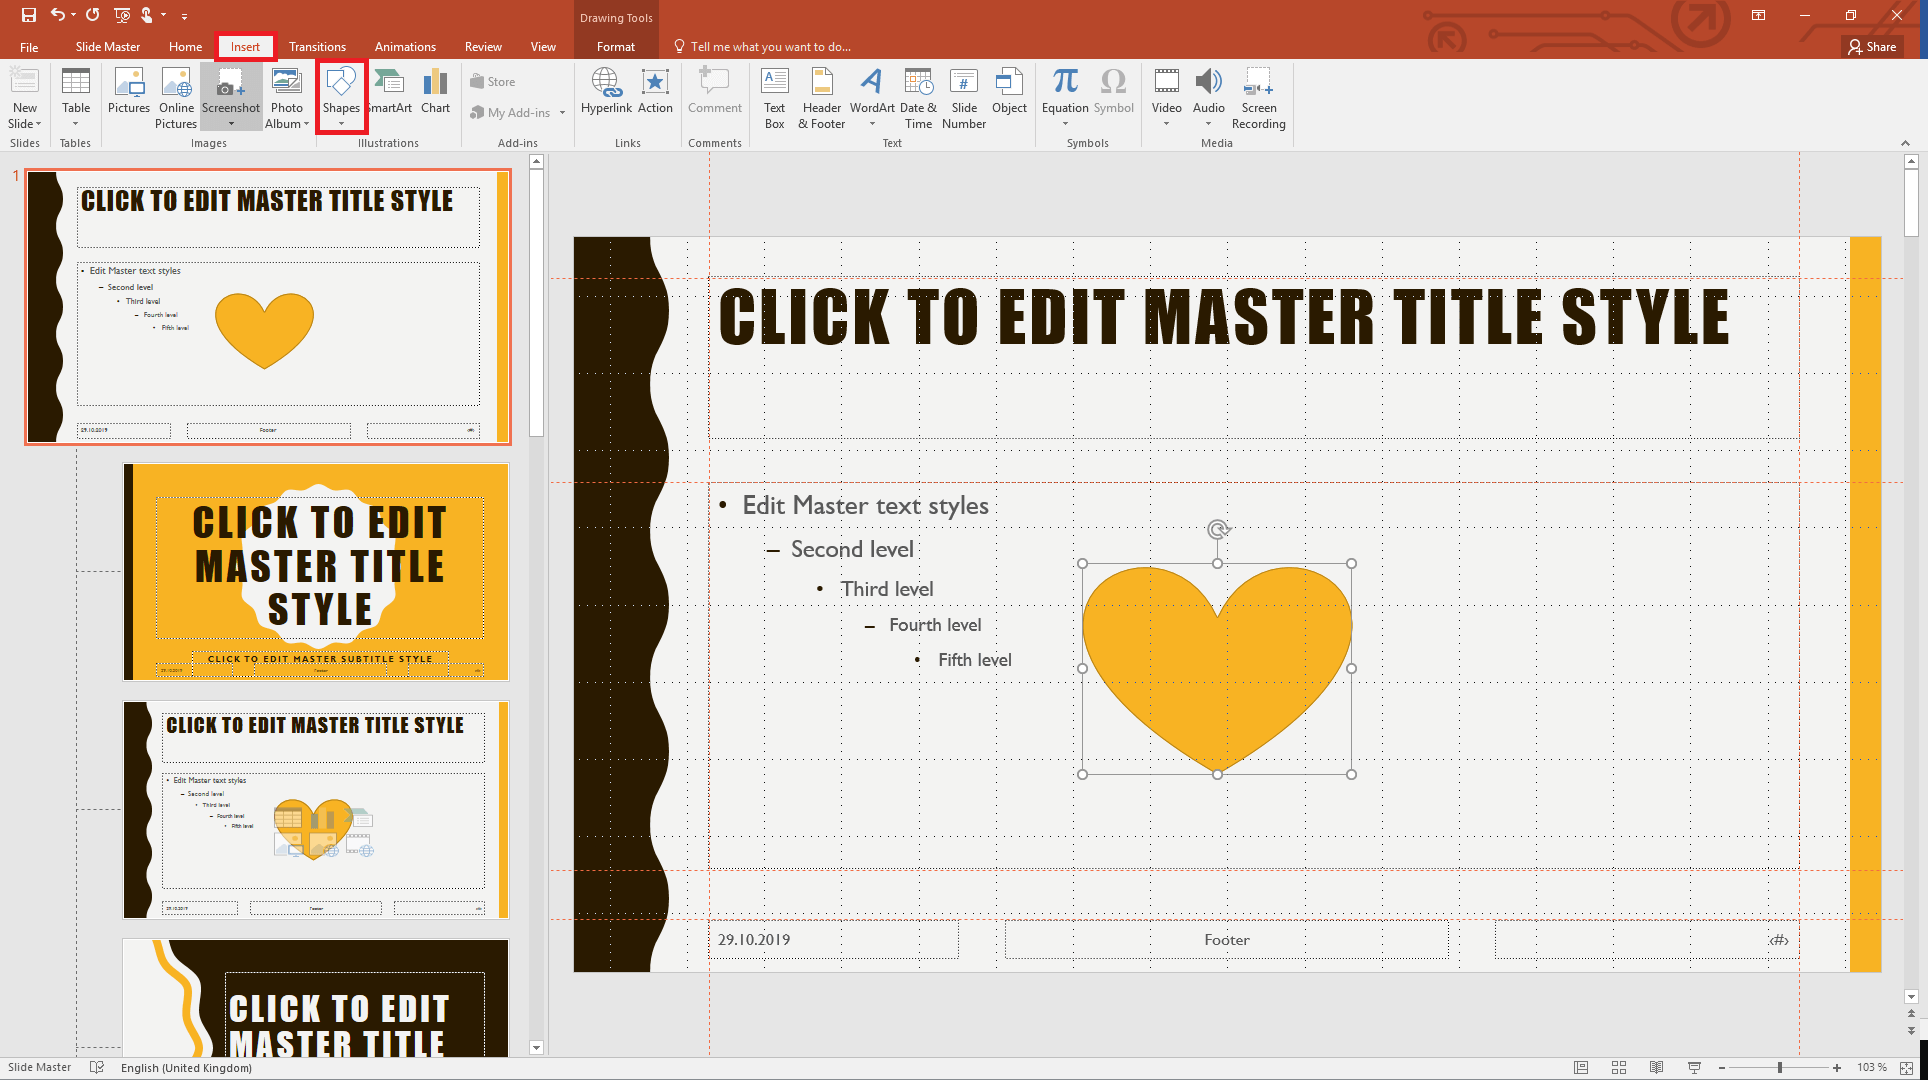
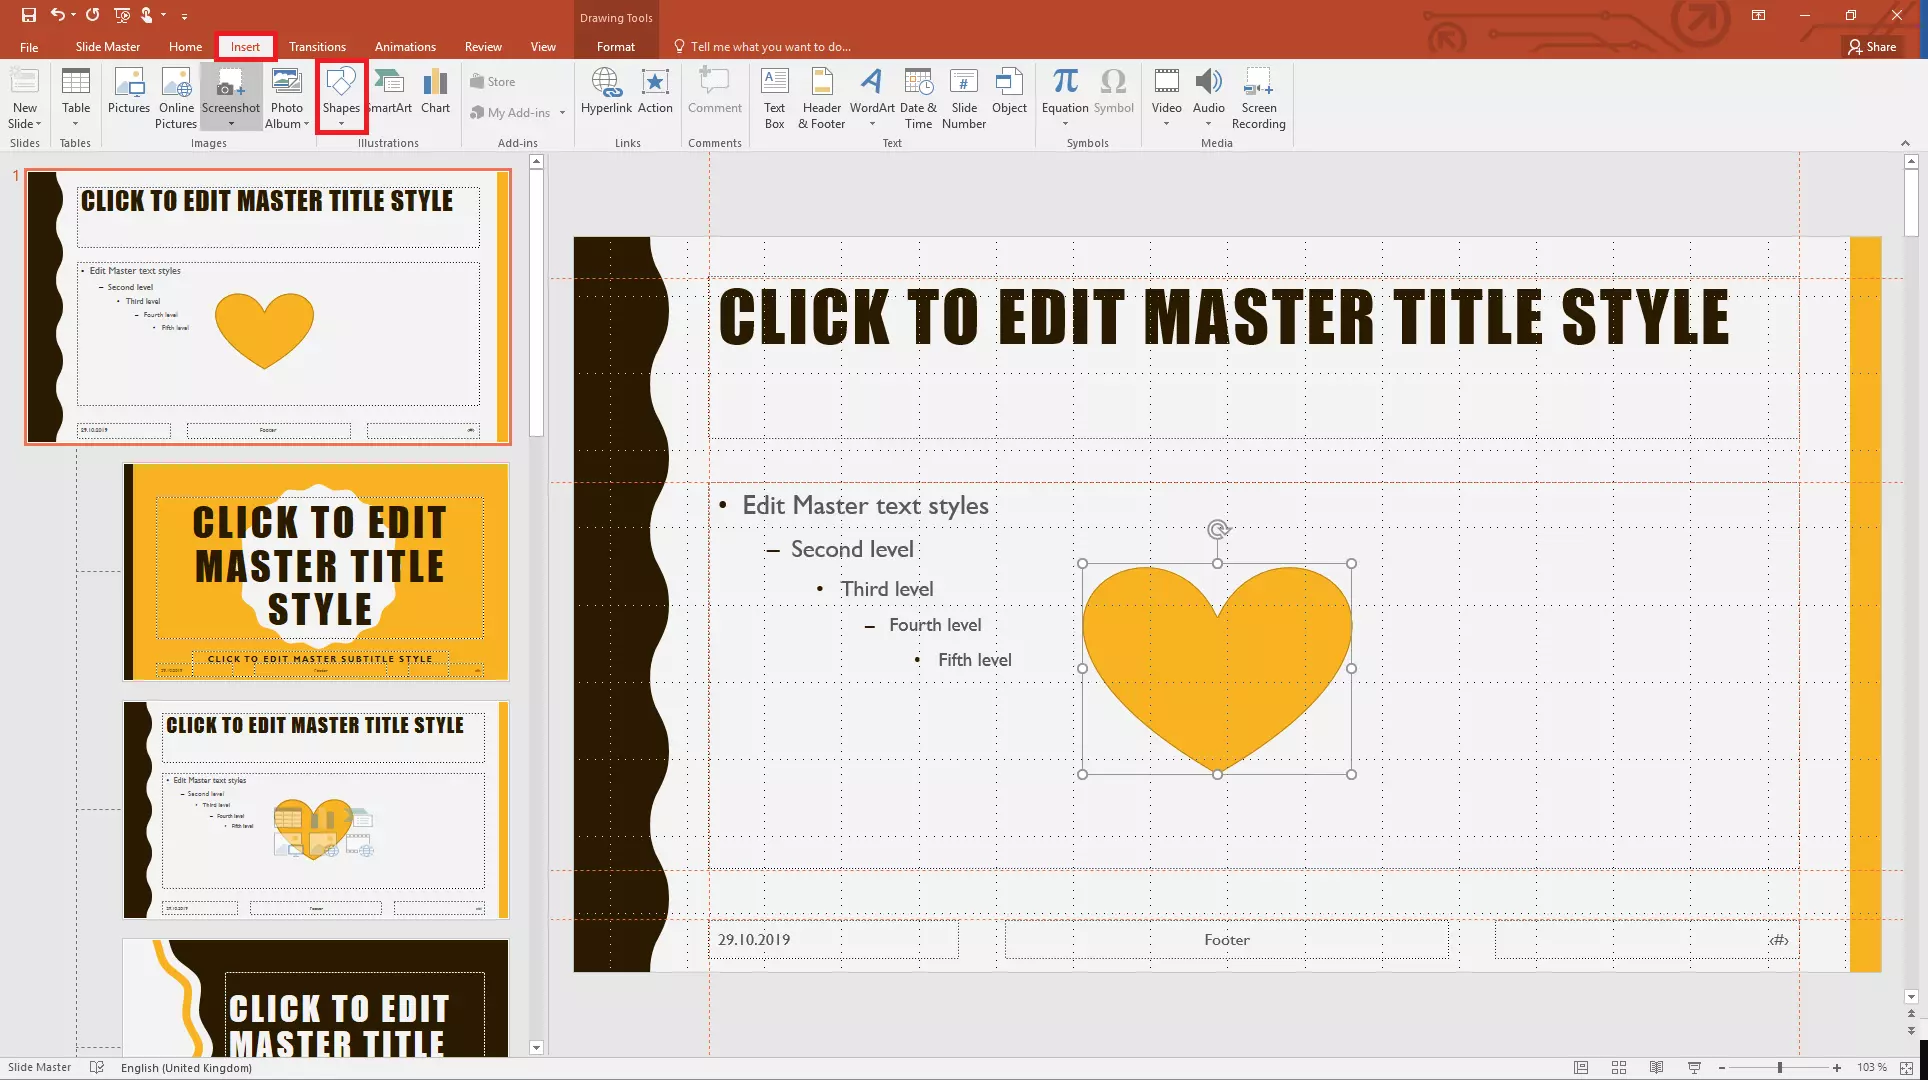
Step 2: Add pictures, logos or symbols to your slide master. These items will all be automatically transferred to the slide layouts. To add elements, go to the “Insert” tab of the ribbon and then click on the appropriate button, for example “Pictures” to insert an image from your hard drive, or “Shapes” to insert a shape.
Step 3: You can now edit the individual slide layouts in the Slide Master view to adapt them to your requirements.
Using the slide master and slide layouts in your presentation
Once you have got the master and layouts set up as you want, you are ready to use the Slide Master to create your PowerPoint presentation.
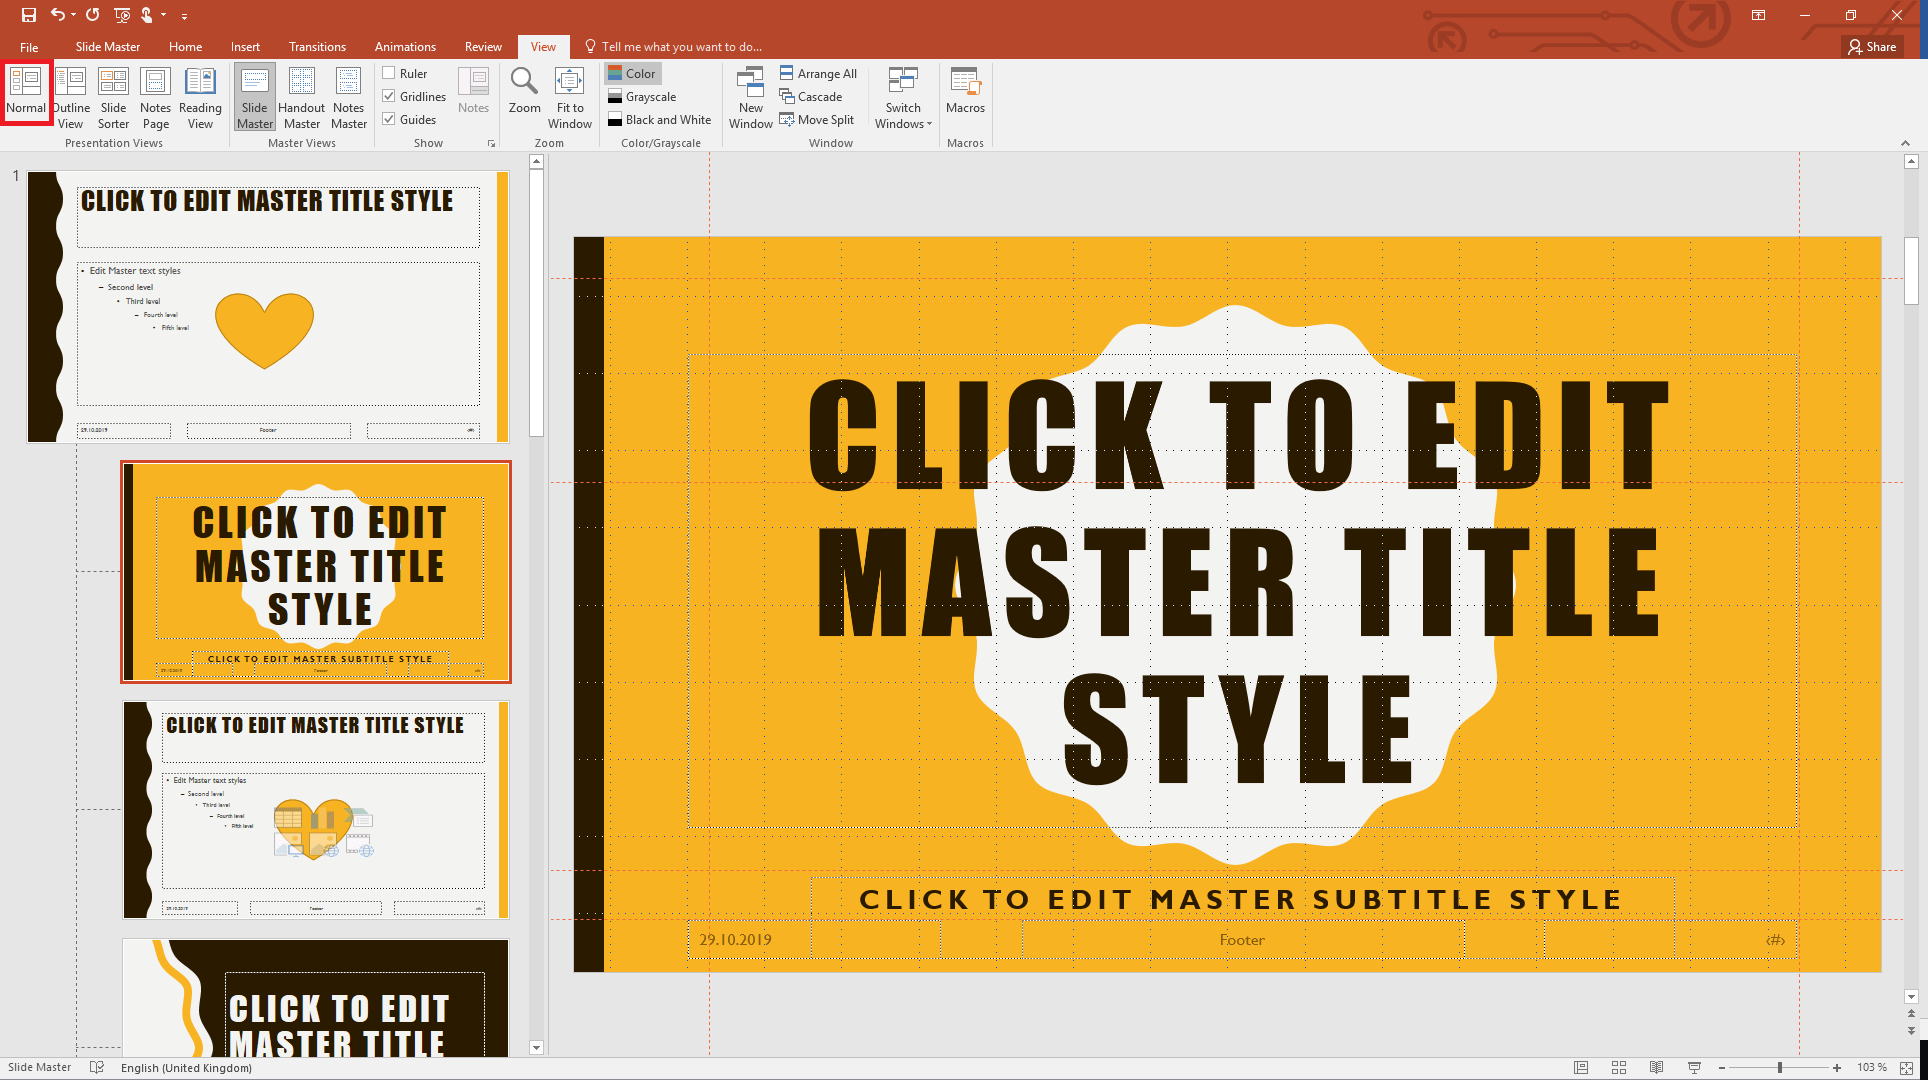
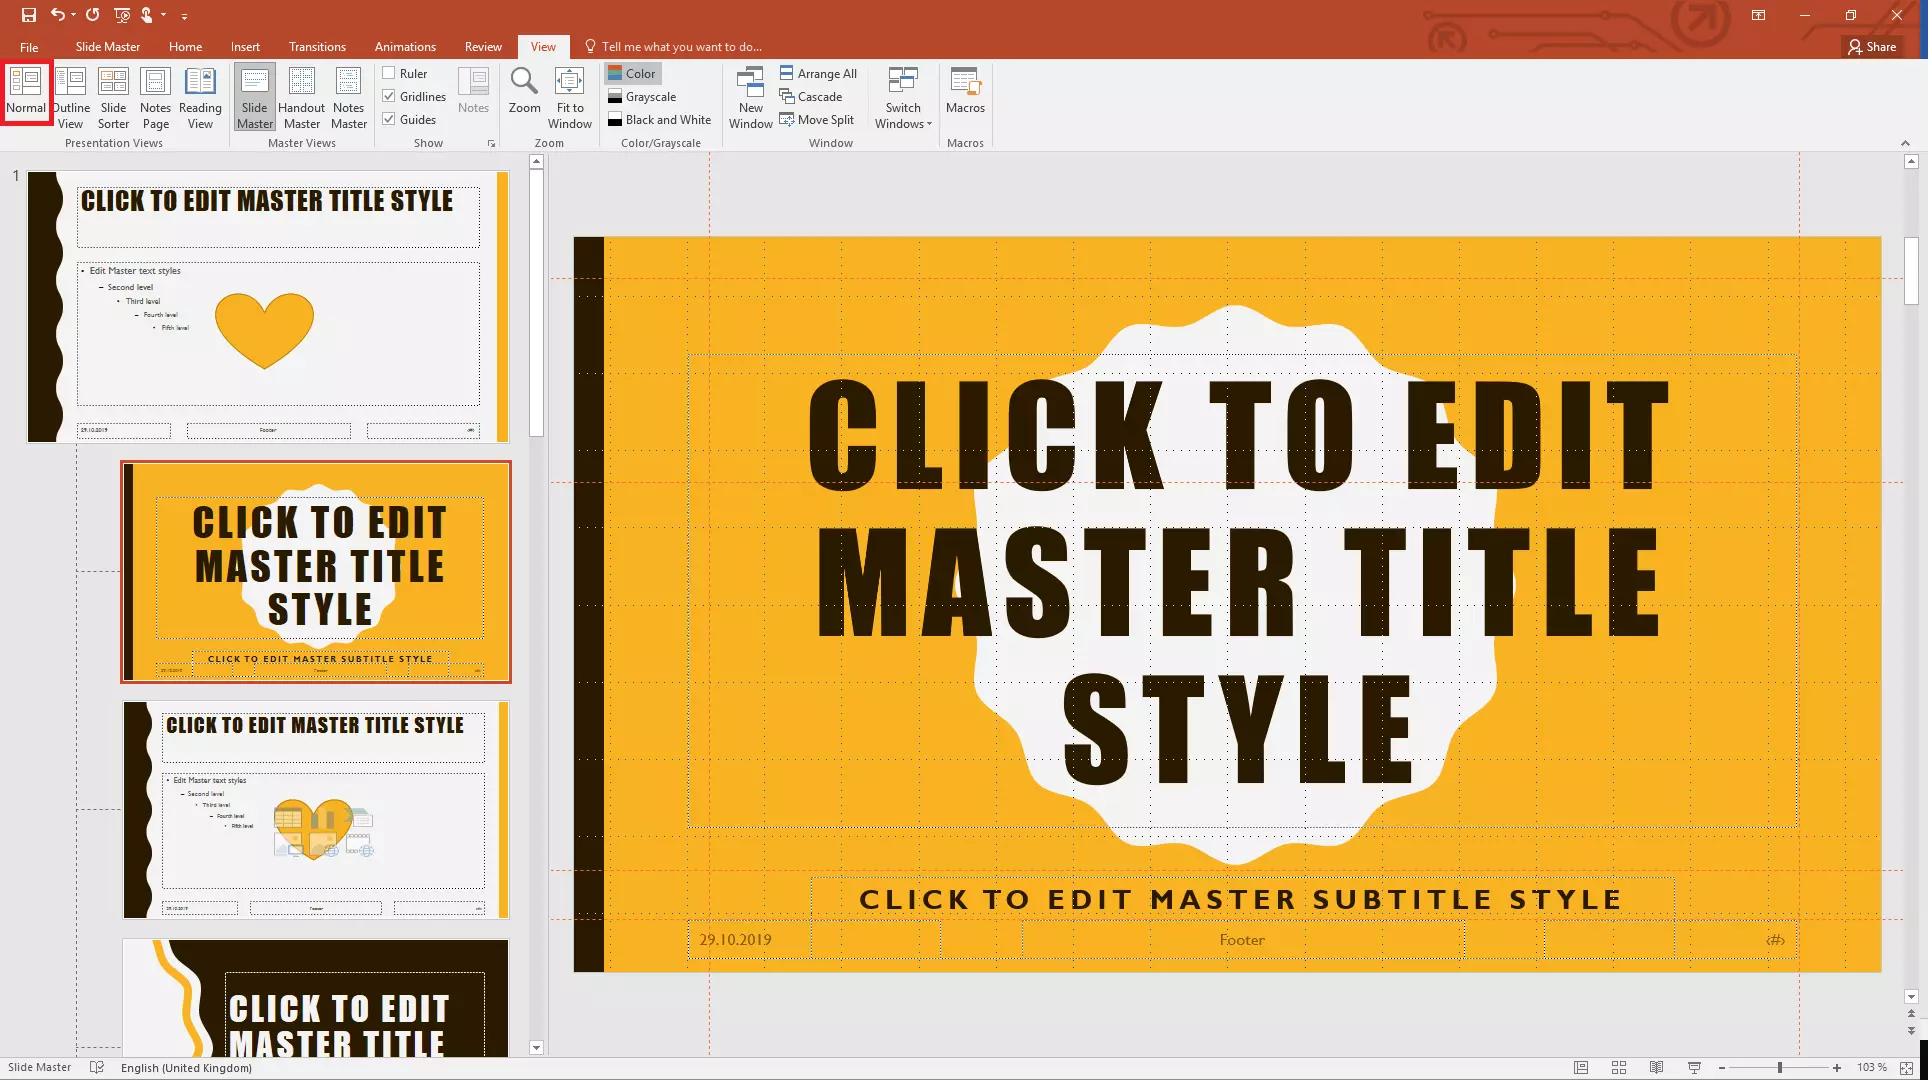
Firstly, switch back to the normal view by clicking on the “Normal” button on the far left of the “View” tab. In the Normal view, each slide will now be based on one of the layouts you defined. You can of course still modify and edit all of the individual elements on the slides. However, any changes you make here will only apply to the slide in question.
The first slide shown in Normal view is your title slide. In the right-hand pane you will see the current slide with the layout you defined. In the left-hand pane you can add additional slides as required.
Step 1: To add a new slide based on one of the layouts you defined, go to the “Insert” tab and click on “New Slide”.
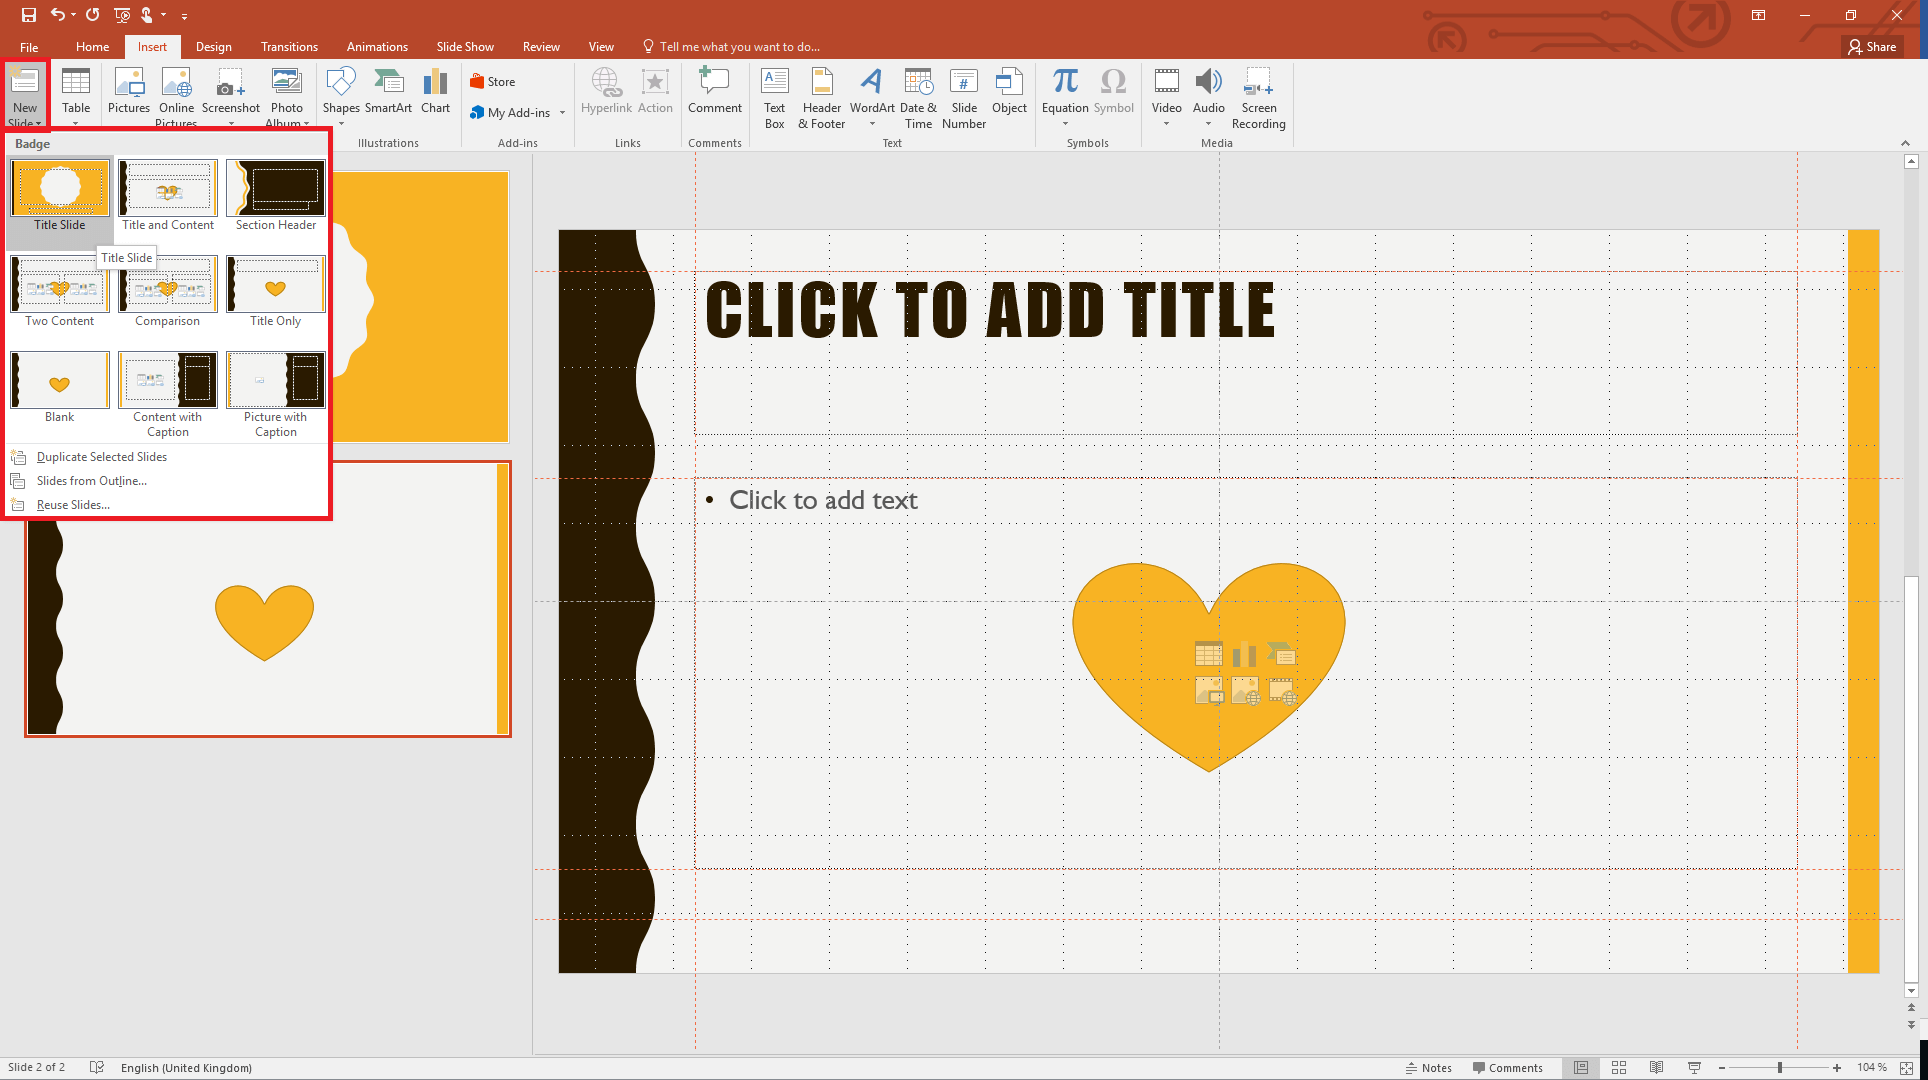
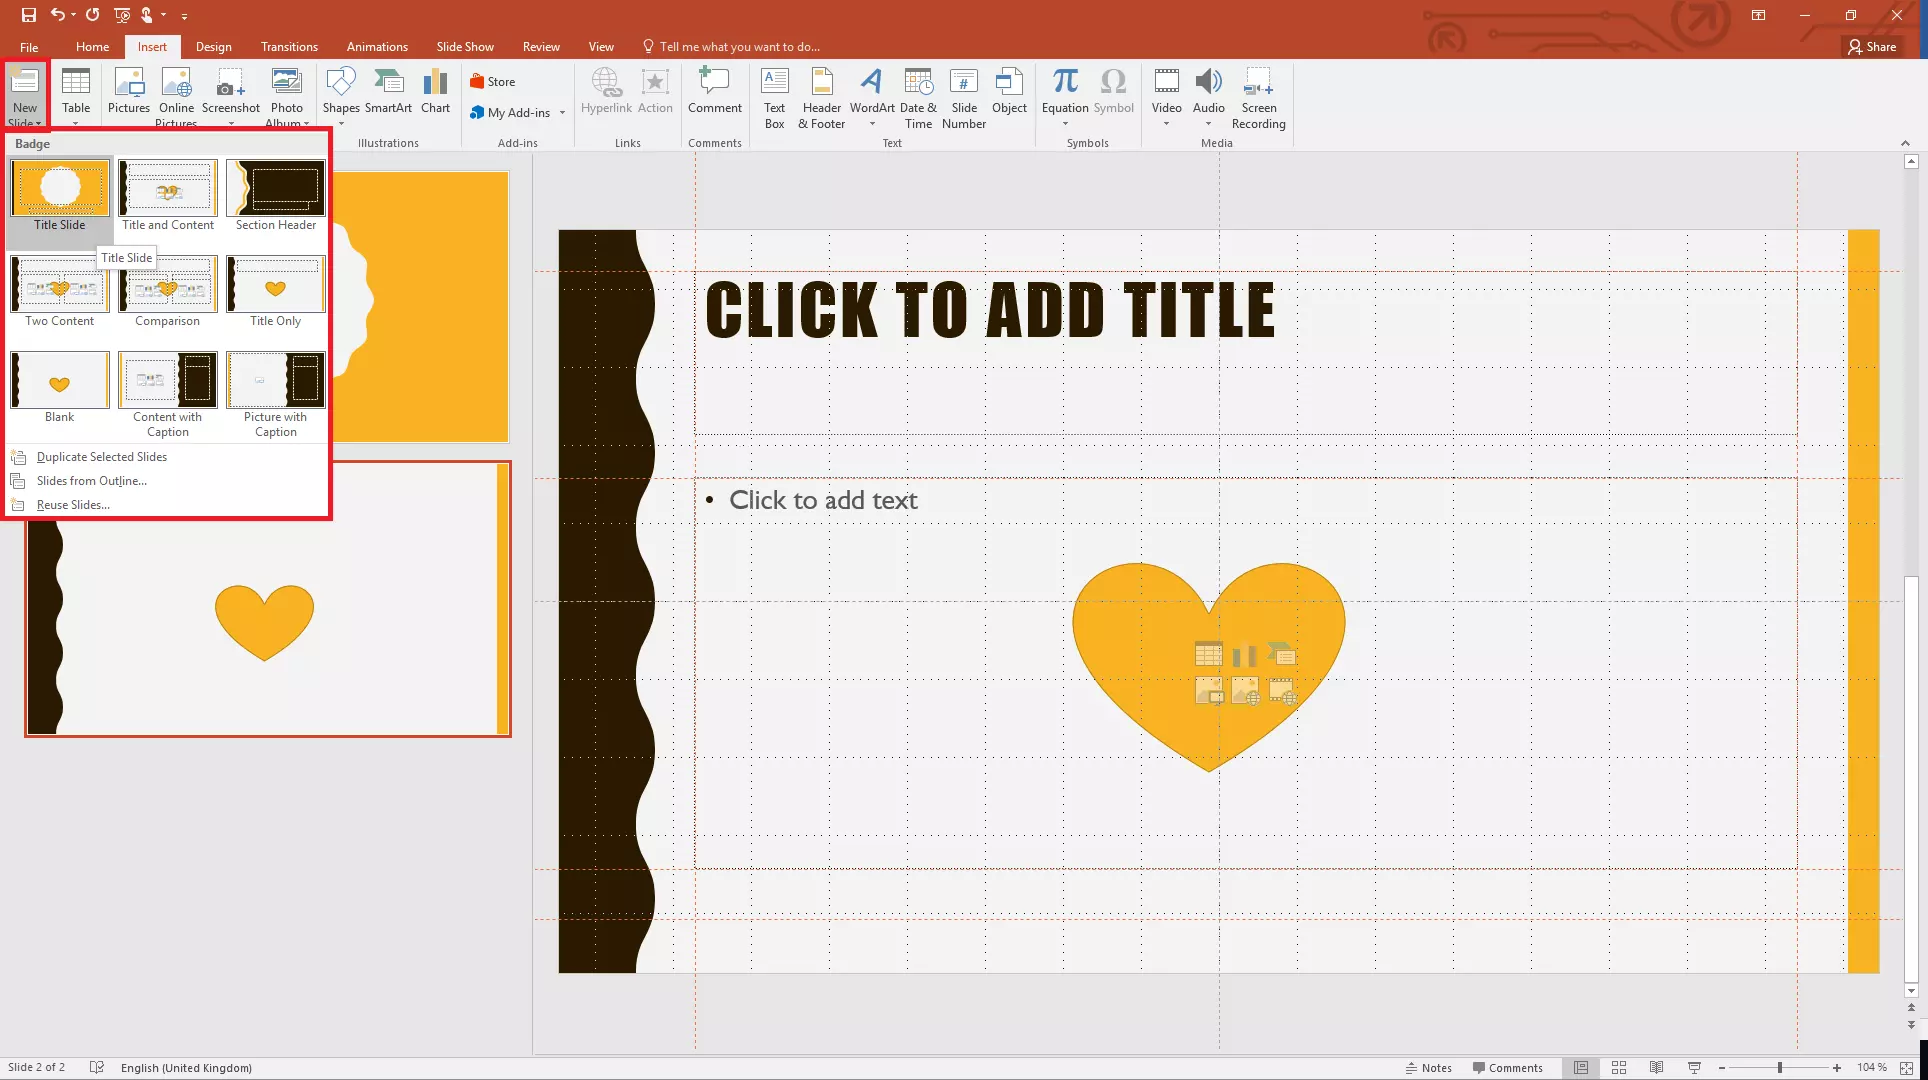
Step 2: Another way of doing this is to right-click in the left-hand pane and select “New Slide” from the pop-up menu that opens. By default, this will insert a new slide using the first layout you defined in the Slide Master view.
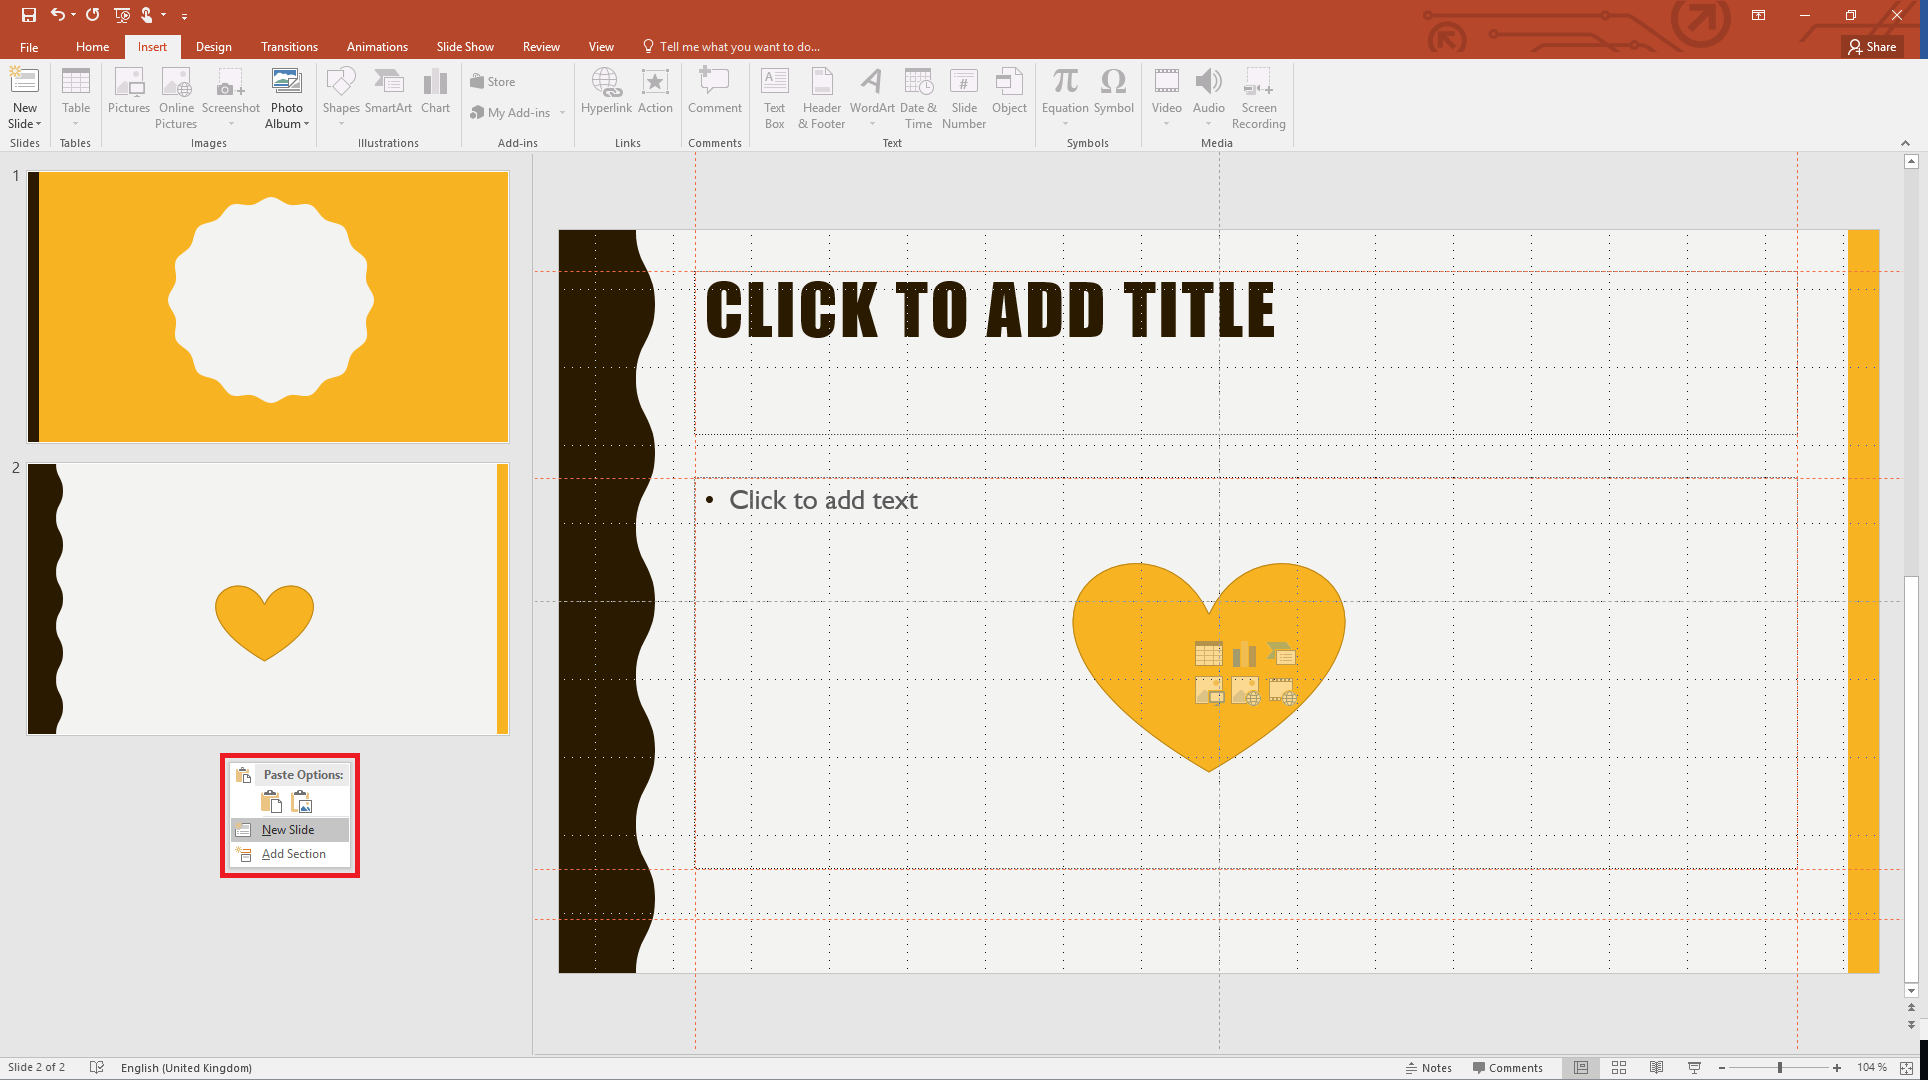
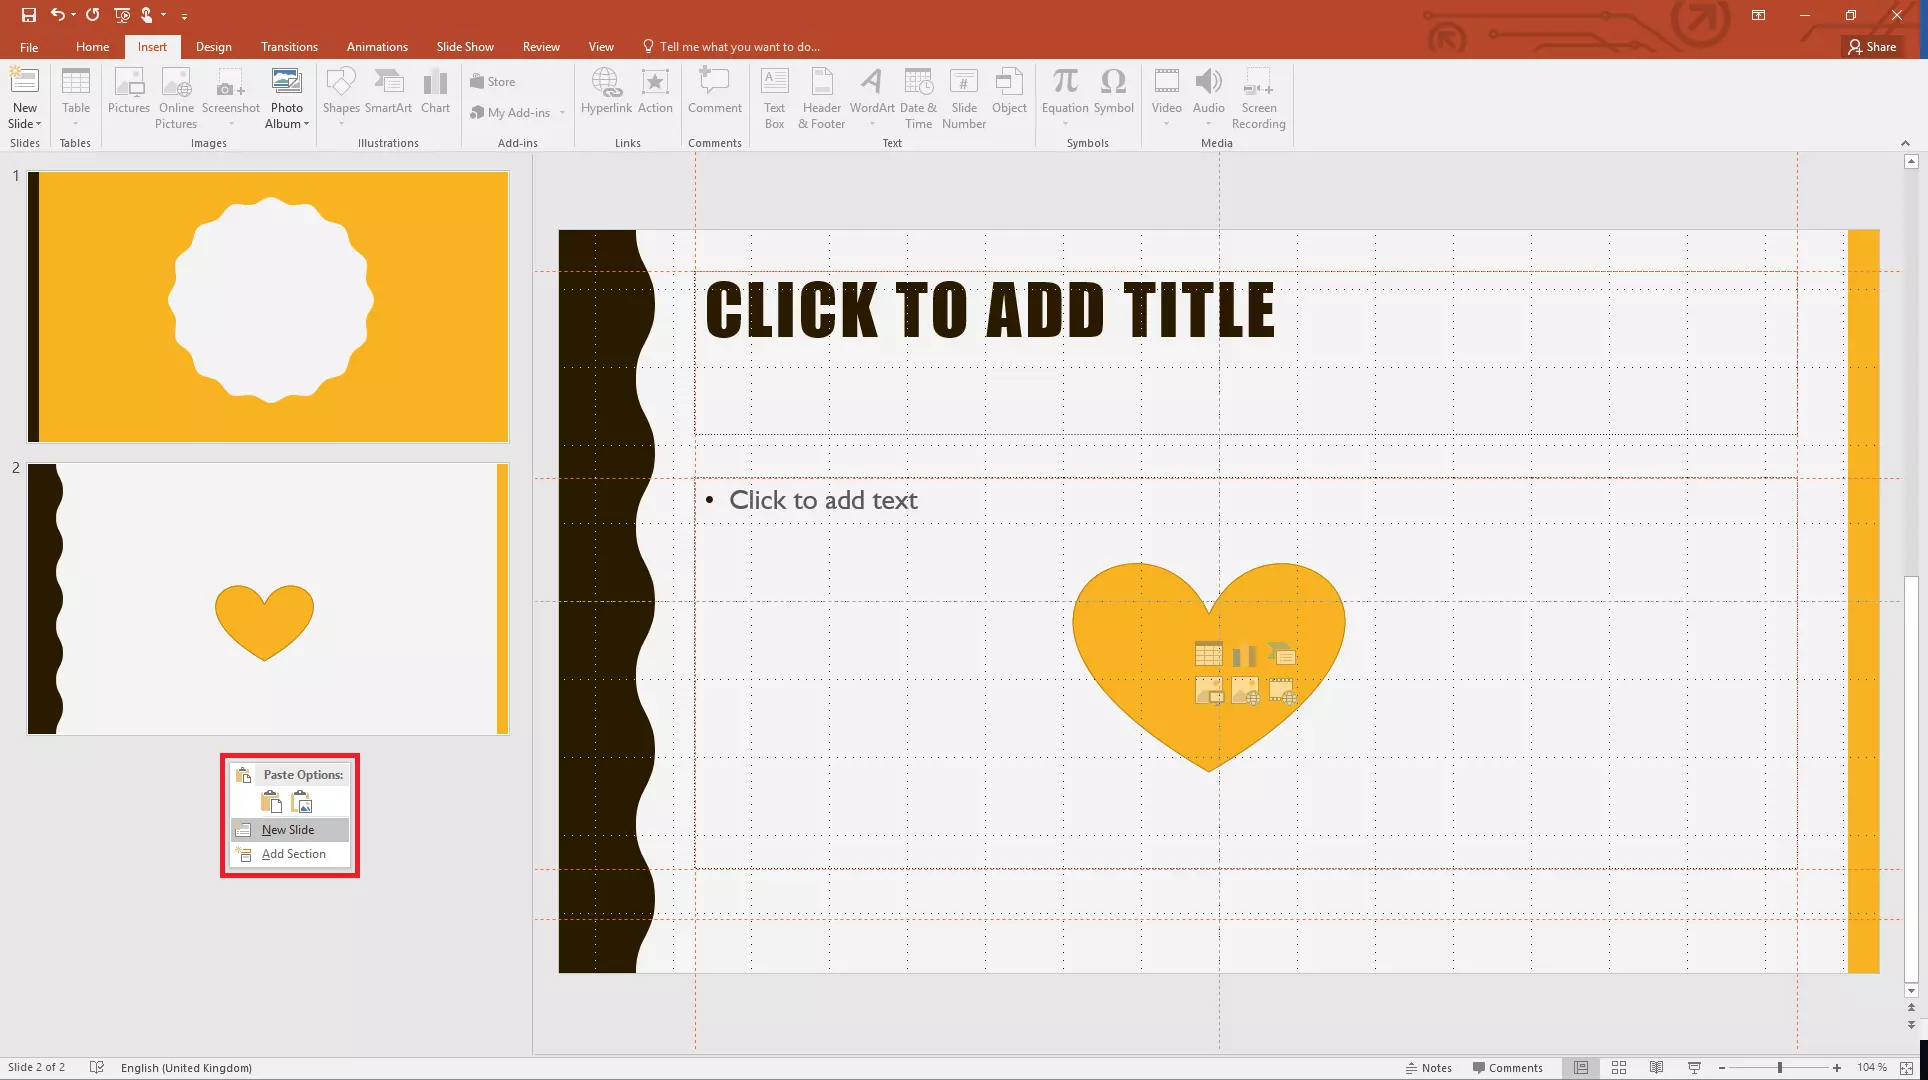
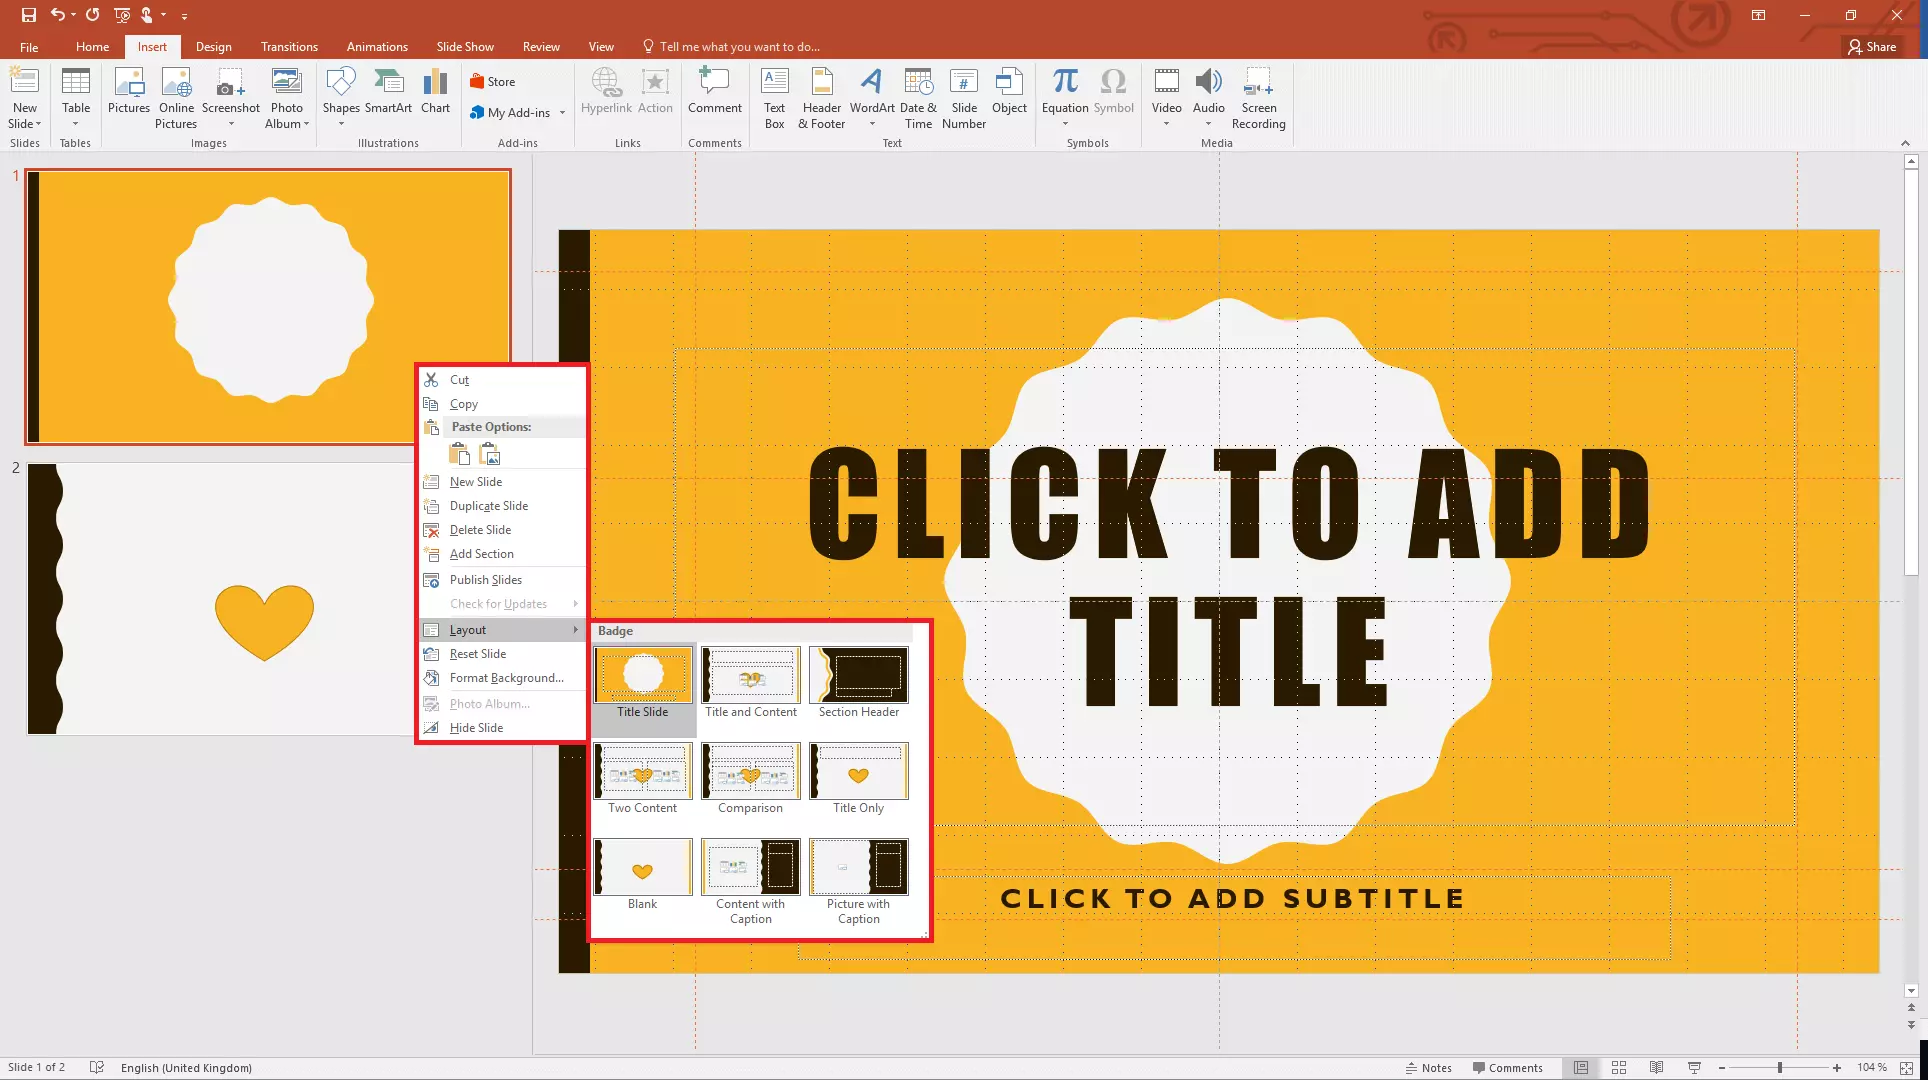
You can then choose a different layout for the slide by right-clicking on its thumbnail and selecting “Layout” in the pop-up menu that opens.
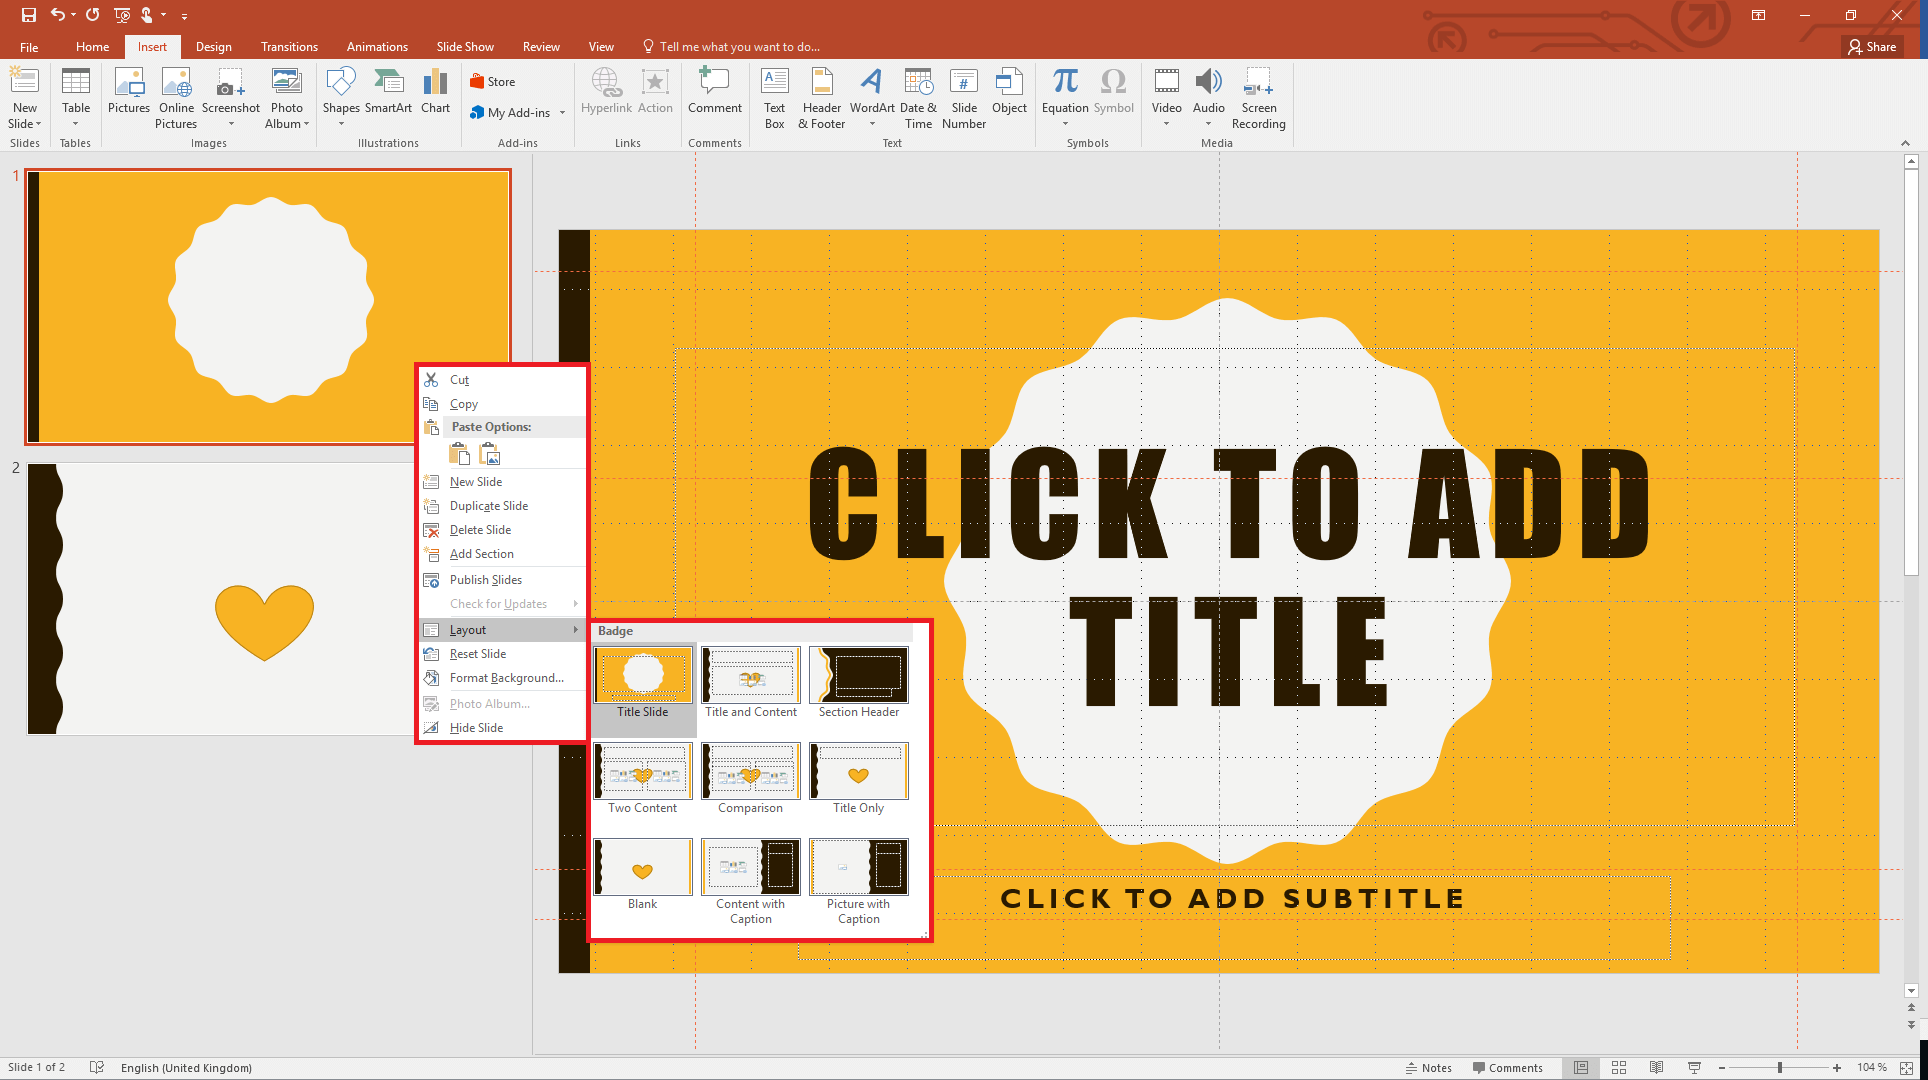
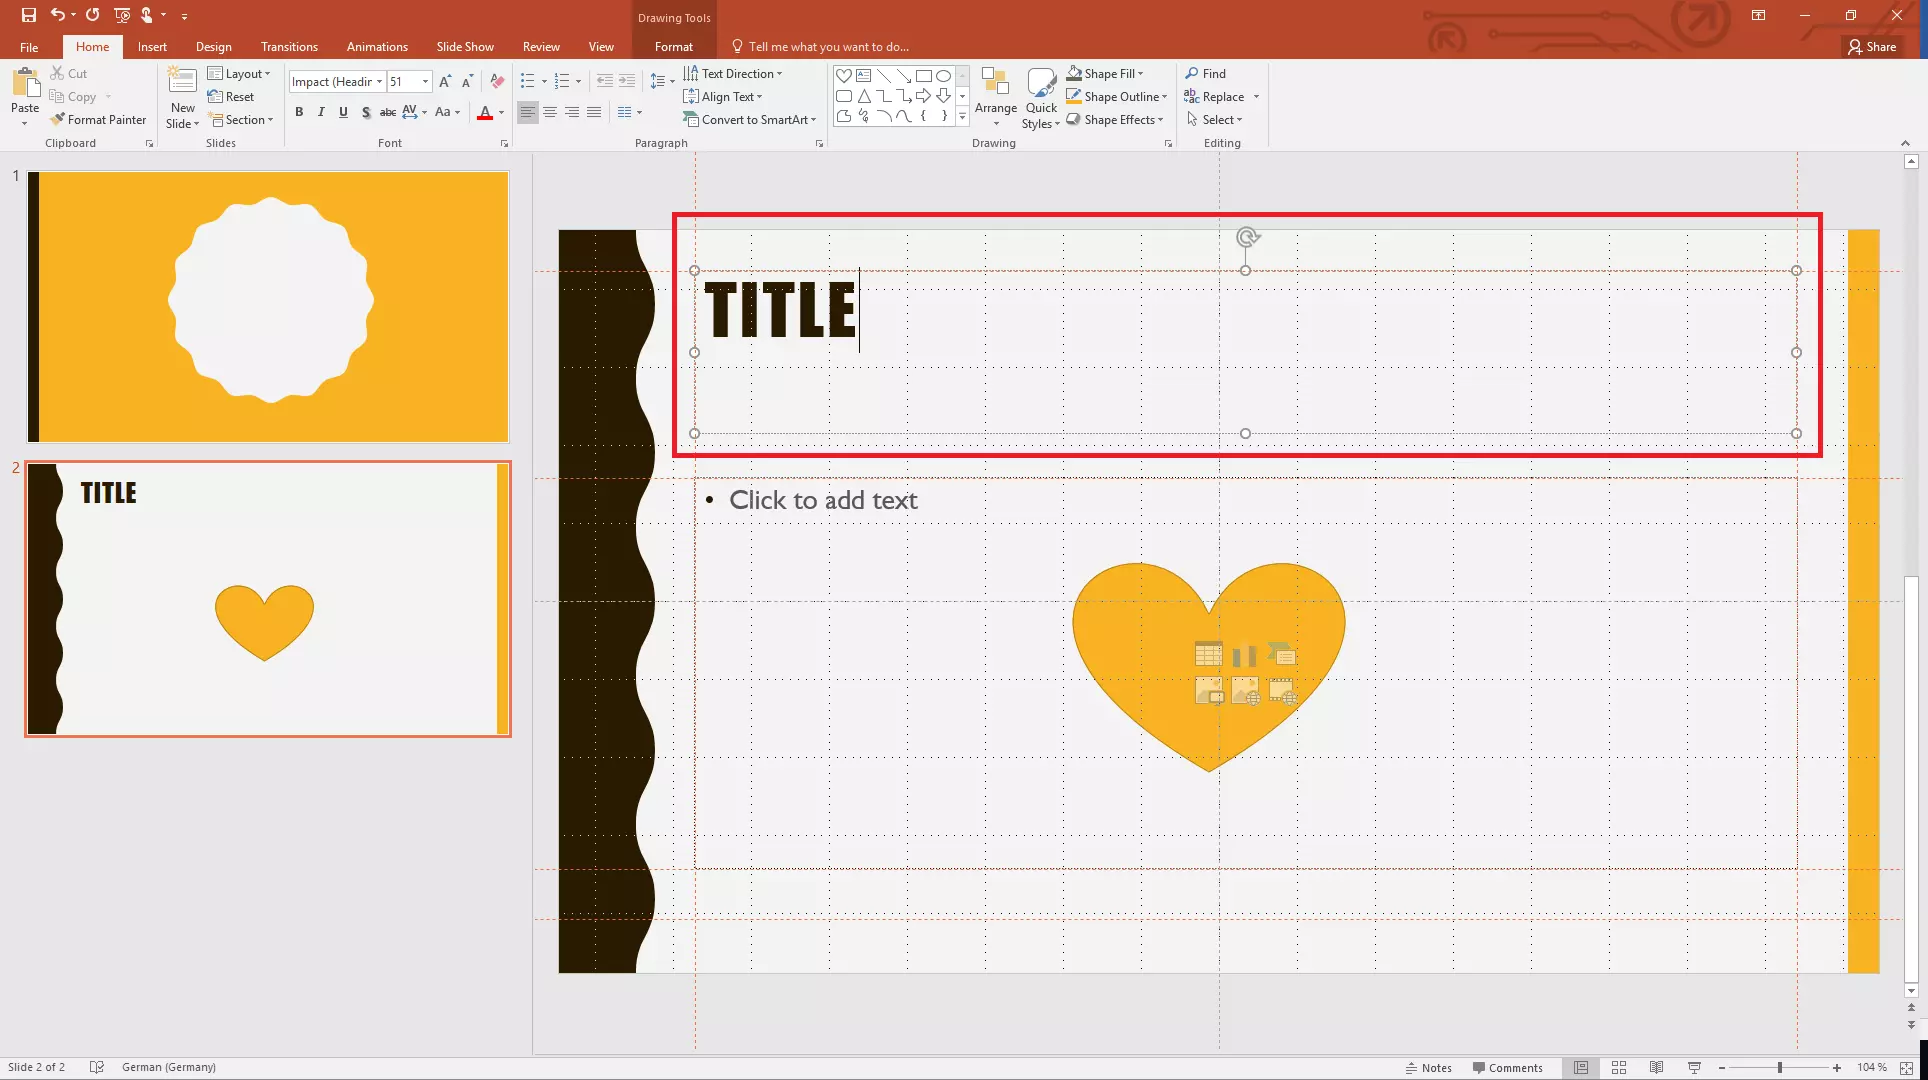
Step 3: In the right-hand pane, you can now fill in the different parts of your slide with text, images, shapes, diagrams and other objects.
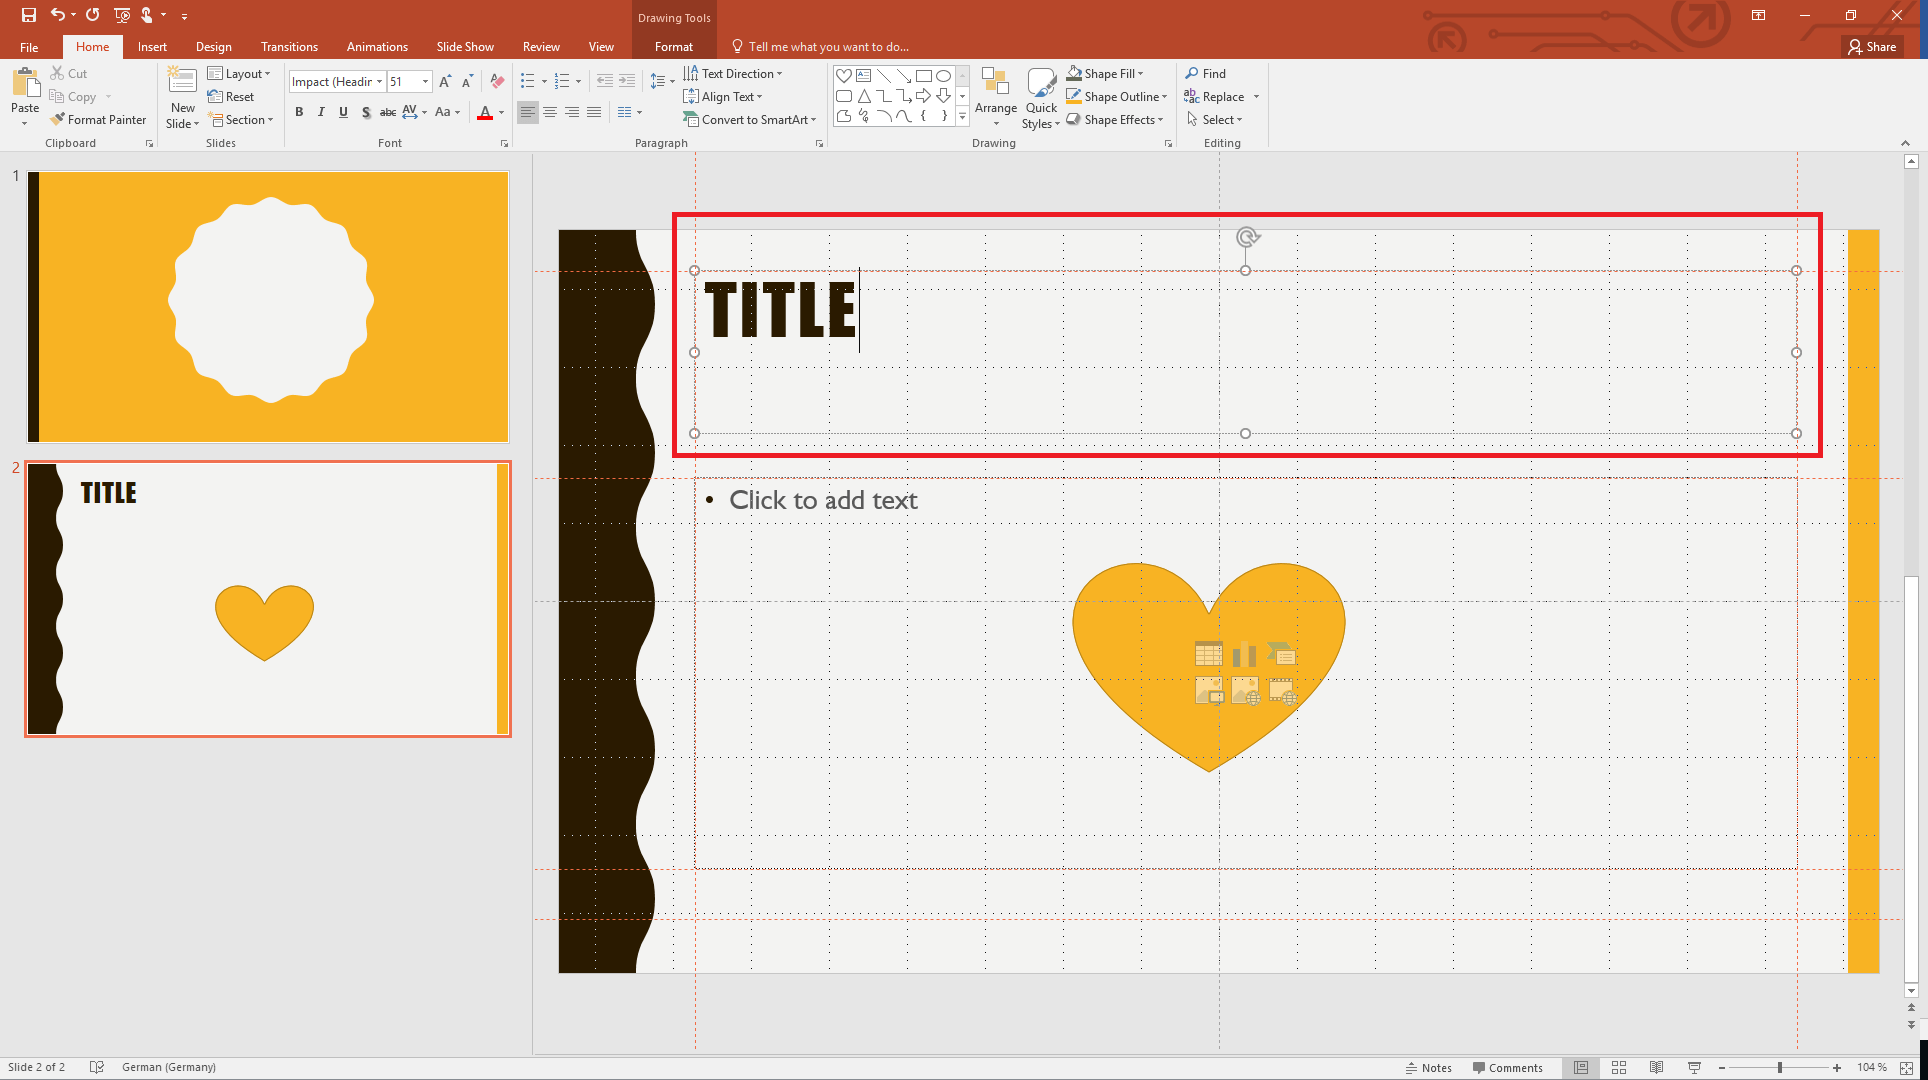
Customising and editing the slide master and slide layouts
While working on your presentation in Normal view, you cannot modify or edit the slide master or the slide layouts. To do this, you need to switch back to the Slide Master view. Afterwards, you must remember to update the corresponding slide in the Normal view, otherwise the changes you made to the master slide will not be taken into account. To do this:
- Open the slide that uses the layout in question.
- Go to the “Slides” section of the “Home” tab and open the “Layout” menu.
- Select the layout that you want to update.
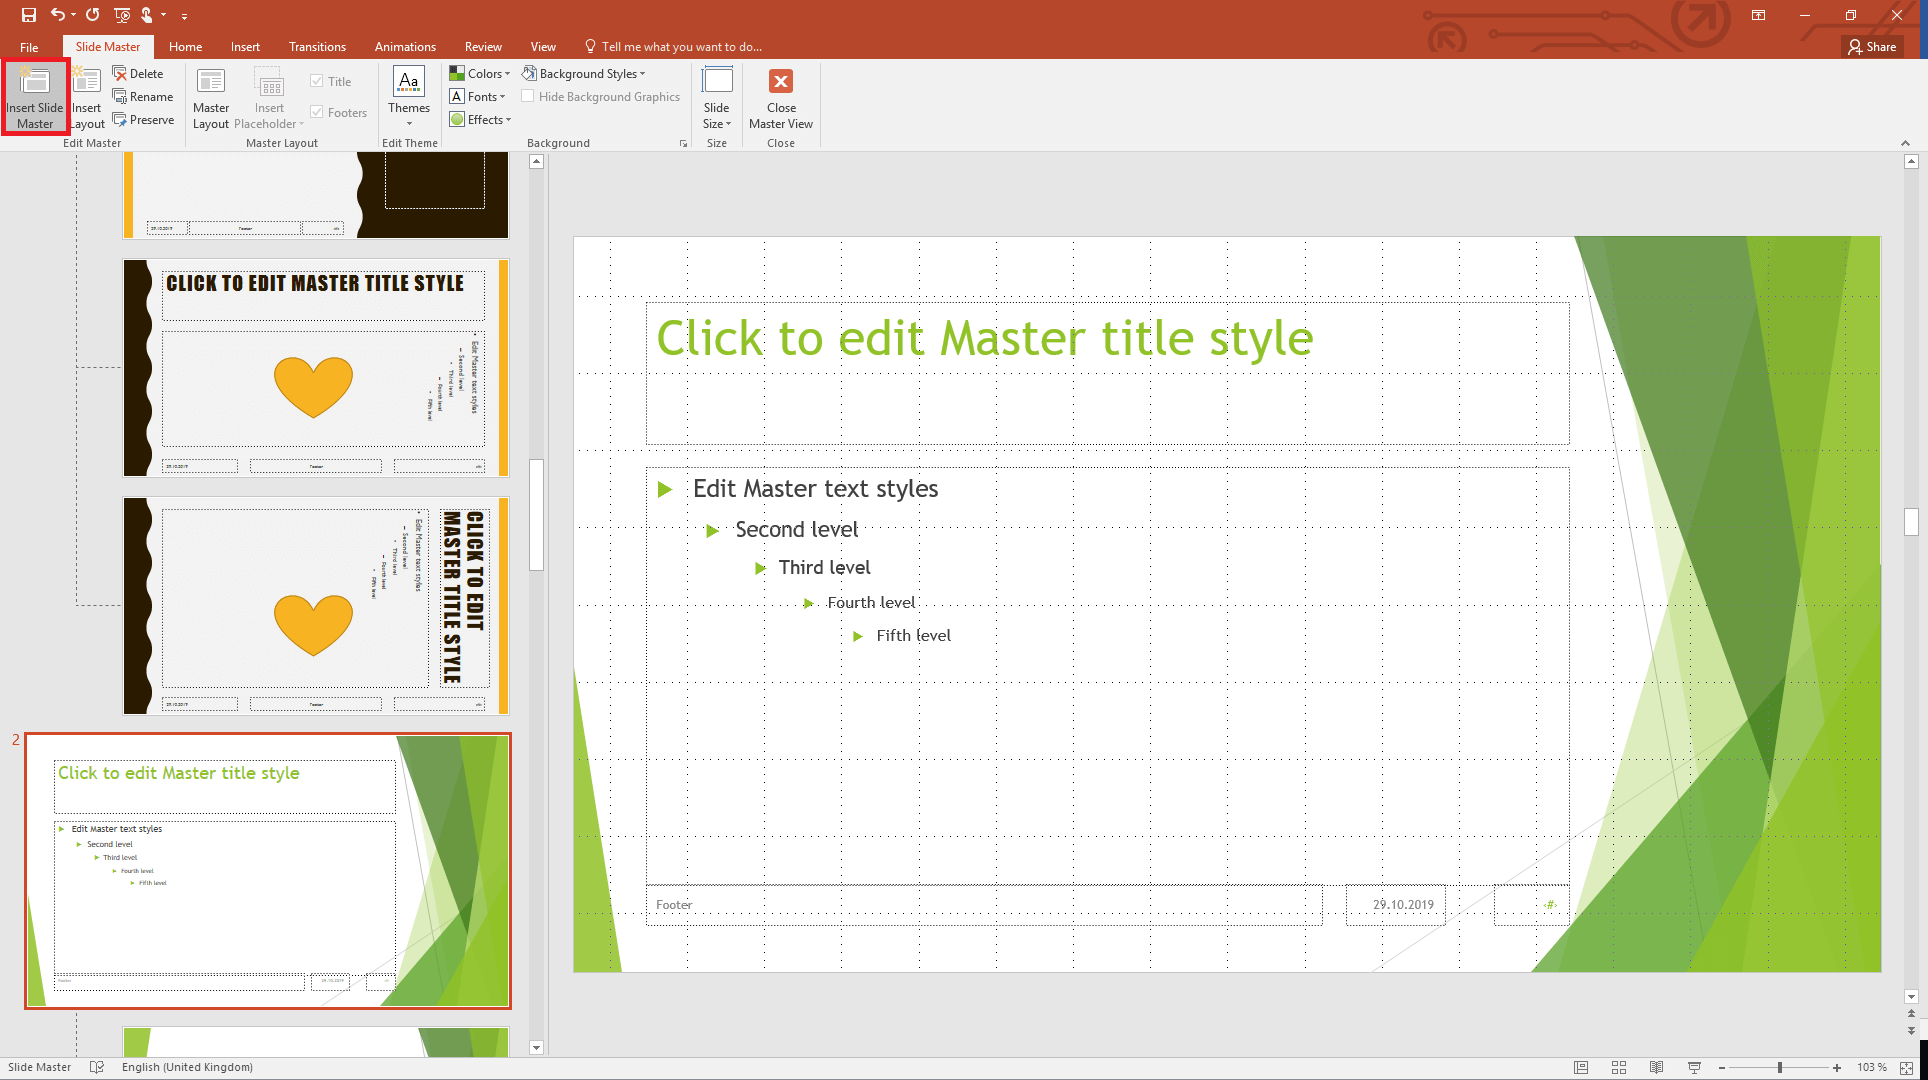
PowerPoint also lets you create multiple slide masters. This means you can use several slide masters (with associated slide layouts) within a single presentation. To add a second slide master:
- Go to the “Slide Master” view.
- In the “Edit Master” section on the ribbon, click on “Insert Slide Master”.
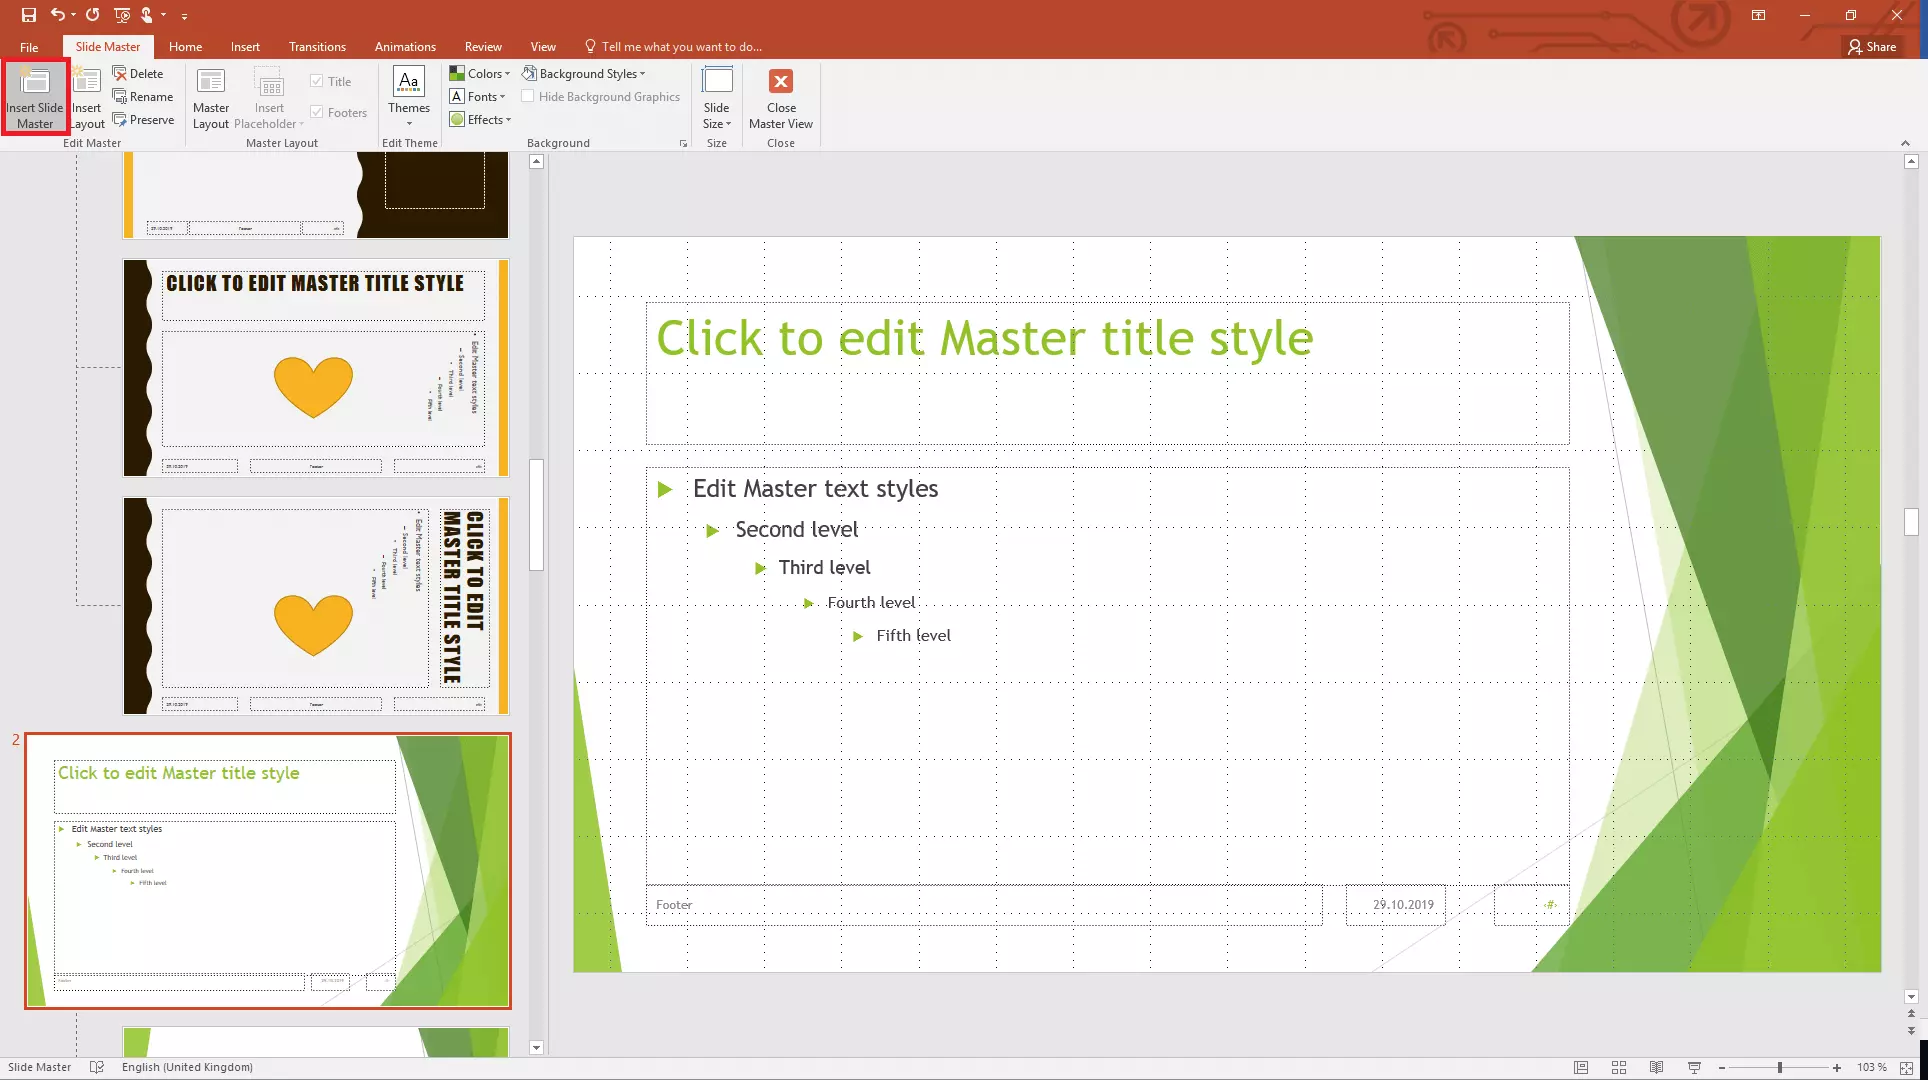
PowerPoint will now add a second slide master (along with its slide layouts) below the first slide master. You can edit these as described above. You can create as many slide masters as you want. Note that in order to be able to edit the second slide master, the “Preserve” option in the “Edit Master” section of the ribbon must be selected.
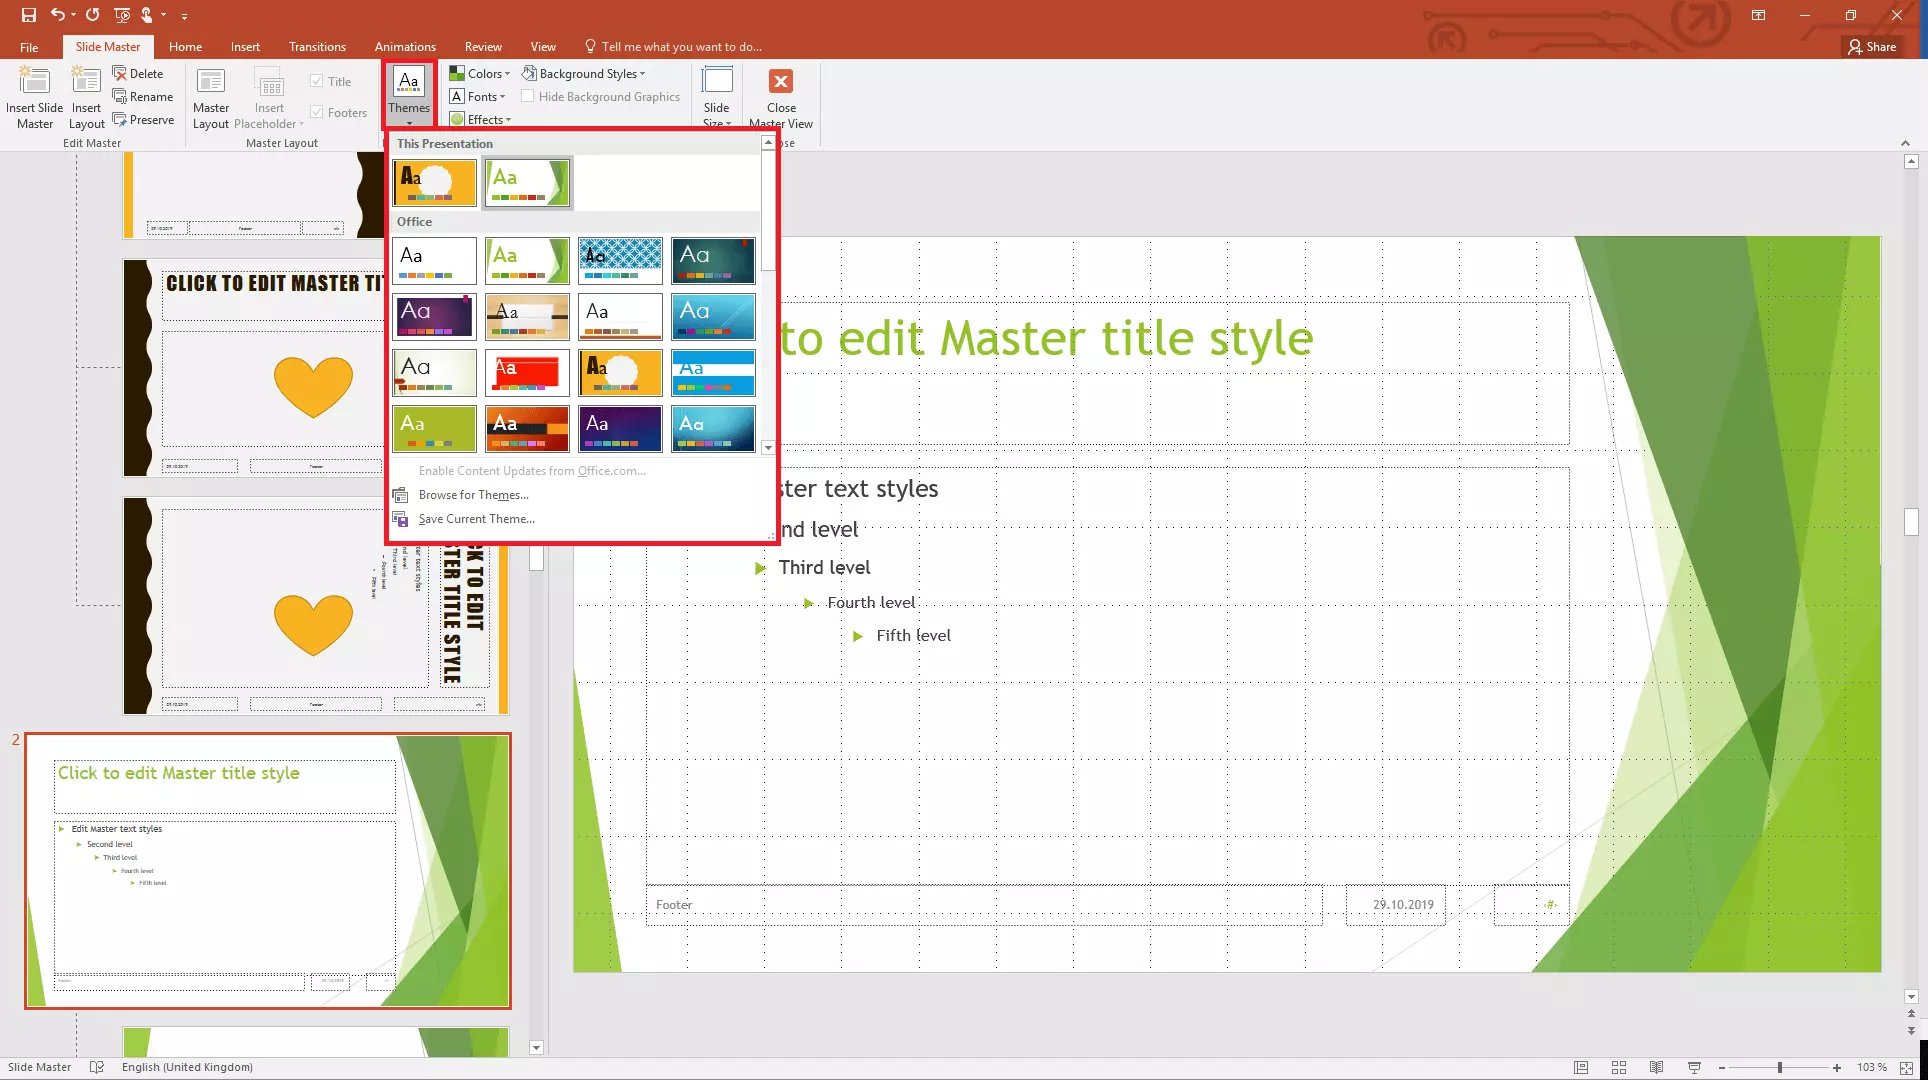
If you want to use the second slide master and its slide layouts in your presentation, go back to the Normal view. In the “Slides” group, click on “New Slide”. PowerPoint now displays both of the slide masters and their slide layouts so you can choose which design you want to use for each part of your presentation.
Tips for working with the PowerPoint Slide Master
Set up your slide master and the related slide layouts before you actually start working on your presentation. This will ensure all your slides have the same design. Once you have created a slide master, the design will automatically be used for all of the following slides. To create a slide master in PowerPoint, you can either define your own design, or, to save even more time, you can select one of the pre-defined themes proposed by PowerPoint. By using the Slide Master function, all of your pictures, icons and logos will be consistent throughout your presentation, giving a professional appearance.
Reviewer

Jeanna Raffa
With over 18 years of experience in online marketing, Jeanna Raffa possesses extensive expertise in digital marketing. Since 2020, her focus has been on providing practical information regarding email, office, and cloud storage solutions.