Automatically number rows in Excel
Whether it’s for preparing revenues or customer lists, continuous numbering improves the clarity of Excel tables. Although Excel does not provide a button for automatic numbering, it’s easy to automatically number rows once you know how to. The following guide explains how to use Excel’s simple options to add numbering.
Auto numbering in Excel – what are the options?
Excel provides two options for automatic numbering to help make tables easier to read. On the one hand, you have the option to create continuous or user-defined number sequences with the fill box. On the other, the ROW function lets you define numbering as part of a formula.
- Up to 50 GB Exchange email account
- Outlook Web App and collaboration tools
- Expert support & setup service
Method 1: Auto numbering with fill boxes
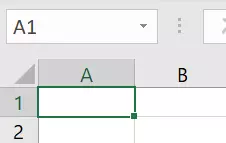
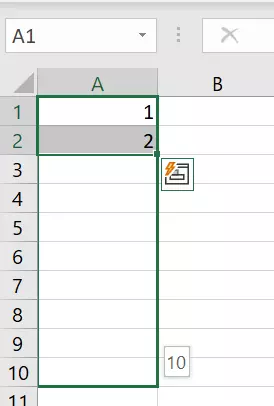
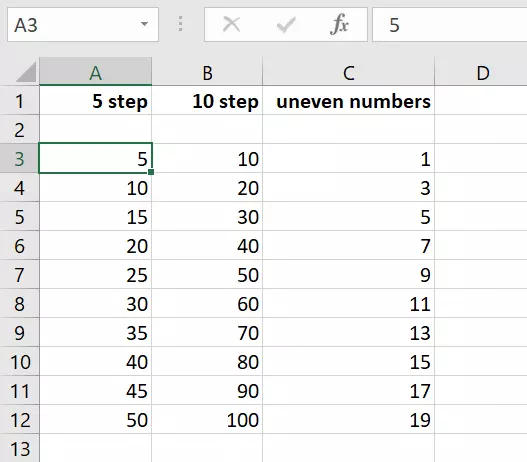
The fill box or auto-fill box can be found at the bottom right edge of a cell when you move your mouse cursor over it. To select multiple cells, click on the area inside a cell and drag the box down – without clicking on the little fill box at the bottom right edge.
The fill box is the easiest way to add auto numbering to rows in your Excel table. Here, you have the option to set the sequence the numbering should adopt.
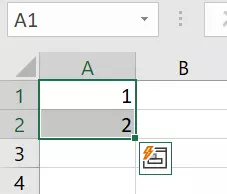
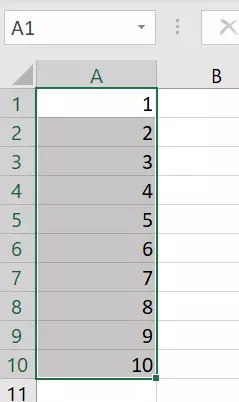
Step 1: If you prefer ascending numbering (1, 2, 3, 4, ...), simply enter “1” and “2” in the first two cells of the column. Excel always needs 2 or 3 numbers to automatically detect and continue a desired sequence. Select the range with the numbers. When you select the range, make sure you don’t click on the little green square at the bottom right of the cell. Instead, click in the cell and drag the frame to the end of the corresponding cell.
You can also use auto numbering to auto-complete date entries or times, for example. But you always need to provide the first 3 to 3 numbers for Excel to recognise a number sequence or pattern. Only then does the program automatically detect the sequence.
Method 2: Add numbering with the ROW function
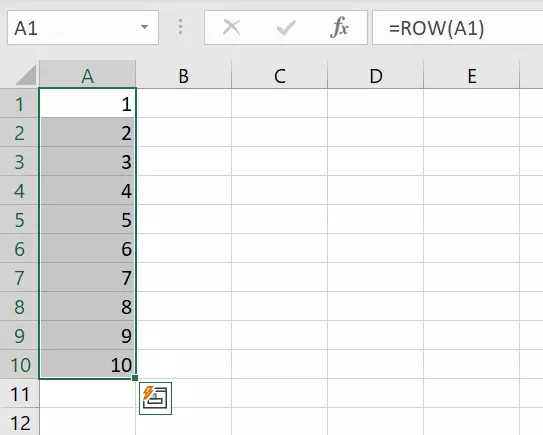
As an alternative to the fill box, you can use the ROW function to add automatic numbering in Excel. The ROW function syntax is as follows:
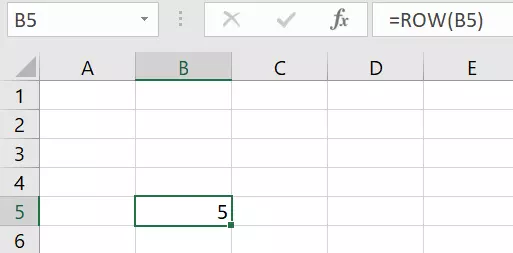
=ROW([CELL REFERENCE])The ROW function returns the row number of the reference, which is entered in brackets “()”. Add “B5” into the formula, for example.
=ROW(B5)Remember that you define the cell reference. If you leave the reference empty, the ROW function will automatically output the number of the cell that contains the formula.
If you change the data or move or delete rows after adding the ROW function, the numbering may be interrupted. To update it, select two of the existing numbers of the numbering sequence and drag the fill box across the interrupted area.
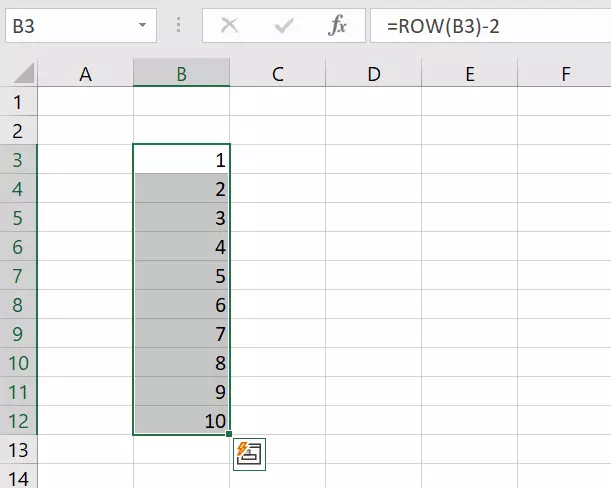
Step 3: Would you like the ROW function with number 1 to begin in a different row? This is easy to do: Click on the cell where numbering should start, e.g. B3. Enter the ROW function and then subtract the rows that remain empty above the start of the numbering sequence. The syntax is as follows:
=ROW([CELL REFERENCE])-[NUMBER OF CELLS]For more professional spreadsheets, a whole range of tricks is available to format a table in Excel.
- Up to 50 GB Exchange email account
- Outlook Web App and collaboration tools
- Expert support & setup service


